Valentine’s Day is the perfect occasion to create a warm, festive atmosphere in your home, and what better way to do that than by making your very own DIY Valentine’s backdrop? Whether you’re hosting a celebration, taking cute photos, or just want to add a little extra love to the room, this simple yet charming backdrop is both fun to create and budget-friendly. Here’s a step-by-step guide on how to make a beautiful heart-shaped backdrop using a sheet, a potato, and a toilet paper roll!
What You’ll Need:
- A large white sheet (for your backdrop)
- A potato (to carve stamps)
- A toilet paper roll (for creating additional heart stamps)
- Fabric paint (or washable paint if you’re using a regular sheet)
- A paintbrush
- Scissors
- A marker or pen
- A large plastic tray or paper plate (for paint)
- Painter’s tape (optional, for hanging)
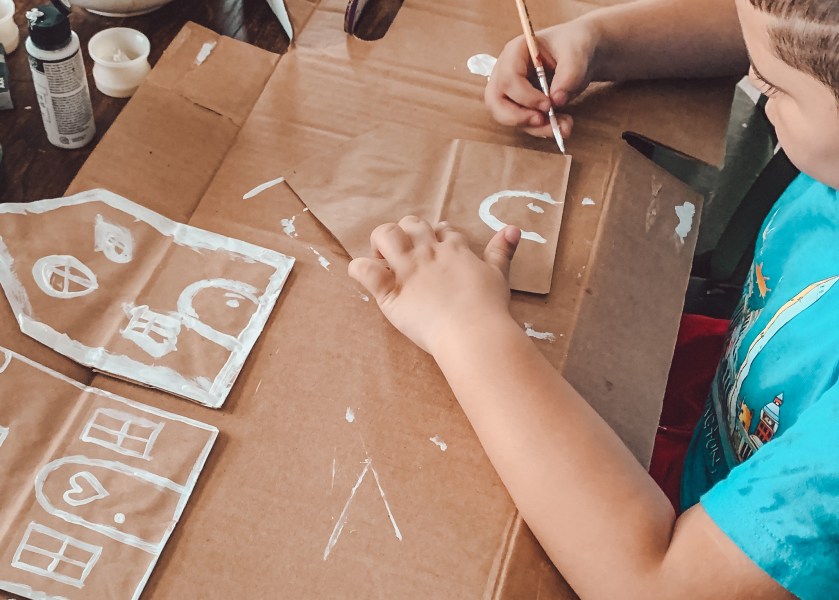
Step 1: Prepare the Surface
Start by laying your large white sheet flat on the table, making sure it is wrinkle-free and smooth. If you’re concerned about getting paint on the table, you can lay down some newspaper or paper towels underneath the sheet to protect the surface.
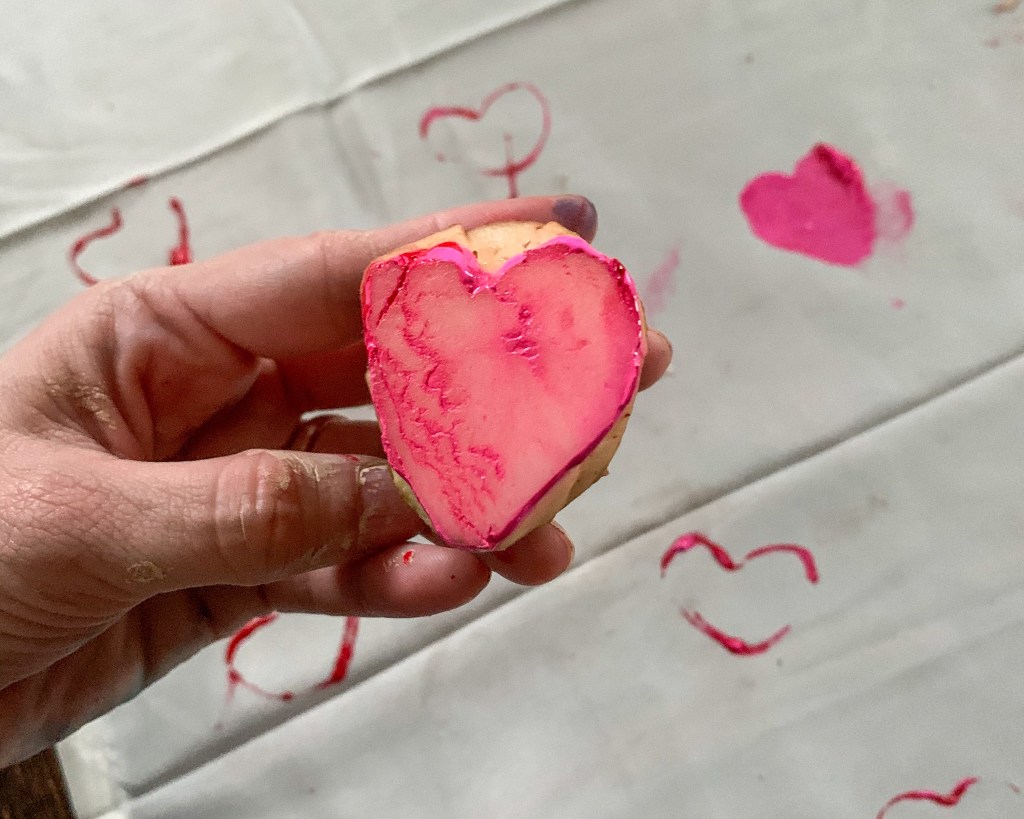
Step 2: Create Your Heart Stamps
Now it’s time to prepare your stamps. For the potato stamp, carefully cut the potato in half. On the flat side, use a marker or pen to draw half of a heart shape. Then, with a sharp knife, carefully cut along the outline to create your heart-shaped stamp. You’ll have a fun, textured heart shape ready to print!
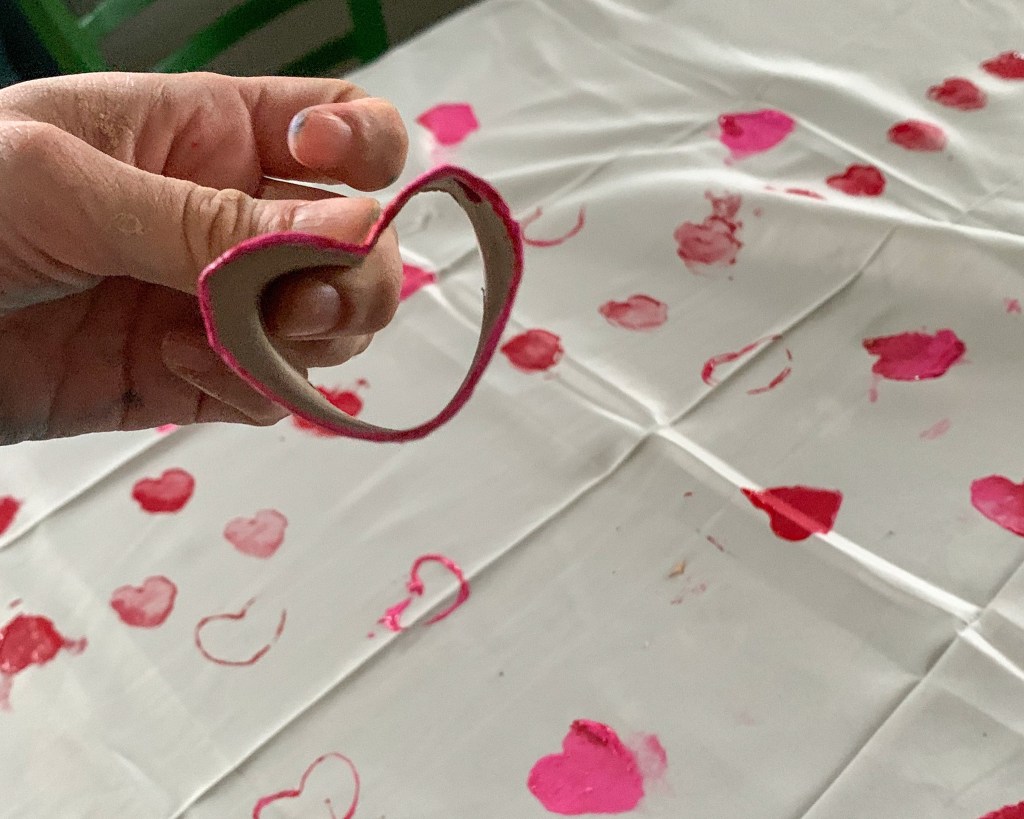
Next, take your toilet paper roll and gently pinch the top to form a heart shape. Once it’s pinched, secure it with tape to hold the shape in place. You can also reinforce it with a little glue if needed. This makes a smaller heart stamp to add some variety to your design.
Step 3: Add Paint to Your Stamps
Pour your fabric or washable paint onto a tray or paper plate. Using a paintbrush, lightly paint the heart-shaped stamps. Be sure to coat them evenly but not too thickly to avoid excess paint bleeding onto the fabric.
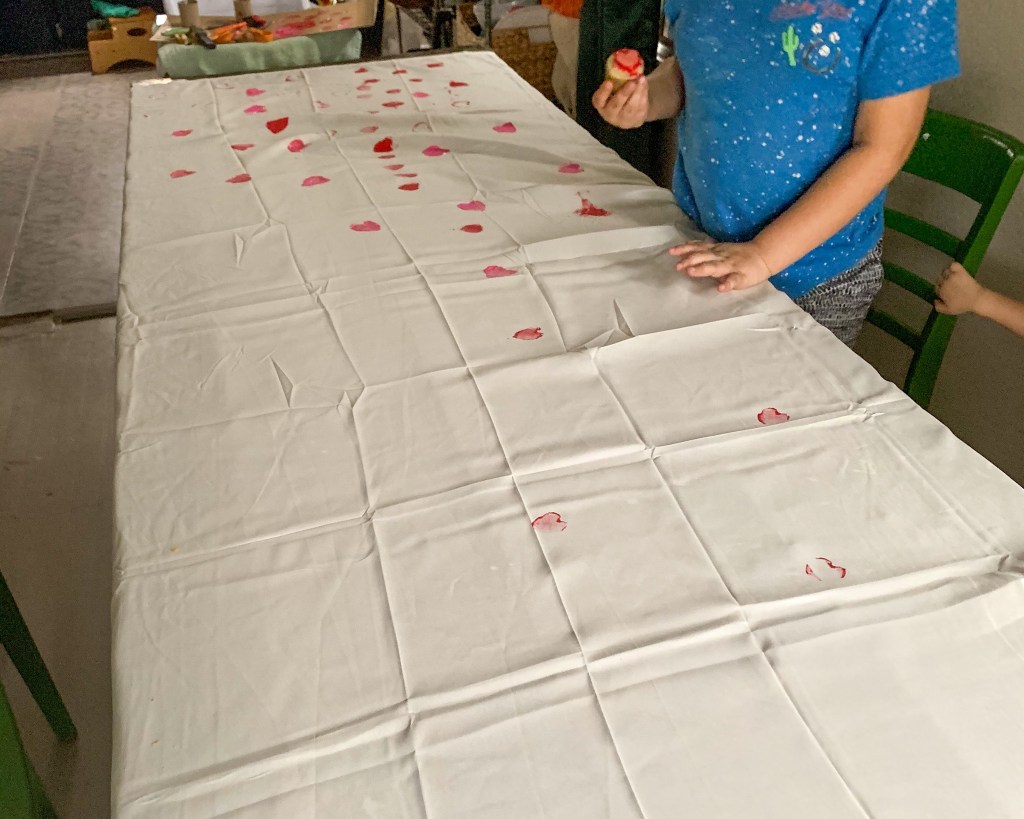
Step 4: Stamp Away
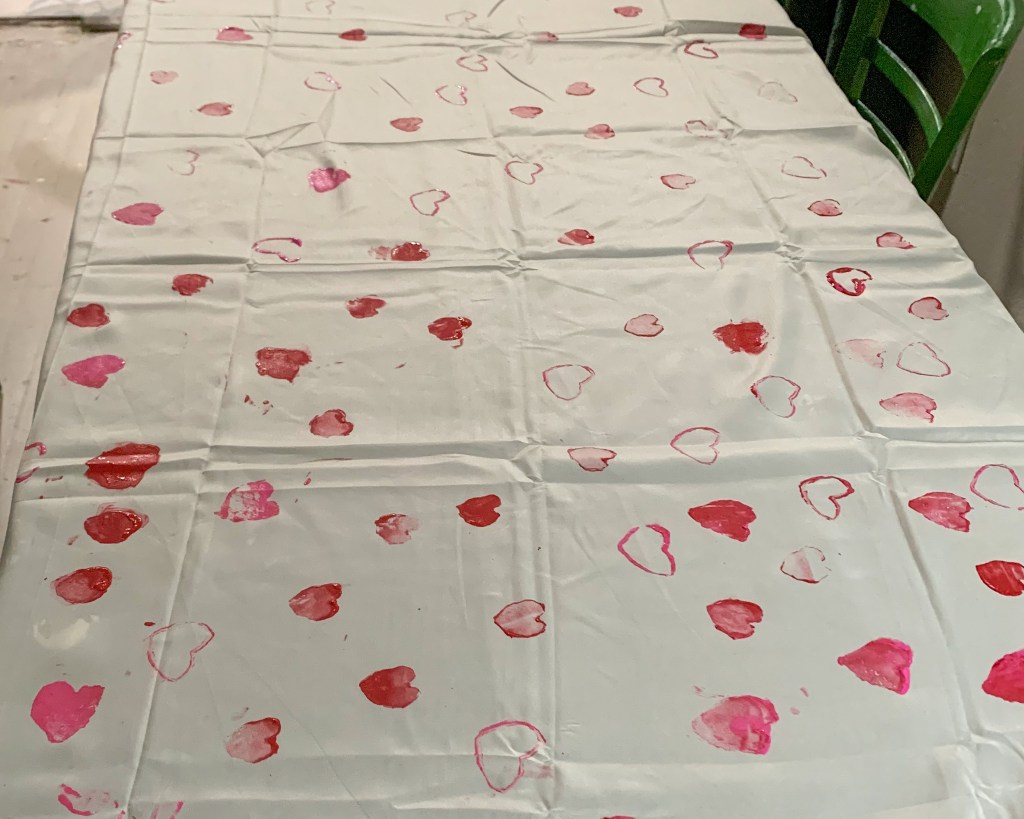
Begin stamping the potato heart onto the sheet, pressing it gently to transfer the paint evenly onto the fabric. Repeat this process, spacing your hearts out across the sheet as you go. You can mix up the size and pattern by alternating between the large potato stamp and the smaller toilet paper roll stamp.
Try to vary the direction and spacing to create a playful and organic look. Don’t worry about perfection—some imperfect prints will add to the charm!
Step 5: Let It Dry
Once you’ve finished stamping, let the paint dry completely before moving on. This may take a couple of hours, depending on the type of paint you used.
Step 6: Display Your Backdrop
Once dry, you can now use your heart-filled sheet as a backdrop for your Valentine’s Day celebration! Whether you keep it on the table as a charming tablecloth or hang it on the wall for photos, this backdrop will bring a fun, festive vibe to any space.

Final Thoughts:
Creating a heart-filled backdrop with simple materials like a sheet, a potato, and a toilet paper roll is an easy and fun way to add some DIY charm to your Valentine’s Day celebrations. Not only will it set a sweet mood, but it’s also a creative project that anyone can enjoy. Happy crafting and happy Valentine’s Day!