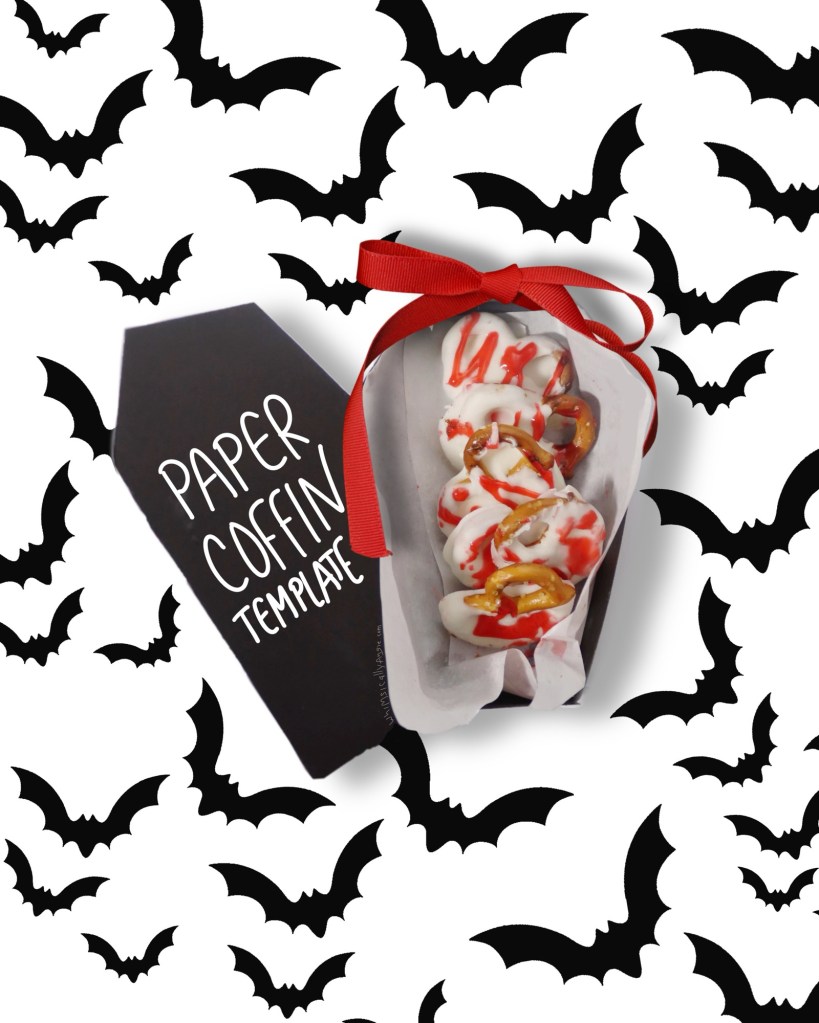
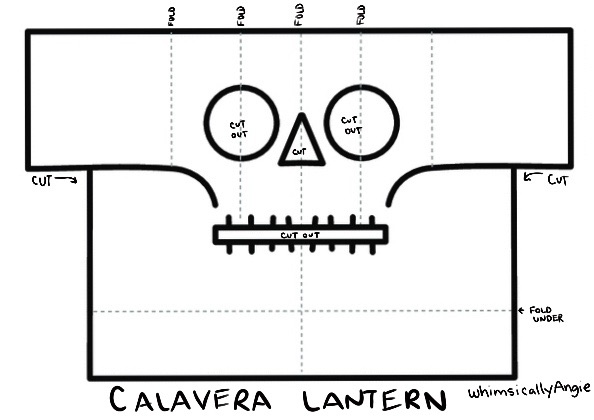
Decorate this Free Printable Template any way you want. Though, I designed it with Dia de Muertos in mind, it can easily be used for a fun Halloween accent, too!

Decorate this Free Printable Template any way you want. Though, I designed it with Dia de Muertos in mind, it can easily be used for a fun Halloween accent, too!
Looking for a fun and creative activity to celebrate Mexican culture? My FREE Printable Paper Alebrije Jaguar Maskis the perfect project for anyone who loves crafts! Alebrijes are vibrant, fantastical creatures that blend imagination with traditional Mexican artistry. This printable mask offers a delightful crafting experience and an opportunity to learn about the rich heritage behind these colorful creations. Download your mask today and add a splash of creativity to your next celebration or solo project!
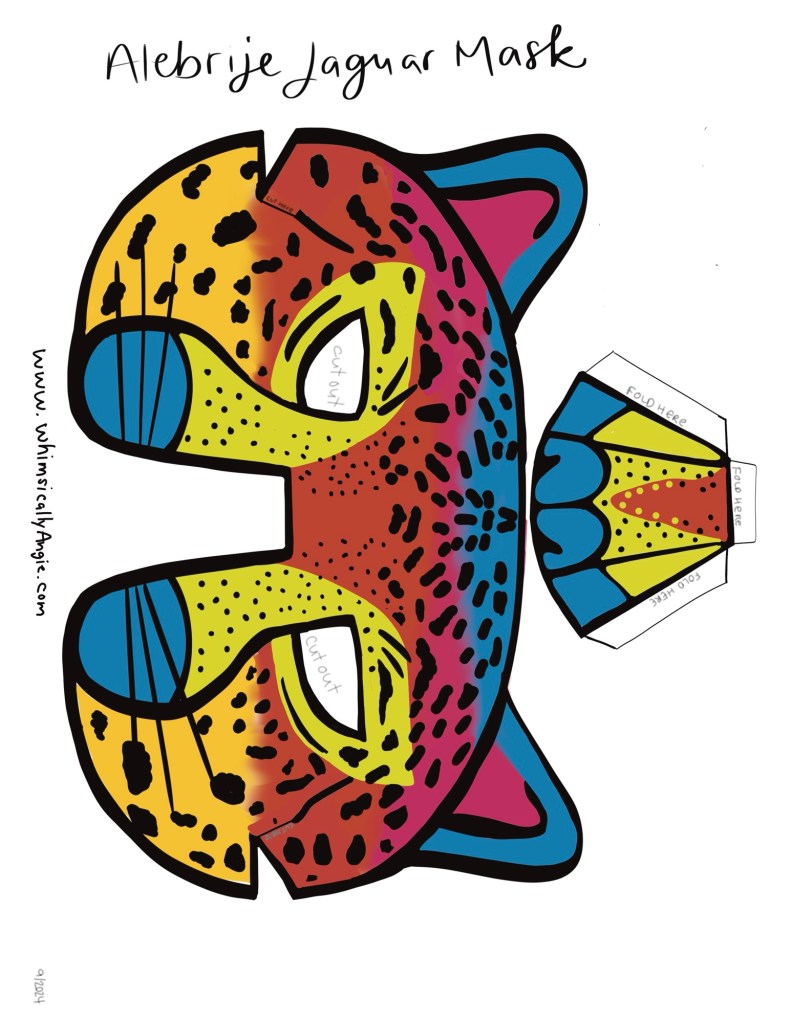
In addition to being a fun crafting project, this printable jaguar mask is designed for coloring! Grab your favorite markers, crayons, or colored pencils and let your creativity run wild. Personalize your mask with bright colors and unique patterns, just like the traditional alebrijes. Not only will you enjoy the process of decorating, but you’ll also create a one-of-a-kind piece that showcases your artistic flair. Whether for a festive event, Halloween, or just for fun, this customizable mask is sure to impress!
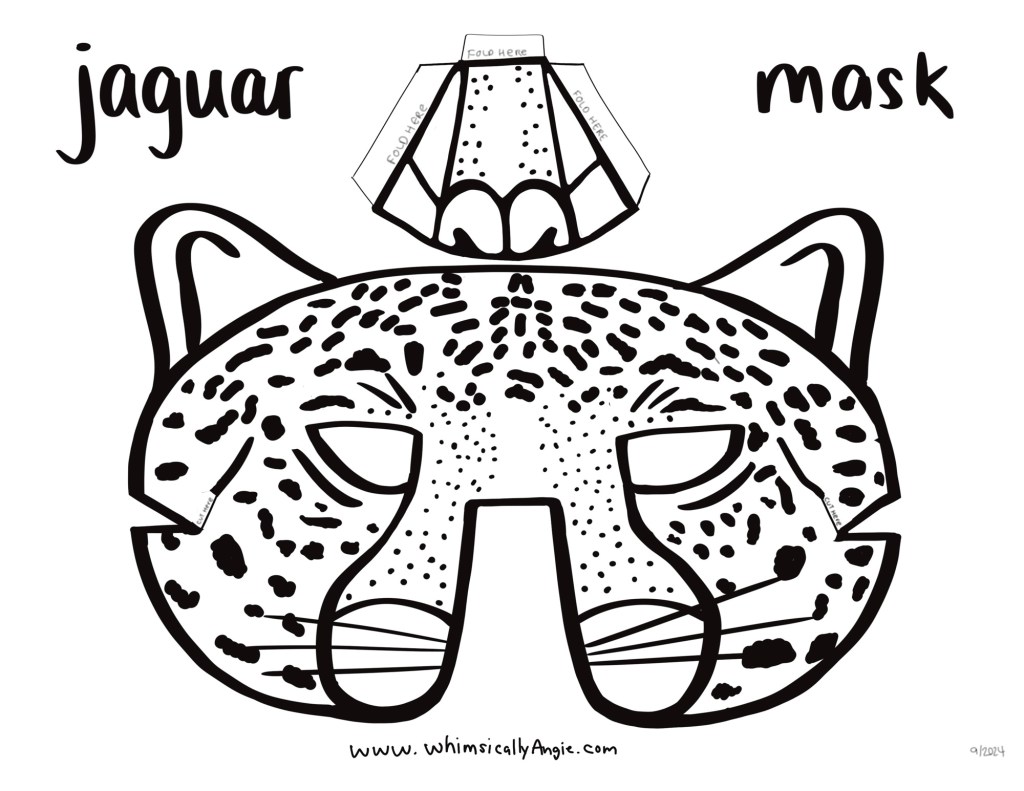
To assemble your Printable Paper Mask, follow these simple instructions:
Now you’re ready to show off your beautiful jaguar mask!

