Posted in Lifestyle

48 Free Craft Supplies for Kids: Creative Ideas Using Recycled & Household Materials

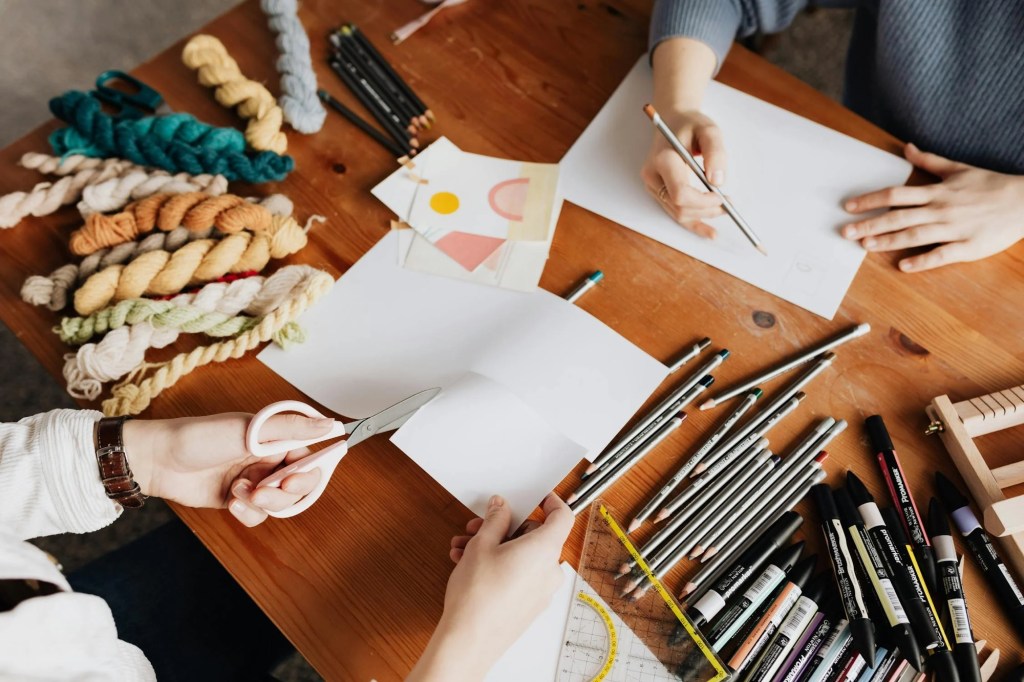
Looking for ways to spark creativity without breaking the bank? You’d be surprised how many free craft supplies you can find right around your home or in nature! Whether you’re planning a kids’ craft club or simply want to engage in some fun DIY projects, using recycled materials, nature finds, and everyday household items can offer endless possibilities. In this post, we’ll share a list of crafty treasures that cost nothing but will keep your little ones busy, entertained, and inspired!

1. Recycled Materials:

  1. Cardboard Boxes (from shipping or old products)
  2. Egg Cartons
  3. Cereal Boxes (great for making sturdy structures)
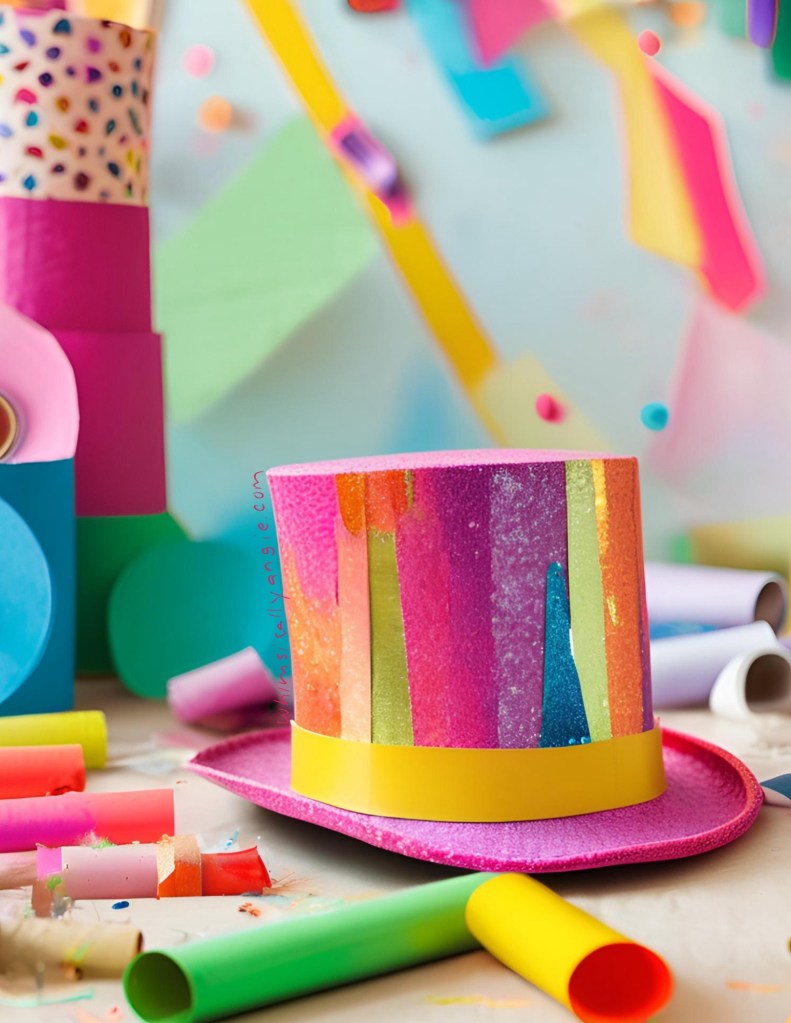
  4. Toilet Paper Rolls or Paper Towel Rolls
  5. Food Containers (like yogurt cups, bottle caps, or milk cartons)
  6. Plastic Bottles (can be used for various crafts)
  7. Cans or Jars (for making lanterns or planters)
  8. Bubble Wrap (can be used for textured art or printing)
  9. Old Shoeboxes
  10. Tin Foil (for creating shiny textures or sculptures)

2. Natural Materials:

  1. Leaves (for pressing, stamping, or collages)
  2. Pinecones (great for decorating or creating animals)
  3. Twigs/Branches (for building structures or tree decorations)
  4. Stones/Pebbles (for painting or mosaic crafts)
  5. Acorns (perfect for seasonal crafts)
  6. Flowers (pressed for art or used in nature collages)
  7. Bark (for textured art or rustic crafts)
  8. Moss (great for fairy houses or natural decorations)
  9. Seashells (used in coastal-themed crafts)
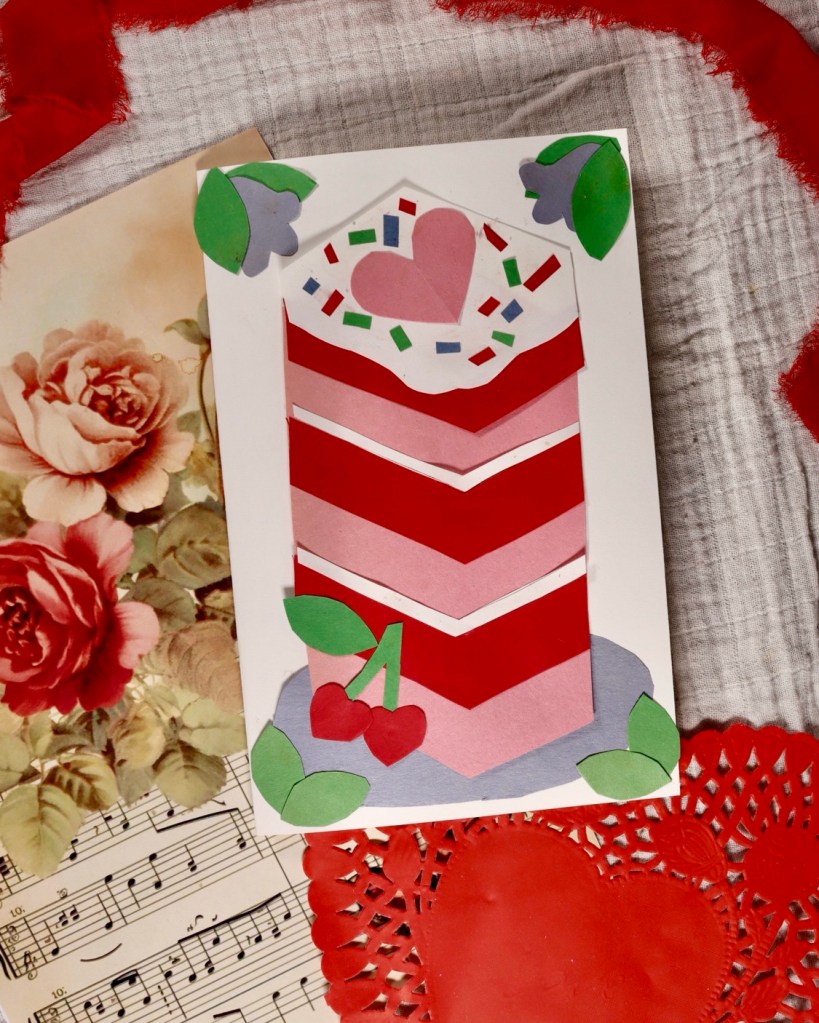
3. Paper Scraps:

  1. Old Magazines (cut out pictures or create collages)
  2. Newspapers (perfect for decoupage or crafting paper beads)
  3. Old Greeting Cards (cut into shapes or use for collages)
  4. Old Maps or Calendars (for unique artwork)
  5. Scrap Paper (leftover from past projects)
  6. Old Wrapping Paper (perfect for collage or paper beads)
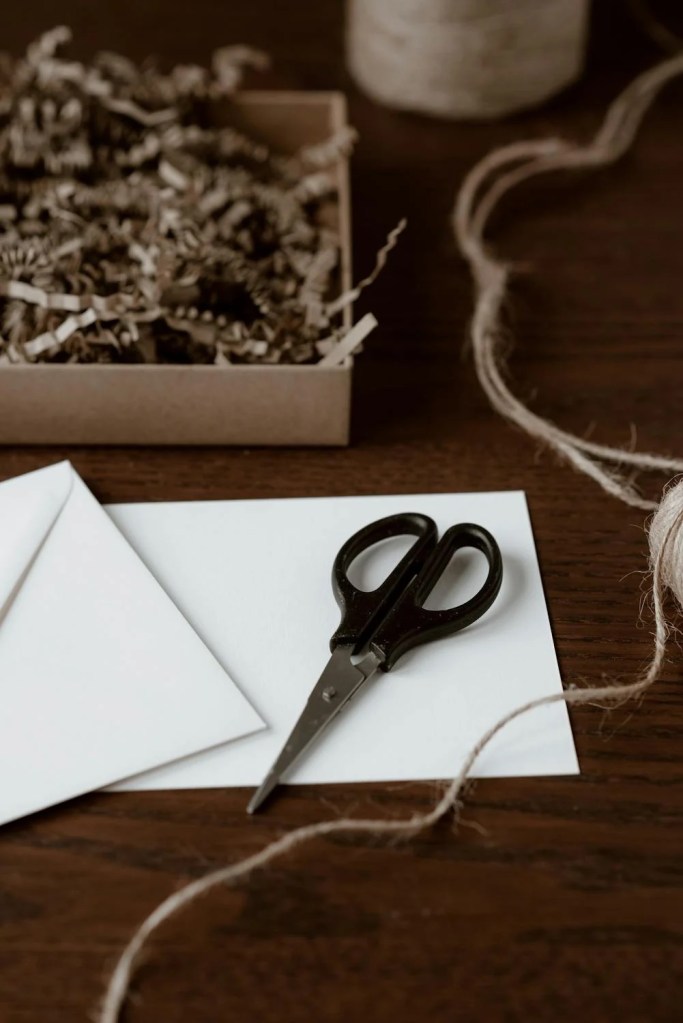
  7. Envelopes (can be cut, folded, or used in collages)
  8. Old Paper Bags (great for making puppets or wrapping)
  9. Tissue Paper (leftover from gift bags or craft kits)
  10. Paper Plates (for mixing paints or crafting)

4. Fabric Scraps:

  1. Old Clothes (old shirts, socks, or fabric scraps)
  2. Old Bed Sheets or Towels (for cutting into fabric shapes or patchwork)
  3. Old Socks (can be turned into puppets or stuffed animals)
  4. Lace or Ribbon Scraps (for adding textures)
  5. T-shirt Strips (perfect for weaving or knotting crafts)
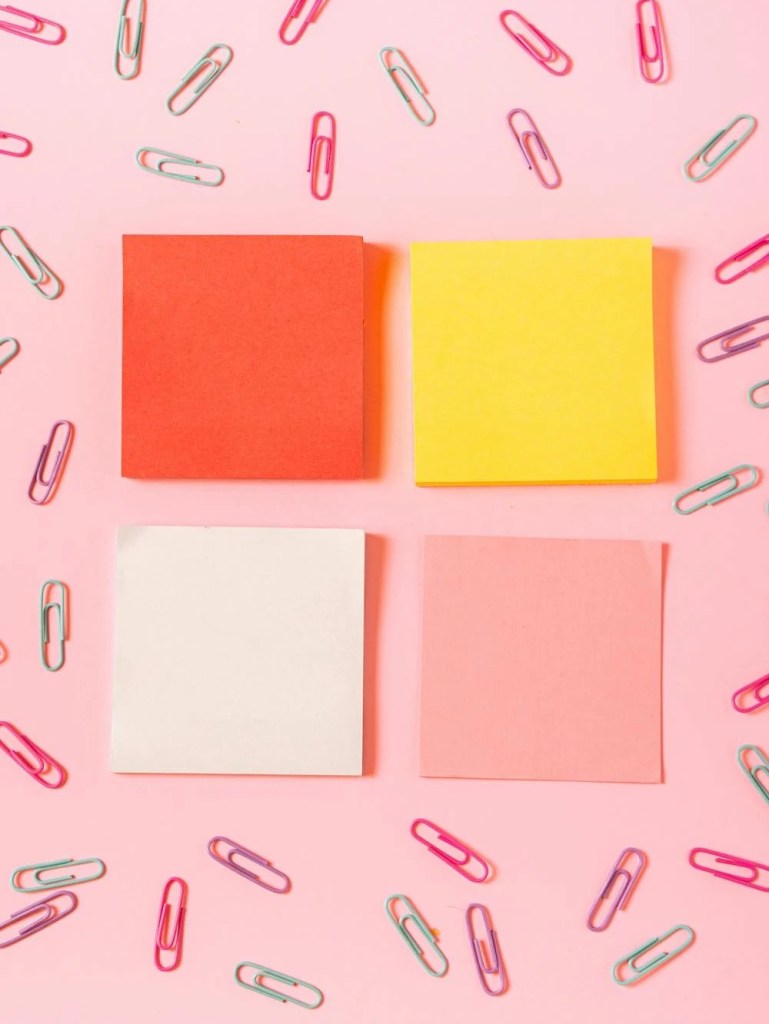
5. Office Supplies:

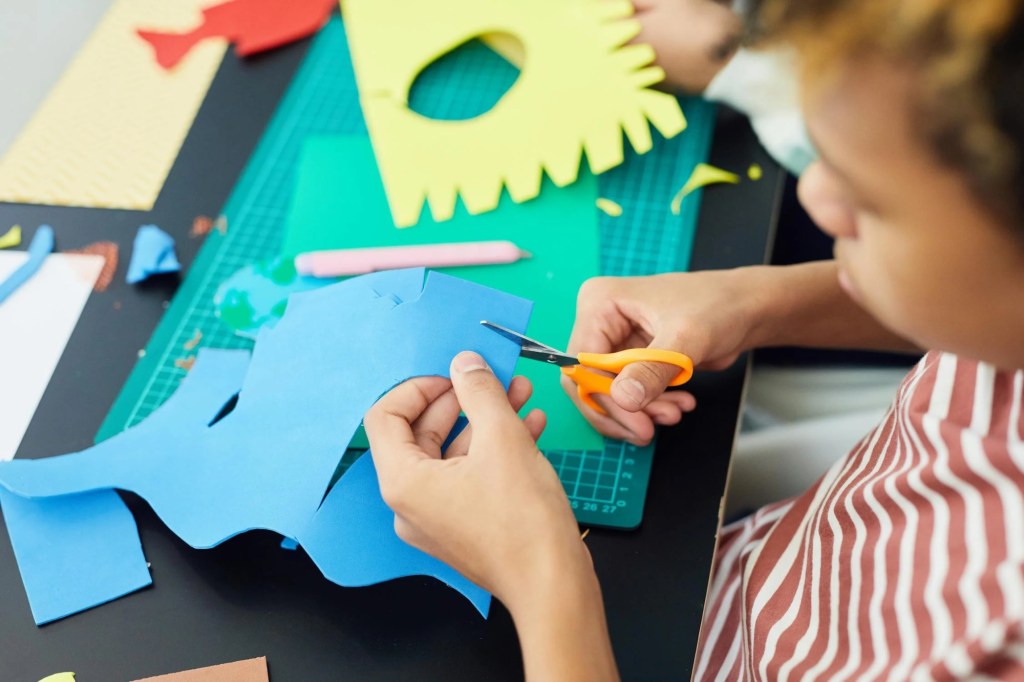
  1. Scrap Paper from Old Office Printing (can be used for drawing or cutting shapes)
  2. Old Postcards (used in collage or as greeting cards)
  3. Paper Clips (can be used to make sculptures or other crafts)
  4. Rubber Bands (can be used for weaving or creating shapes)
  5. Binder Clips (for unique 3D projects)
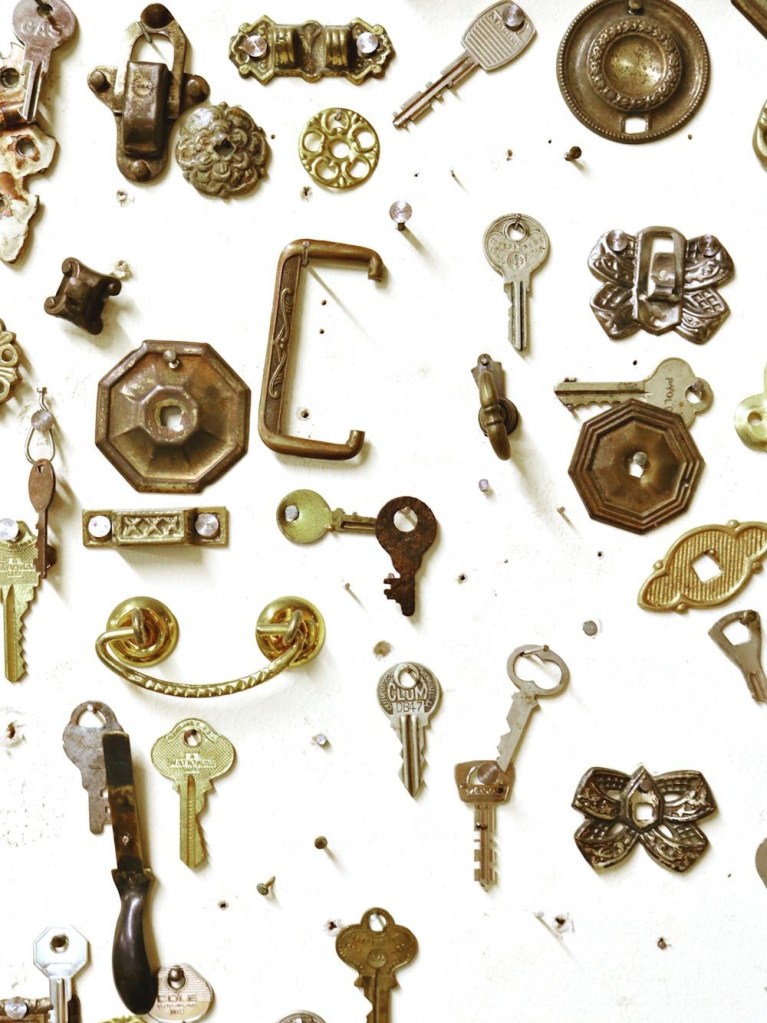
6. Found Objects:

  1. Bottle Caps (great for making jewelry or 3D artwork)
  2. Buttons (from old clothing or spare button jars)
  3. String or Yarn (leftover from other projects or items you no longer need)
  4. Corks (can be used for stamps, cork boats, or even building materials)
  5. Keys (old or spare keys can be repurposed for jewelry or art)
  6. Broken Jewelry (for upcycling or adding to mixed-media projects)

7. Old Toys or Small Items:

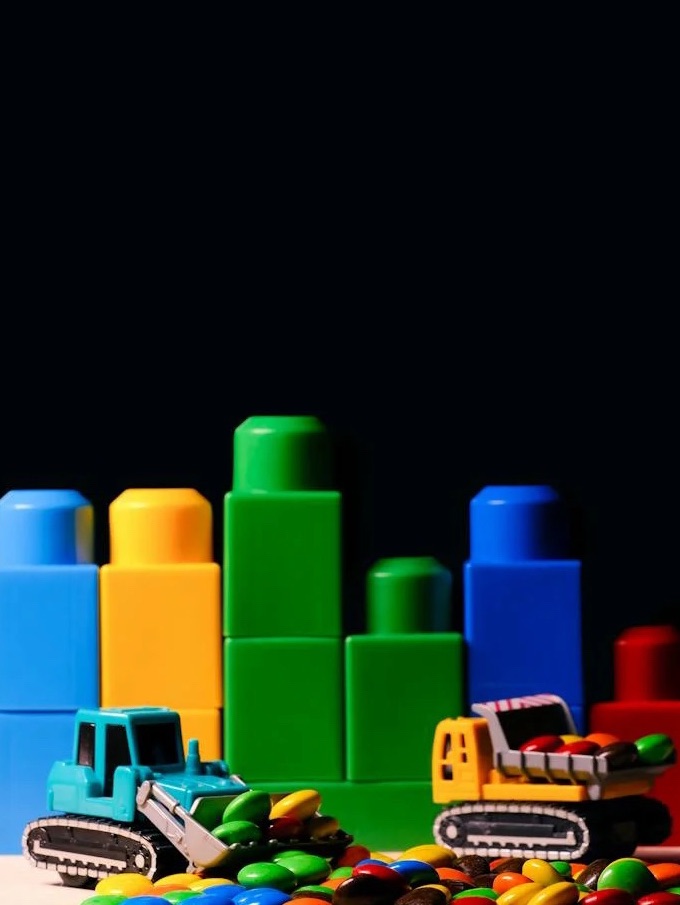
  1. Plastic Figurines or Small Toys (can be painted or repurposed for craft projects)
  2. Legos (great for building or creating 3D art)
  3. Old Puzzle Pieces (can be painted or used in collages)
Posted in Printables

Layered Paper Valentines Cake Template

Are you looking for a unique and personalized way to say “I love you” this Valentine’s Day? Look no further than a Layered Paper Valentine’s Cake! This creative, DIY paper craft is a fun way to show someone you care, and it’s sure to stand out among the usual store-bought cards. With its colorful layers, intricate designs, and a sweet message, this Valentine’s Day card will leave a lasting impression. In this post, we’ll guide you through how to create your own Layered Paper Valentine’s Cake Template step-by-step, along with some pro tips for making your card extra special.

What You’ll Need to Make a Layered Paper Valentine’s Cake

Before we dive into the process, let’s gather all the materials you’ll need for your layered cake card:

  • Colored cardstock (red, pink, white, and any other colors you want for the cake layers)
  • Crafting scissors or a precision cutting tool
  • Glue stick or double-sided tape (for assembling the layers)
  • Embellishments like glitter, stickers, or rhinestones (optional for extra sparkles)

Step-by-Step Guide to Create Your Layered Paper Valentine’s Cake

1. Cut Out Your Cake Layers

Start by cutting several layers of cardstock in different colors using my template.

2. Stack the Layers

Using your glue stick or double-sided tape, carefully stack each layer. Pro Tip: Use foam dots between the layers for a 3D effect, which adds dimension and makes the card feel extra special.

3. Create the Cake Top

Once the cake layers are stacked, add the frosting layer. Add the cake topper (template provided), cut confetti out of paper, or add any embellishments you like.

4. Add a Sweet Message

Now for the fun part: writing your Valentine’s message! Using a blank piece of white cardstock, write something like, “You’re the icing on my cake!” or “Sweetest Valentine, you make life sweeter.” You can also use stamps, stickers, or handwrite a personalized message to make the card extra meaningful.

5. Finishing Touches

Optional: To finish off your card, add some glitterrhinestones, or even a small ribbon on the side for a bit of extra flair. These little details will make your card stand out and feel truly special.

Why Choose a Layered Paper Valentine’s Cake Template?

This Layered Paper Valentine’s Cake Template is perfect for people who love crafting and want to give a personalized gift. It’s a creative way to show someone you care without breaking the bank, and it’s also a fantastic option for kids to make for friends or classmates. Plus, it’s an eco-friendly alternative to buying a traditional card! The beauty of this card is that you can get as creative as you want, with endless possibilities for colors, patterns, and decorations.

Whether you’re crafting for a loved one, a friend, or a family member, this layered cake card will show them just how much they mean to you. It’s the perfect way to bring a smile to anyone’s face this Valentine’s Day.

Get Your Free Layered Paper Valentine’s Cake Template!

To make things even easier, we’ve got a free downloadable template for you!

Simply print it out, trace the shapes onto your cardstock, and follow the step-by-step instructions to create your very own layered Valentine’s cake card. Download your free template and get started today!

Posted in Celebrations, Kid's Crafts

Hats Off to the New Year

Looking for a fun, easy craft for kids to enjoy this New Year’s Eve? A DIY top hat made from two toilet paper rolls and some paper is the perfect way to get little hands busy while adding a festive touch to your celebration. Here’s how to make a fun, no-fuss top hat that kids will love to create!

What You’ll Need:

  • 2 toilet paper rolls
  • Colorful construction paper (black, gold, or any fun color!)
  • Scissors
  • Glue or tape
  • Decorative extras like stickers, sequins, or ribbons (optional)

Steps:

  1. Prepare the Hat Base: Start by taking one toilet paper roll—this will form the main part of your child’s top hat. If you want to make the hat a little smaller or more fitted, simply pinch the edges of the roll to adjust the size. Kids can help with this part, which is easy and fun.
  2. Create the Brim: Take the second toilet roll and cut it into two pieces, each about 1 inch wide. Flatten these pieces to form the brim of the hat. You can tape or glue them in a circle shape around the base of the first roll. This will give the hat a fun, wide-brimmed look.
  3. Wrap with Paper: Once the structure is in place, take the colorful construction paper and cut it to size. Wrap it around both the top and bottom of the rolls, covering the entire surface. Secure it with glue or tape. If you’re using black paper, this will give your hat a classic top-hat look!
  4. Decorate: This is the best part! Let kids get creative with stickers, sequins, glitter, or even a ribbon to give their hats a New Year’s sparkle. You could also add little stars, fireworks, or “2025” written on the hat to mark the occasion.

Now, your little ones have their very own festive top hats to wear while ringing in the New Year! It’s a great craft that’s simple, fun, and perfect for kids of all ages. Happy crafting!