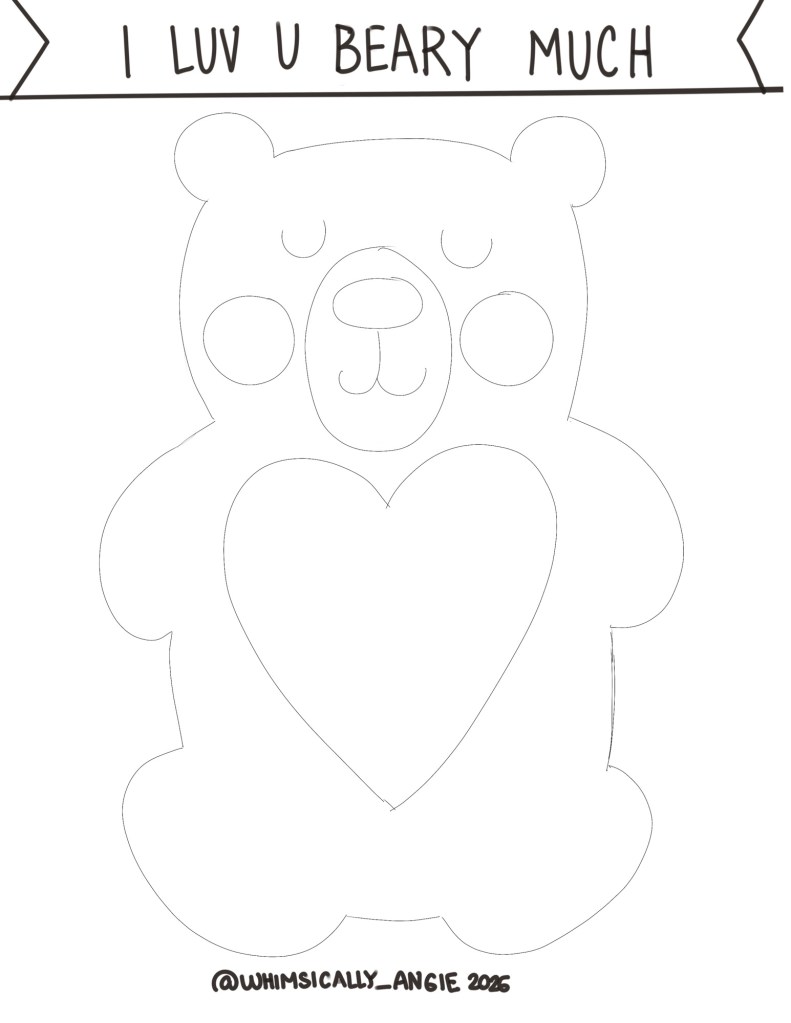
I Luv You BEARY Much Template
These cute turkey crafts are proof that the craft aisle is optional when you have cardboard and paper scraps.
Each one comes together with materials you already have, making this the perfect low prep Thanksgiving DIY for kids. It’s colorful, fun, and delightfully imperfect in a way that says, “Yes, we crafted today and yes, we used recycling to do it.” We’ll start off by keeping it simple…


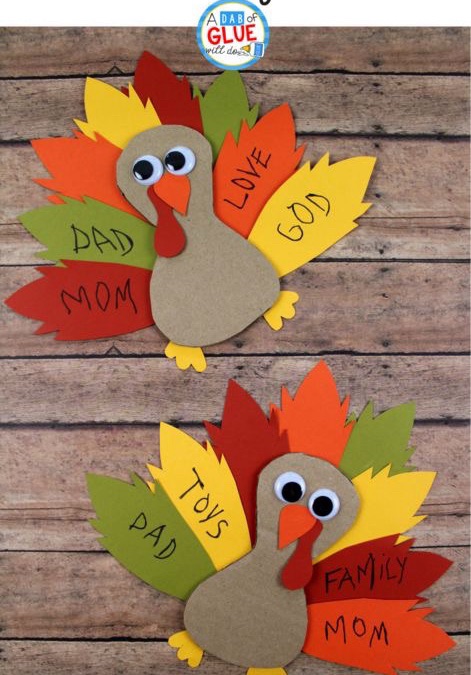
This craft turns a handful of paper feathers into a tiny gratitude time capsule your kids can actually handle without emotionally overheating. Just draw or glue together a turkey body, cut feathers from scrap paper (construction paper, old books, junk mail, whatever sparks joy), and let everyone write what they’re thankful for on each feather.
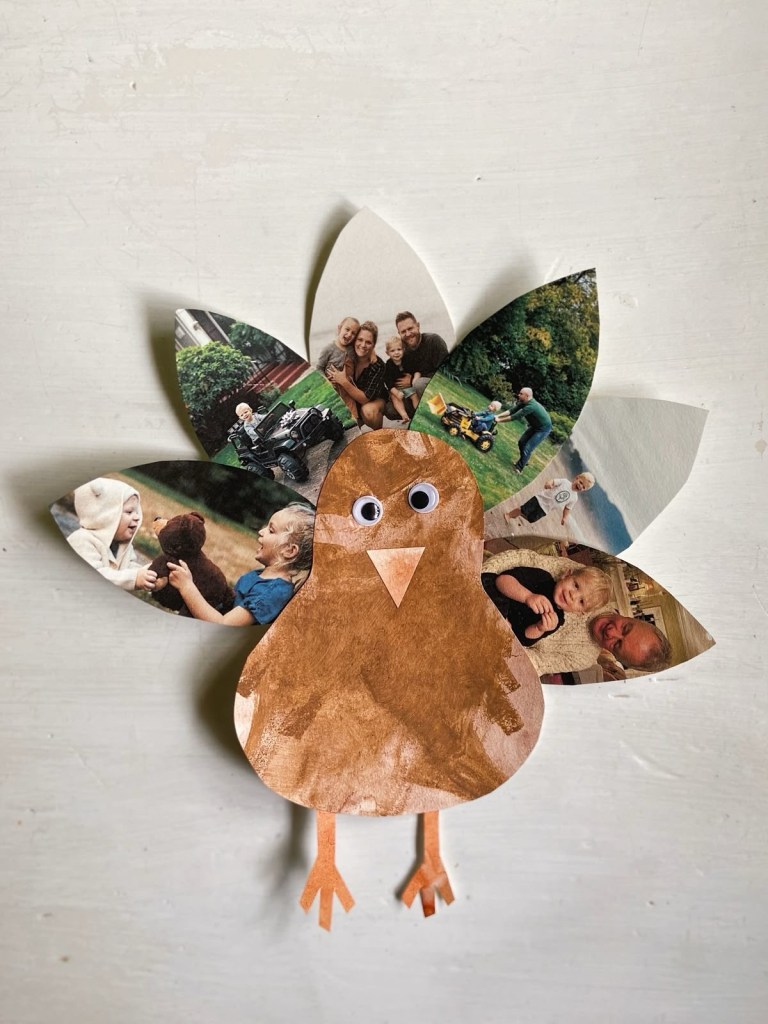
Another fun idea is to turn your thankful turkey into something even more memorable by swapping paper feathers for printed photos. Use pictures of family, pets, favorite places, or the everyday moments you actually want to glue to your heart (and your craft table).
Just put together a turkey body using whatever you have—cardboard, scrap paper, paint, you know the drill—then clip or glue photos into feather shapes and add them one by one. It’s sentimental, adorable, and wildly scroll-stopping because people love crafts that double as mini family albums.
Whatever option you choose, those Thankful Turkey ornaments aren’t about doing it right, they’re about doing it together.
The magic is in the conversation, the creativity, and the tiny hands helping glue feathers slightly crooked. Paper or photos, simple or extra, planned or winged — it all works, and it all matters.
What you make becomes the tradition, the memory, the moment you’ll look back on and smile at later. So choose the version that feels fun today, and know that no matter which one you try, it’s already enough.
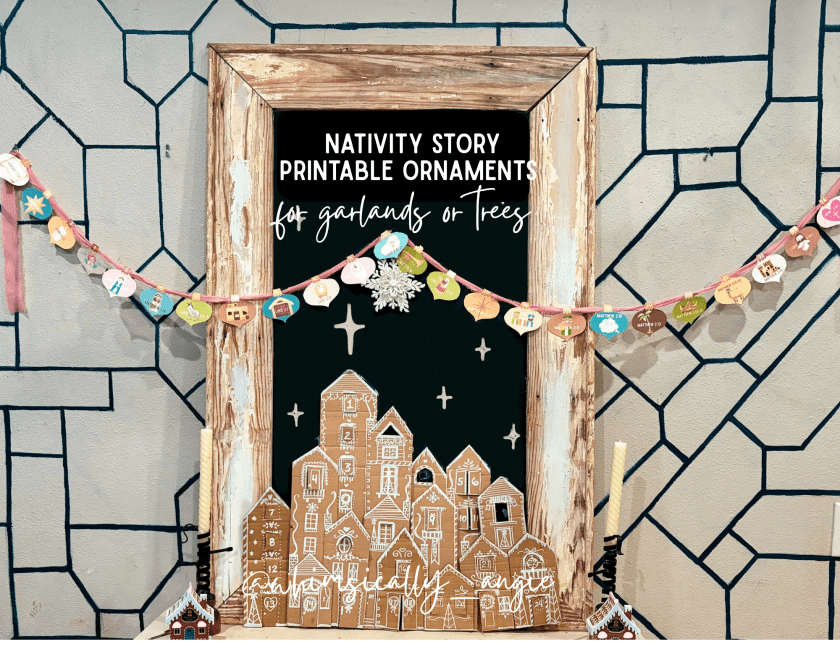
There’s something really grounding about slowing down with a simple Christmas craft, especially one that tells a story.
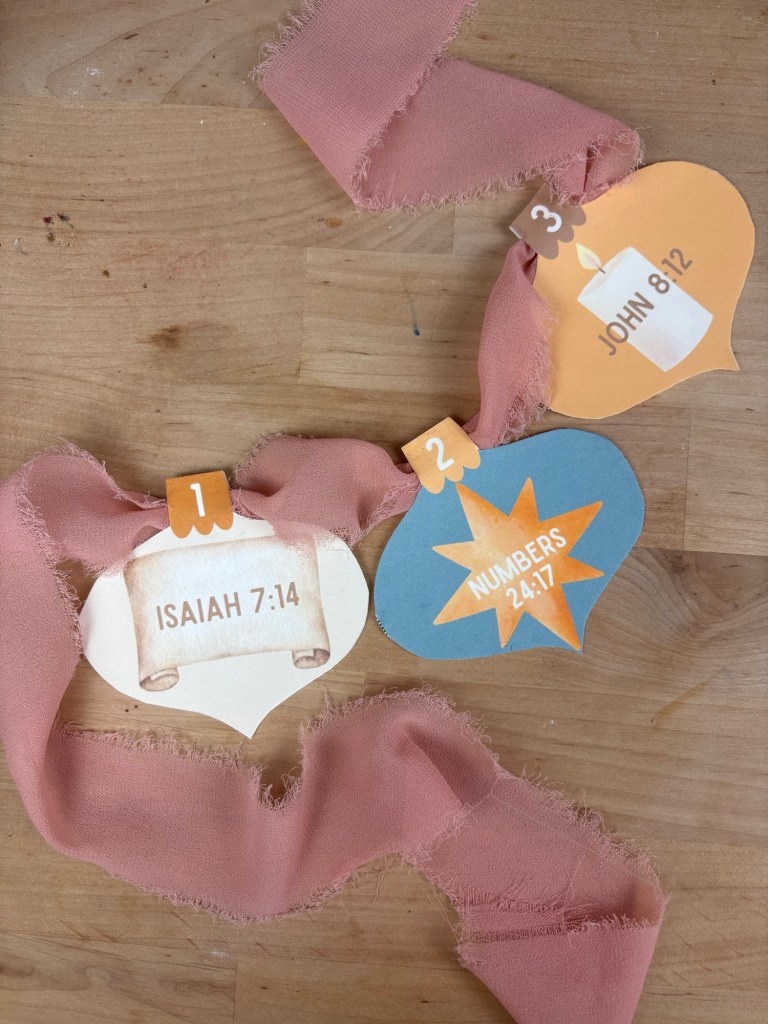
These printable nativity ornaments grew out of one of those “let’s make something meaningful but also easy” moments, using cardstock, scissors, and whatever string I could find in the junk drawer. They’re sweet, kid friendly, and just nostalgic enough to feel special without being fussy. If you’re looking for a calm, creative way to bring a little tradition into the season, this is such a lovely place to start.
Building a simple tradition around the nativity story is one of those things that doesn’t have to be big or elaborate to matter. Sitting together, crafting, and talking about each character in the Christmas story gives kids a gentle way to understand why we celebrate in the first place.
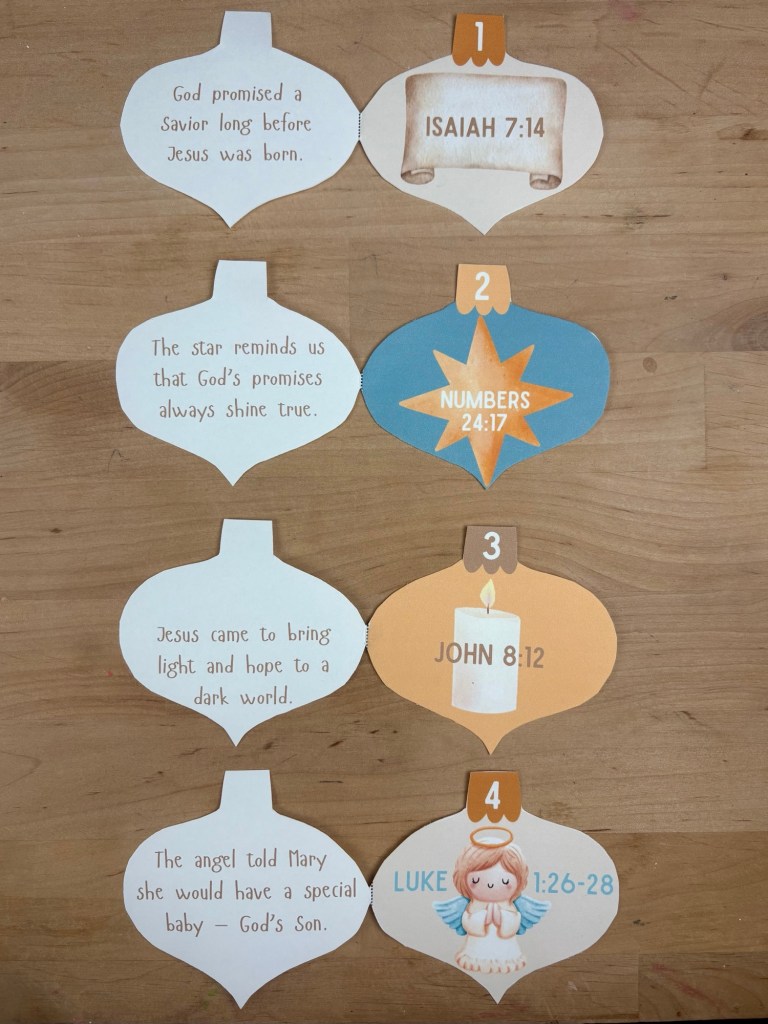
It becomes less about the rush of the season and more about creating a moment of connection—something quiet, hands-on, and centered on faith. Over time, these little rituals become the memories they carry with them, year after year, long after the glue sticks have dried.
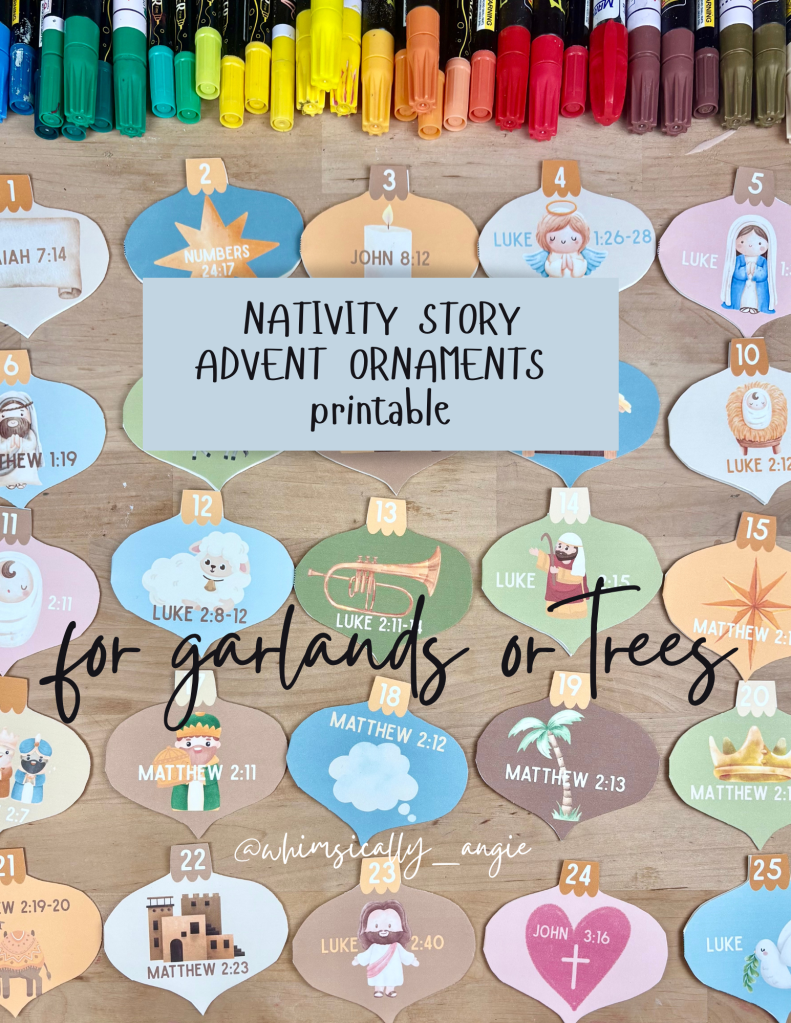
If you decide to grab the printable set on Etsy, it simply makes the whole process easier. Everything downloads instantly, the files stay saved in your account, and you can reprint them year after year as your kids grow. It also supports a real human (hi, it’s me) who designs these with moms and messy craft tables in mind. Etsy keeps the checkout simple and secure, and you get a polished, ready-to-use set without having to hunt for templates or reinvent the wheel during an already busy season.
🫶🏼
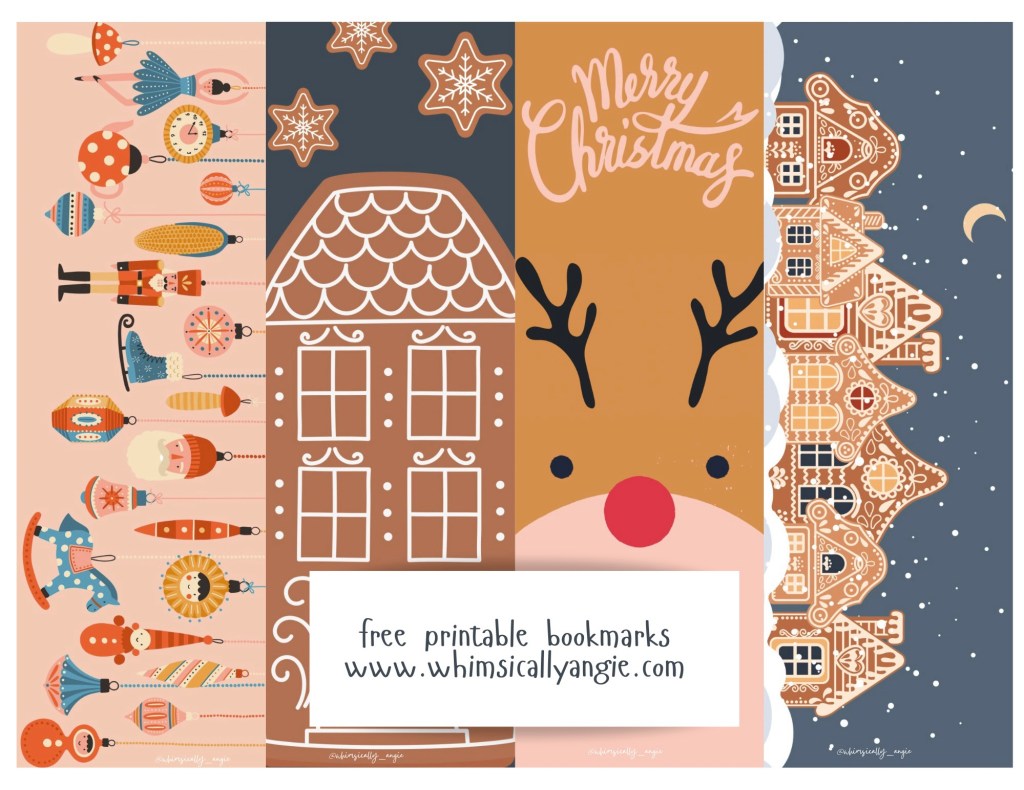
MY GIFT TO YOU FREE PRINTABLE CHRISTMAS BOOKMARKS
