It’s no secret that I love the holidays! Holiday decorating and crafting are my love language! You don’t have to be as over the top as me, but you can incorporate one or two of these ideas to create a special space for your little ones or yourself.
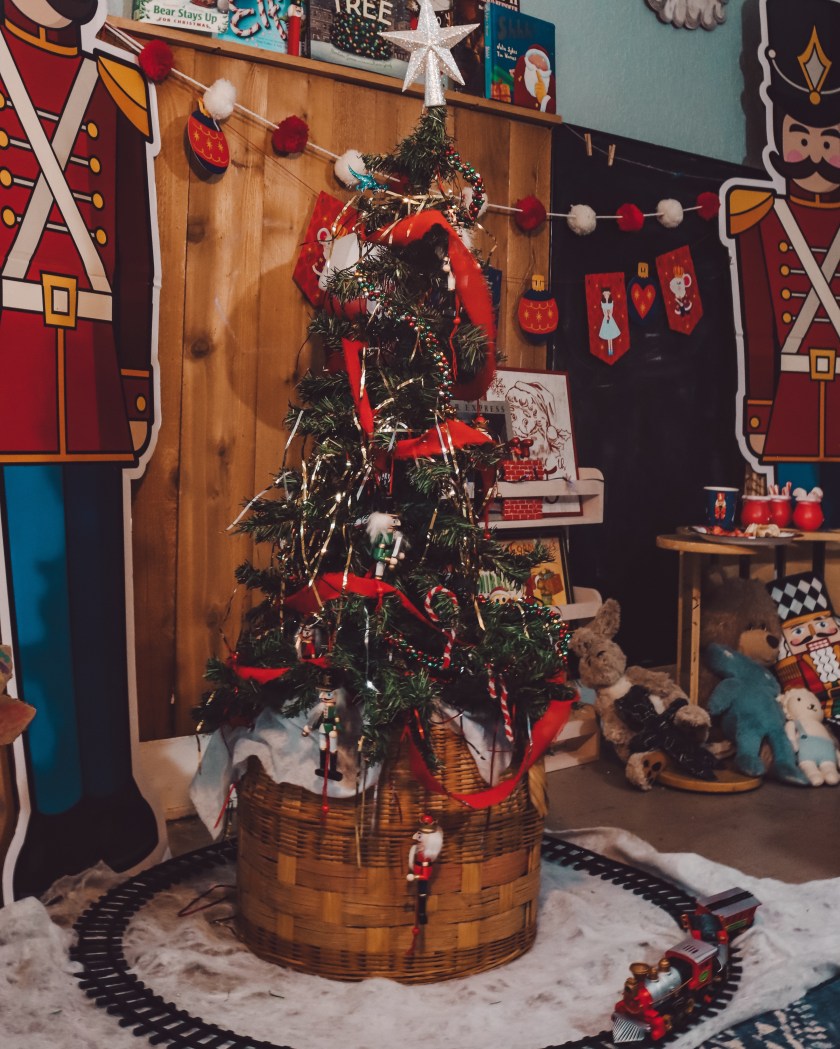
1. Add a train track under the tree: This is the boy’ absolute favorite thing in this space. Setting up a miniature train set that circles the base of the tree is a classic decoration that harks back to vintage holiday scenes and adds an interactive and whimsical element. For a vintage touch, look for trains with a retro design or vintage-style locomotives.
2. Setup A Storybook corner: Create a cozy corner with a comfortable pillows, cozy blankets, and classic Christmas storybooks. Include a traditional nutcracker, stuffed animals, or a vintage-style blanket for added whimsy.
3. Deck your tree out in tinsel: Embrace the retro charm of tinsel by adorning your Christmas tree with this shimmering decoration. Tinsel adds a touch of nostalgia, recalling the glamorous holiday trees of the mid-20th century.
4. Opt for traditional colors & themes: Choose traditional palette or red, green, gold, and / or silver. Incorporate classic elements like nutcrackers, Santa Claus, and peppermints. Consider using plaid or tartan patterns for tree skirts and stockings to further capture the timeless holiday spirit.
5. Include a display of old-fashioned candies and treats: Showcase old-fashioned candies in fun themed dishes or jars. Include traditional sweets like ribbon candy, candy canes, or, even, homemade cookies. This not only adds visual appeal but also invites a sensory experience and engages #corememories
These ideas collectively create a charming and nostalgic atmosphere in your Christmas space, fostering a sense of tradition and whimsy that makes the holiday season even more special.
What is your favorite way to decorate for Christmas ? Are you Team Trendy or Team Traditional?