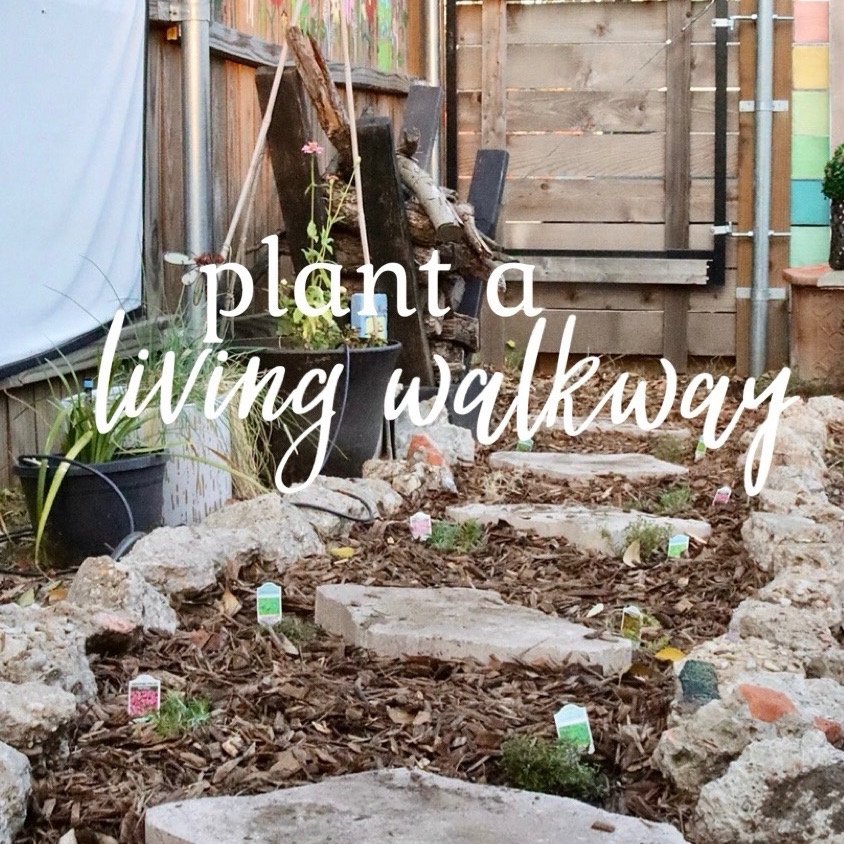
Are you looking to add a unique touch to your outdoor space? A living walkway made of low-growing plants is not only functional but also a stunning way to enhance your garden. Plus, if you’re using a pre-bought plant collection, it’s easier than ever to get started! Here’s how to create your own vibrant green path.
Why Choose a Living Walkway?
Living walkways are a fantastic alternative to traditional hardscaping. They provide a lush, natural look and can help with drainage. Plus, they’re environmentally friendly and can attract beneficial pollinators to your yard.
What You’ll Need
Using a pre-bought plant collection is a game changer! These collections are designed for easy planting and often include a mix of hardy, low-growing plants like creeping thyme, sedum, or moss. Before you begin, make sure you have:
Your chosen plant collection
Basic gardening tools (shovel, trowel, gloves)
Compost (optional, but recommended)
Steps to Create Your Living Walkway
Plan Your Path: Decide where you want your walkway to go. Consider the shape and how wide you’d like it to be. Use stakes or string to outline the area.
Prep the Area: Clear the space of grass, weeds, and any debris. Loosen the soil with a shovel or garden fork. If you’re using compost, mix it into the soil to help your plants thrive.
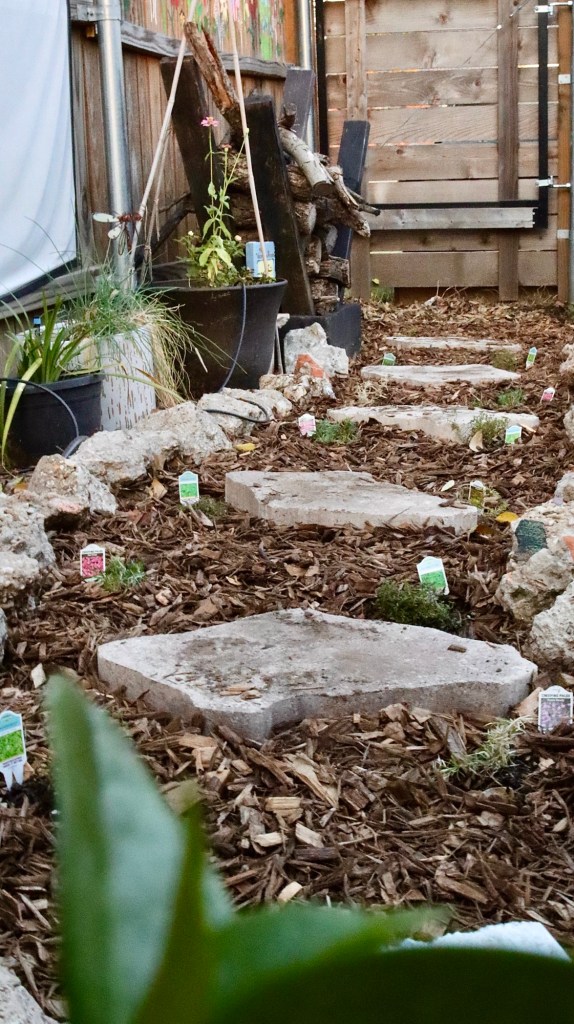
Lay Out the Plants: Take your plant collection and lay the plants out along your path without planting them yet. This way, you can see how they look together and adjust the spacing if needed.
Planting: Once you’re happy with the layout, start planting! Dig small holes for each plant, following the spacing instructions that came with your collection. Gently place each plant in its hole and cover the roots with soil.
Watering: After planting, give your new walkway a good soak. Watering helps settle the soil around the roots and reduces transplant shock.
Maintenance: While living walkways are generally low-maintenance, keep an eye on them. Trim back any plants that spread too much and remove any weeds that pop up. Regular watering, especially during dry spells, will also help your plants establish.
Enjoy Your New Walkway!
Once your plants are established, you’ll have a beautiful, green path that adds character to your garden. It’s a fantastic way to create a more inviting outdoor space while enjoying the benefits of a natural landscape.
So, roll up your sleeves, get planting, and watch your living walkway flourish! Your garden will thank you for it!
Elevate Your Halloween Decor with these fun DIY Decor Ideas Using Candlesticks.
As spooky season approaches, candlesticks become more than just Halloween décor—they’re versatile tools for crafting eerie atmospheres and unique party experiences. Transform candlesticks into eerie table centerpieces by topping them with one of these seven ideas. Candlesticks can serve as quirky stands for all sorts of things, from, small pumpkins or ghoulish treats. Embrace their adaptability and let your imagination run wild to enhance your Halloween festivities with these creative alternatives!
This post features several affiliate links, meaning I’ll earn a small commission at no cost to you, if you purchase through these links.
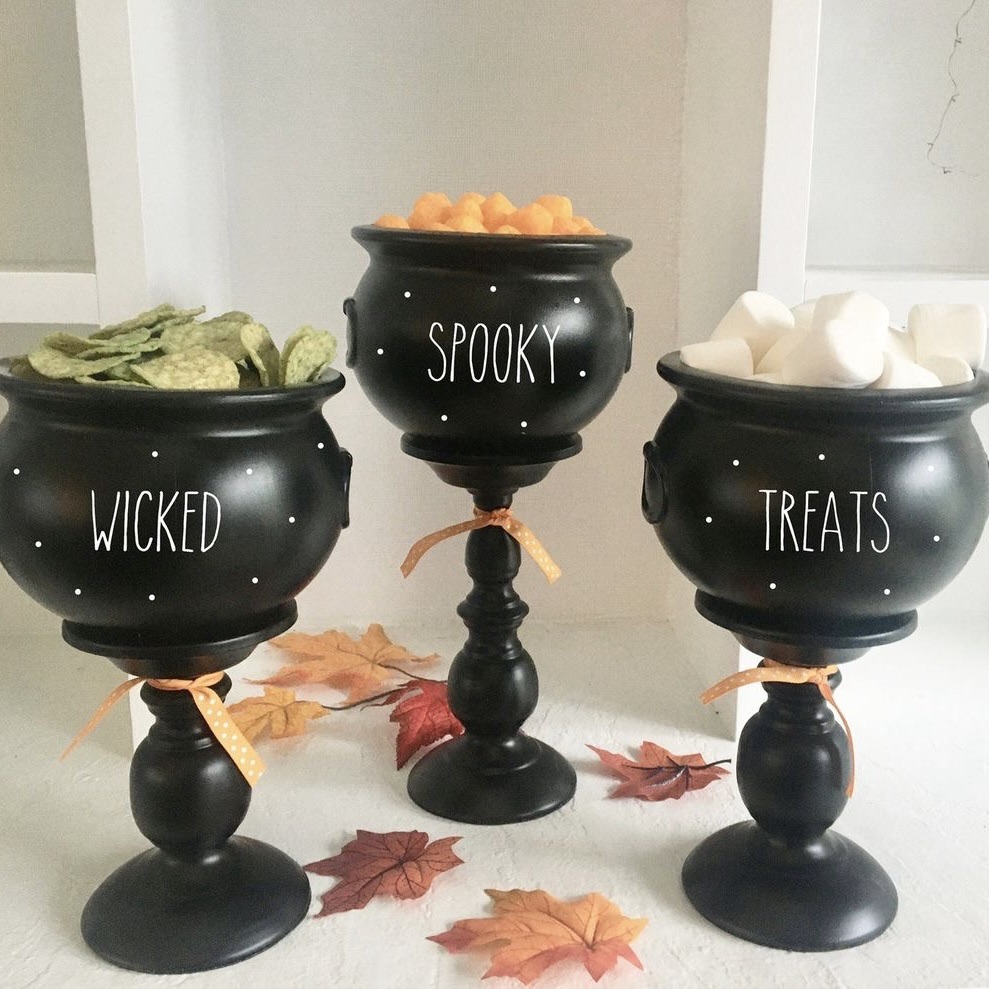
1. Cauldrons
Elevate your Halloween spread by using mini cauldrons as snack holders atop your candlesticks. These whimsical, witchy vessels not only add a spellbinding touch to your table but also provide a fun and functional way to serve treats. Simply place a mini cauldron on the candlestick and fill it with popcorn, candy corn, or spooky nuts. The combination of the elegant candlestick base and the playful cauldron creates a charming contrast that enhances your Halloween décor while keeping snacks easily accessible and delightfully themed.
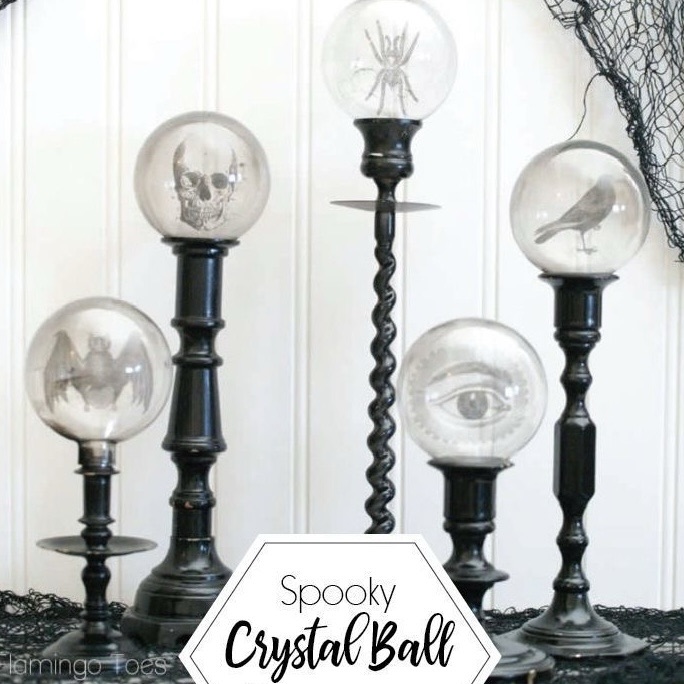
Create a bewitching effect by placing clear ornaments on your candlesticks and filling them with paper shadows. Cut out intricate, spooky silhouettes like bats, witches, or haunted houses from black paper, and arrange them inside the ornaments. When illuminated, these paper shadows cast eerie, dancing shapes, enhancing the mystique of your Halloween display. The combination of the candlestick’s elegant base and the haunting paper scenes inside the ornaments makes for a mesmerizing decoration that adds a touch of gothic charm and shadowy intrigue to your spooky season décor.
Small spooky trinkets (e.g., miniature skulls, fake spiders)
Glue
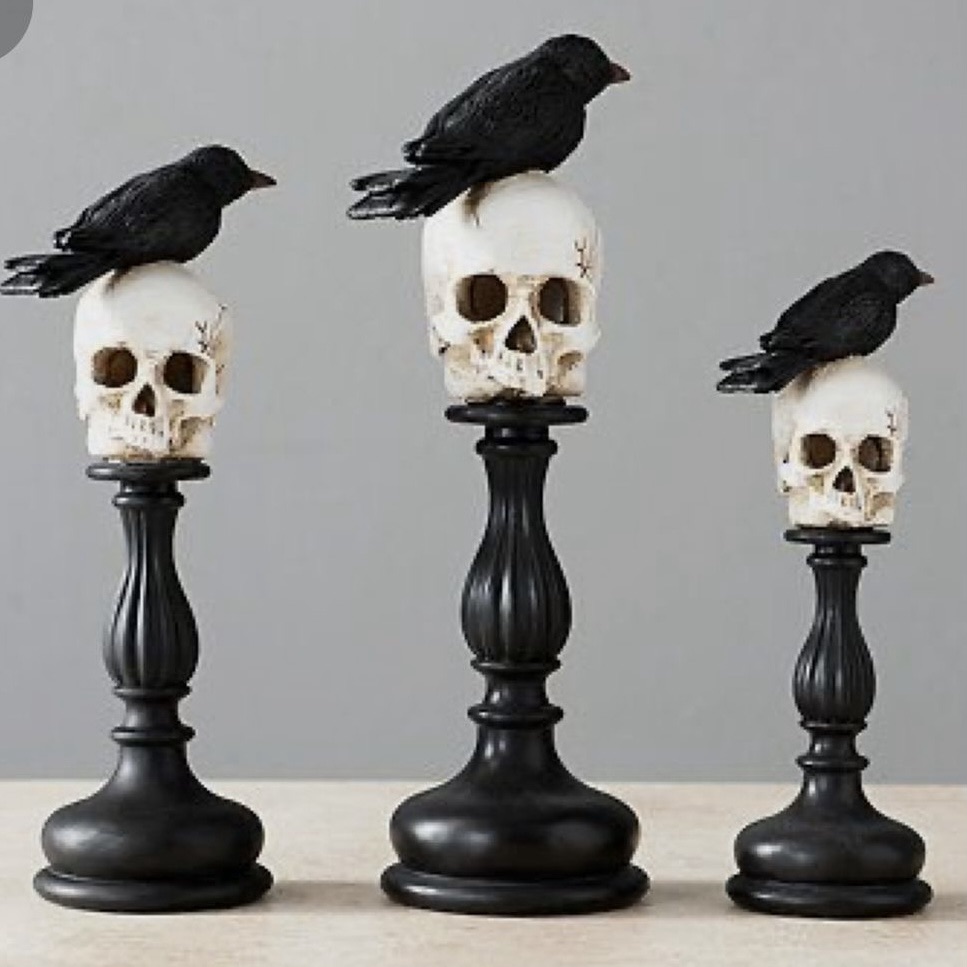
3. Skulls
Transform your Halloween display by using faux skulls as unexpected toppers for your candlesticks. Simply place a realistic-looking faux skull on top of each candlestick to create a chilling, gothic centerpiece. For an added layer of spookiness, you can adorn the skulls with eerie accessories like tiny witch hats or creepy cobwebs. This macabre twist not only enhances your Halloween ambiance but also serves as a striking conversation piece, blending the elegance of candlesticks with the haunting allure of skeletal decorations.
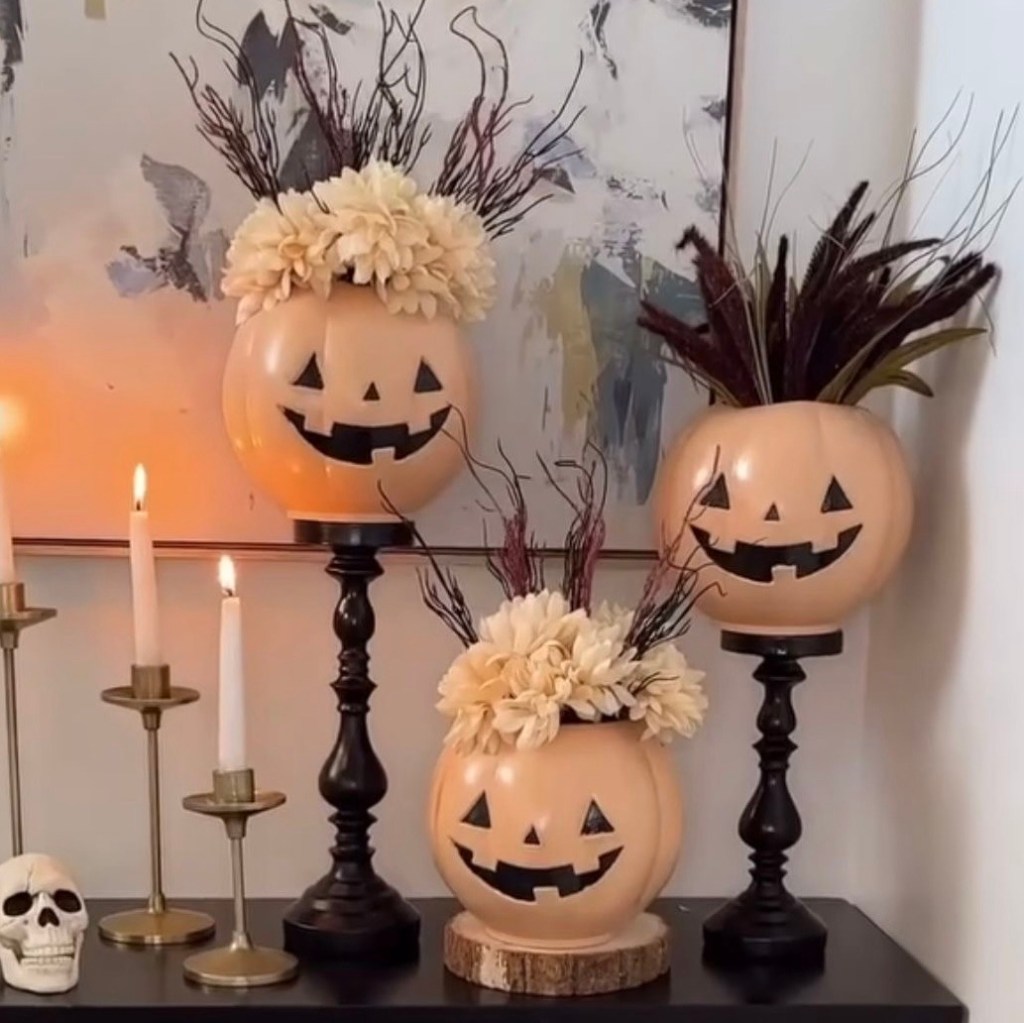
Brighten your Halloween décor by turning your candlesticks into whimsical floral displays with the addition of last year’s pumpkin buckets. Place these charming buckets atop your candlesticks and fill them with vibrant seasonal blooms or faux fall foliage. The contrast between the festive pumpkin buckets and the elegant candlestick bases creates a delightful and unexpected centerpiece that adds a splash of color and fun to your Halloween celebrations. This playful touch combines the spirit of the season with a touch of floral elegance, making your décor both festive and inviting.
Materials Needed:
pumpkin buckets
Candlesticks
Seasonal blooms or faux fall foliage
Glue
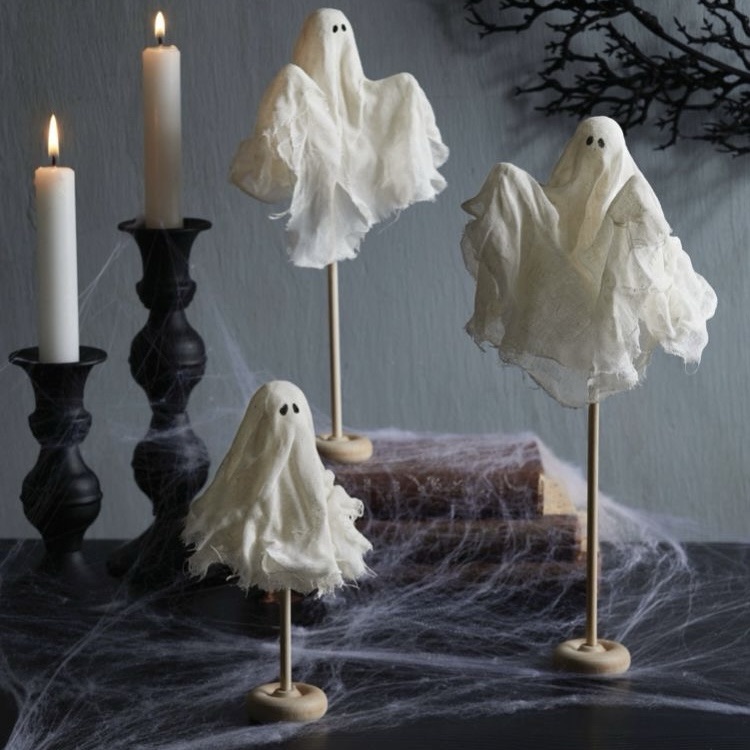
5. Cheesecloth Ghosts
Give your candlesticks a spooky makeover by topping them with cheesecloth ghosts. Drape white cheesecloth over the candlestick’s base, letting it cascade down and create the illusion of floating, ethereal spirits. For an extra ghostly effect, add small, round eyes or eerie facial expressions to the cheesecloth. This simple yet hauntingly effective decoration transforms your candlesticks into spectral sentinels, casting an eerie glow and adding a chilling charm to your Halloween décor. The delicate, gauzy texture of the cheesecloth enhances the ghostly atmosphere, perfect for setting a spooky mood at any Halloween gathering.
Materials Needed:
a package of cheesecloth
wire
liquid starch
scissors
a medium bowl
wax or freezer paper to cover your work surface
things from around the house to build the ghosts on
Turn your candlesticks into enchanting witch hat stands to add a touch of magic to your Halloween décor. Simply place small witch hats on top of each candlestick, allowing the pointed hats to perch elegantly and create a whimsical display. For extra flair, you can decorate the hats with glitter, feathers, or mini broomsticks. This clever transformation combines the elegance of the candlestick with the playful charm of witch hats, making for a bewitching centerpiece that adds a touch of spellbinding fun to your Halloween festivities.
Glitter, feathers, or mini broomsticks (optional for decoration)
Glue
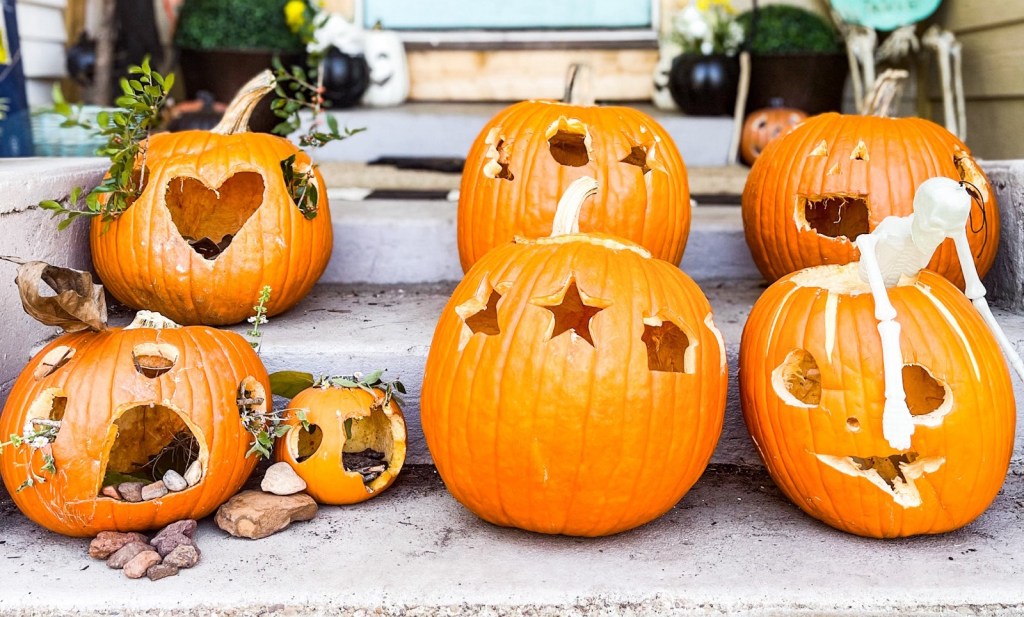
7. Mini Pumpkins
Enhance your Halloween décor by transforming your candlesticks into whimsical displays with mini pumpkins. Place mini pumpkins on the candlesticks and use a marker or paint to add a playful message. These charming pumpkins can be arranged in a row or grouped together, creating a fun and inviting centerpiece that adds a personalized touch to your Halloween celebrations. The combination of elegant candlesticks and cheerful, message-adorned pumpkins brings a delightful and spooky flair to your holiday décor, perfect for capturing the spirit of the season.