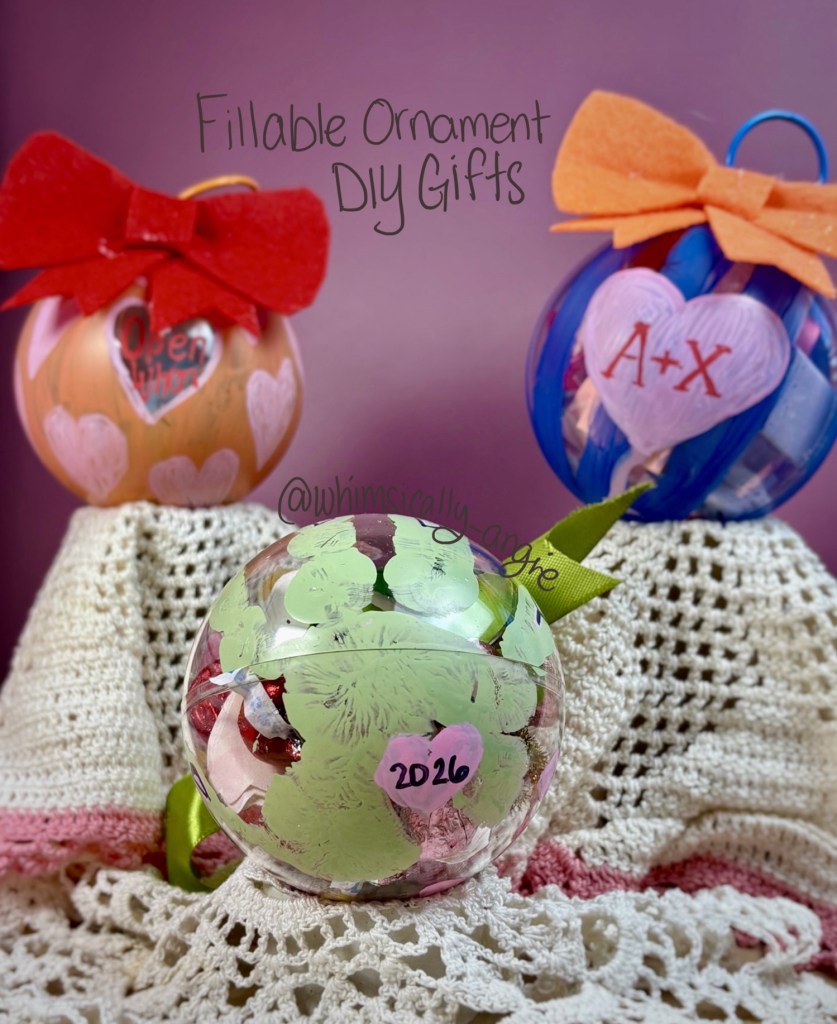
Fillable ornaments are one of my favorite ways to turn a simple gift into something personal and meaningful. Whether you’re tucking in a tiny note, a small surprise, or a keepsake meant to be saved, these ornament gift ideas are easy to customize and made to be treasured long after the season ends.
Handprint Keepsake Love Bomb
This love bomb is a simple, joy-filled gift made from little hands and big feelings. Filled with handwritten love notes, favorite candies, and a sprinkle of confetti, then wrapped in a handprint made by your child, it’s a playful way to package affection—one that’s meant to be opened slowly and kept close long after the treats are gone.

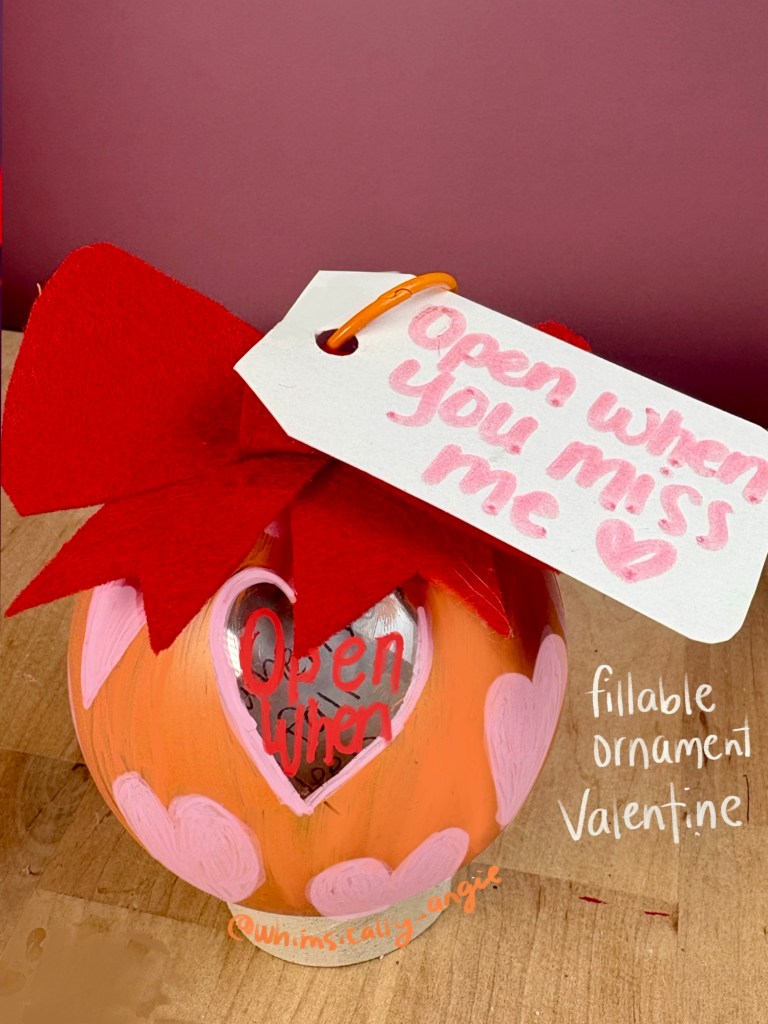
Open When…
These fillable ornaments are made to hold more than just little surprises—they’re filled with handwritten mini notes meant to be read and kept. A simple, thoughtful way to tuck words of love, encouragement, or shared memories into a keepsake that can be revisited again and again.
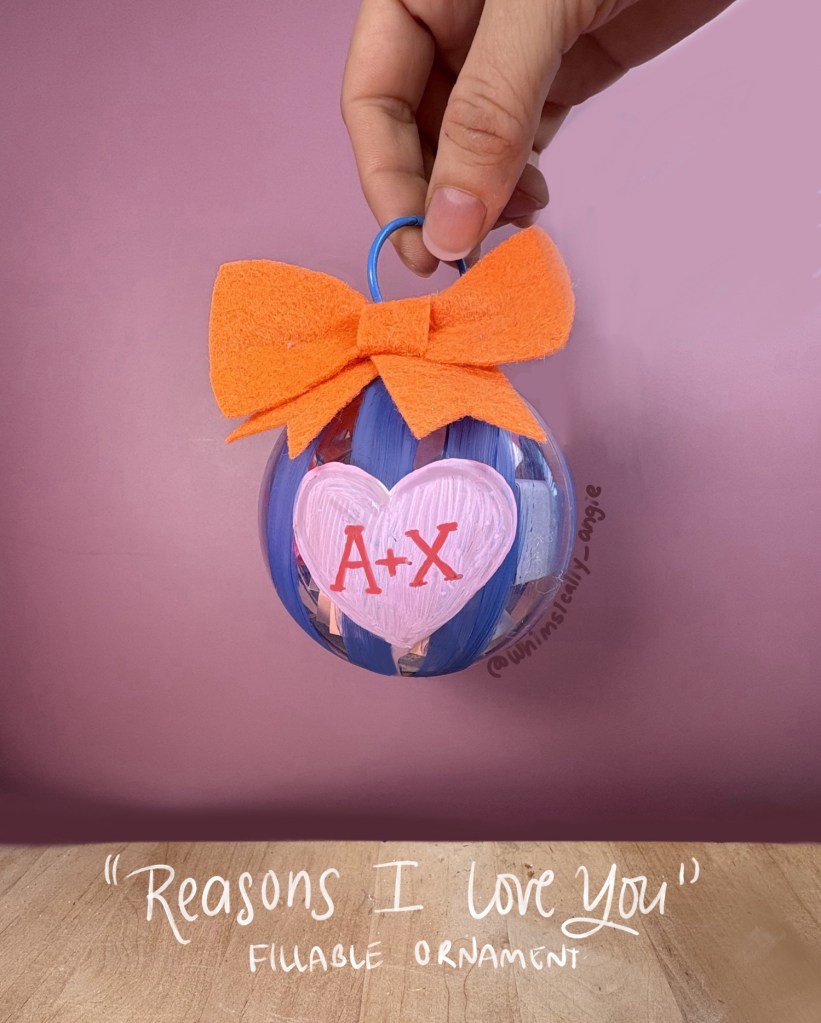
Reasons I Love You
Filled with handwritten reminders of why you love them. Each one shares a small reason, memory, or moment—creating a gift that feels personal, heartfelt, and meant to be opened slowly and treasured.
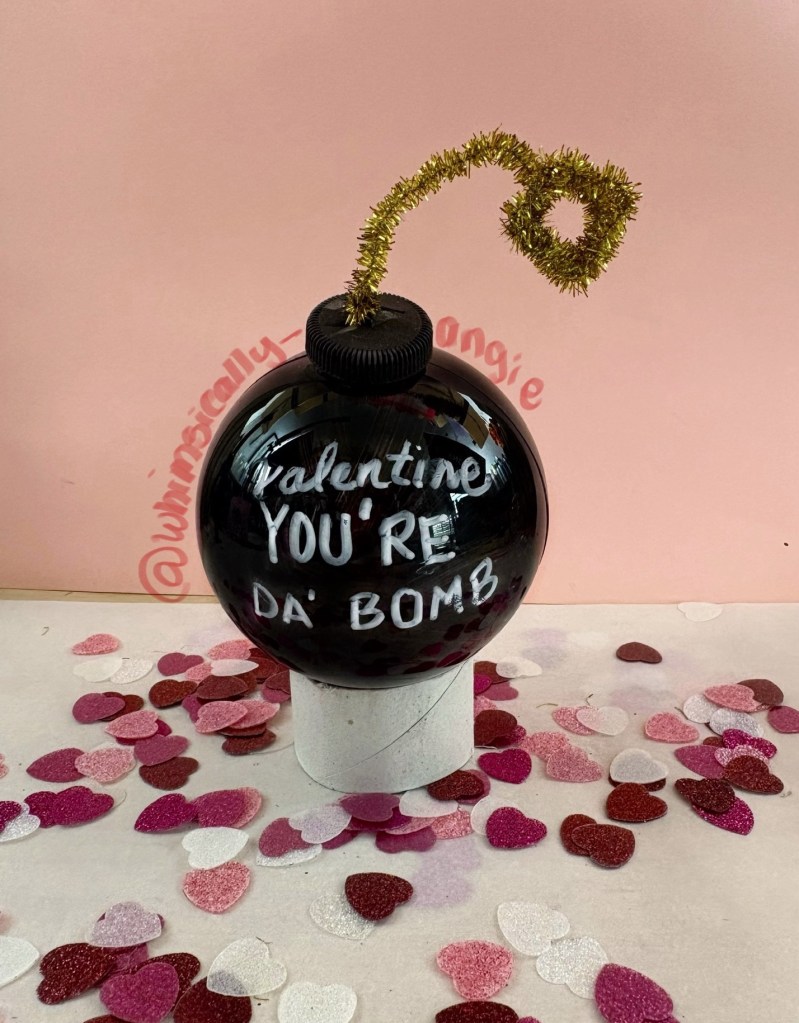
You’re Da Bomb
This “You’re da Bomb” gift is loud, fun, and full of love—painted black, packed with confetti, and made to make someone smile the second it’s opened. A little dramatic, a little messy, and totally celebratory, it’s the perfect way to say you’re kind of a big deal (and I adore you).
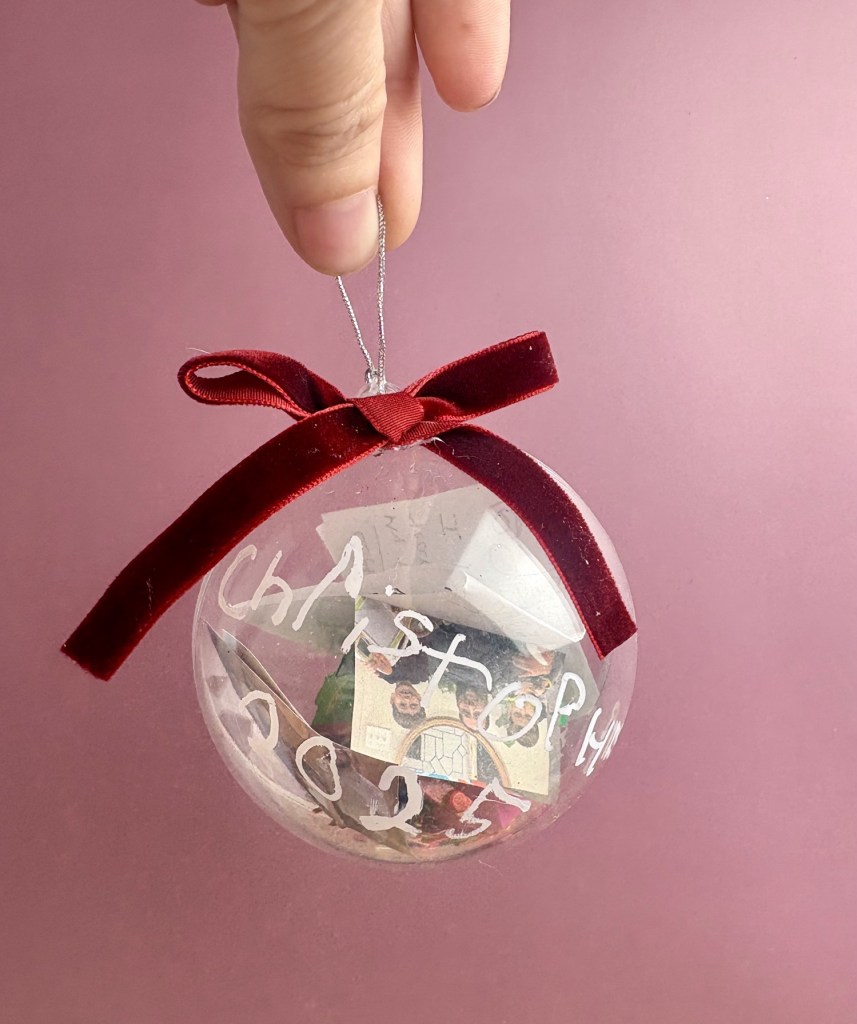
Time Capsule
A time capsule is a meaningful way to pause and capture life as it is right now. Filled together—with notes, memories, small keepsakes, or hopes for the future—it becomes a shared snapshot of this season, meant to be opened later and remembered with love.
Whether you choose paint, photos, notes, or simple keepsakes, the most meaningful gifts are the ones made with intention and love. These ideas are less about perfection and more about pausing to create something that captures this moment—something you’ll be glad you made when you look back later.
Nothing fancy is required, but if you want to see the supplies I reach for, they’re saved in my Amazon store.