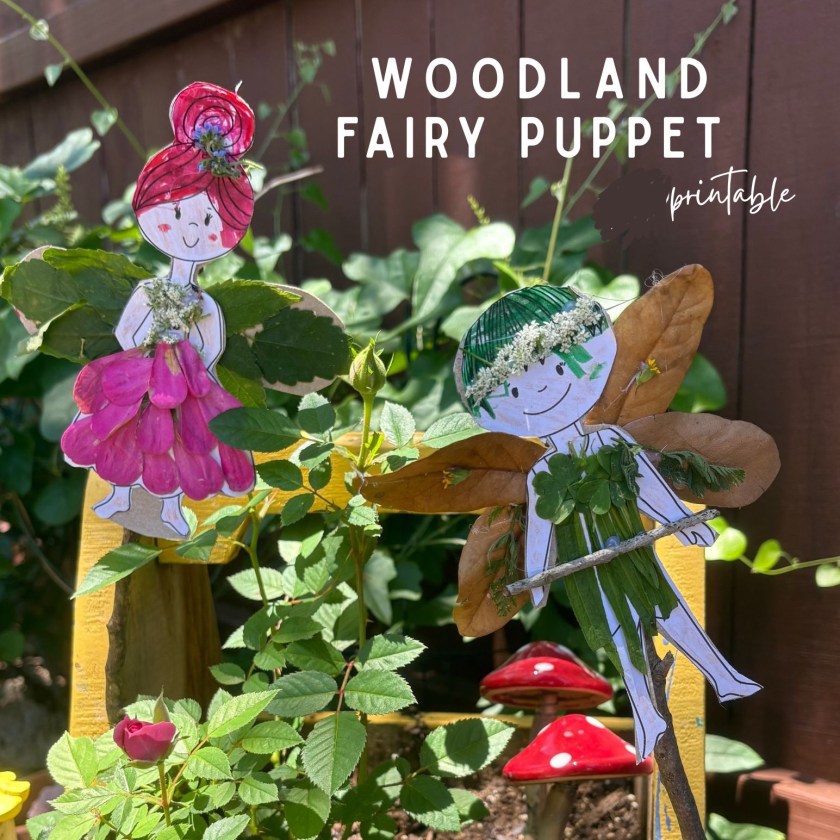
Kick off summer with a magical, nature-inspired craft your kids will love! This woodland fairy puppet is easy, creative, and perfect for outdoor-loving little ones. Inspired by my own fairy garden, this activity uses leaves, petals, and twigs—plus a printable I designed myself featuring both a boy and girl woodland fairy.
Find it in My Etsy Shop.
Why You’ll Love This Fairy Craft
- Includes a boy and girl fairy to choose from
- Great for kids of all ages
- Encourages imaginative play and connection with nature
- Minimal supplies, maximum creativity
- Ideal for fairy-themed birthdays, forest school, or rainy day fun
Materials You’ll Need
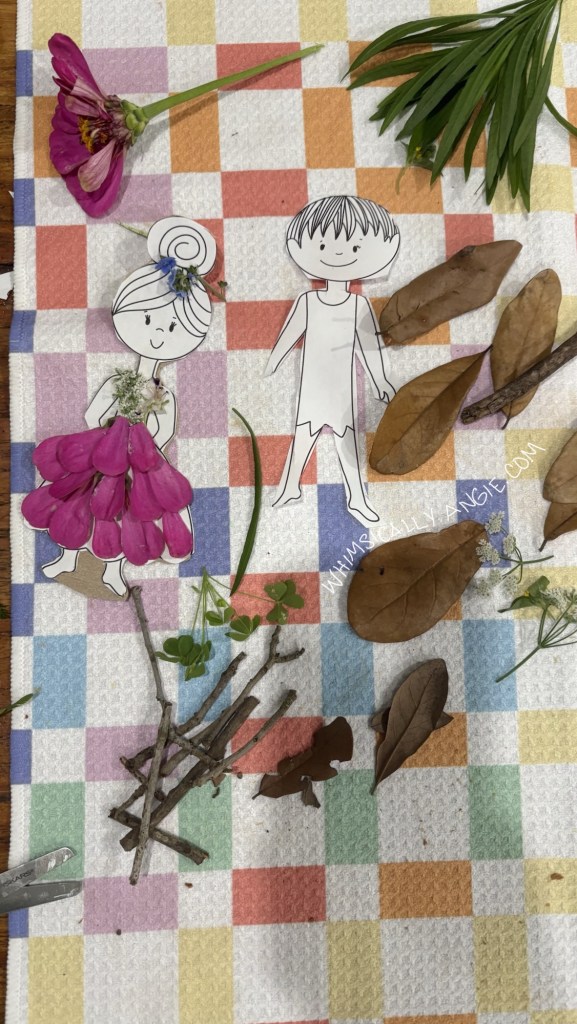
- My printable (includes both a boy and girl fairy)
- Thin cardboard (cereal boxes work great)
- Glue or glue stick
- Scissors
- Crayons or markers (optional for coloring your fairies)
- Natural decorations: leaves, flower petals, small twigs, moss, etc.
- A craft stick or natural twig
How to Make a Woodland Fairy Puppet
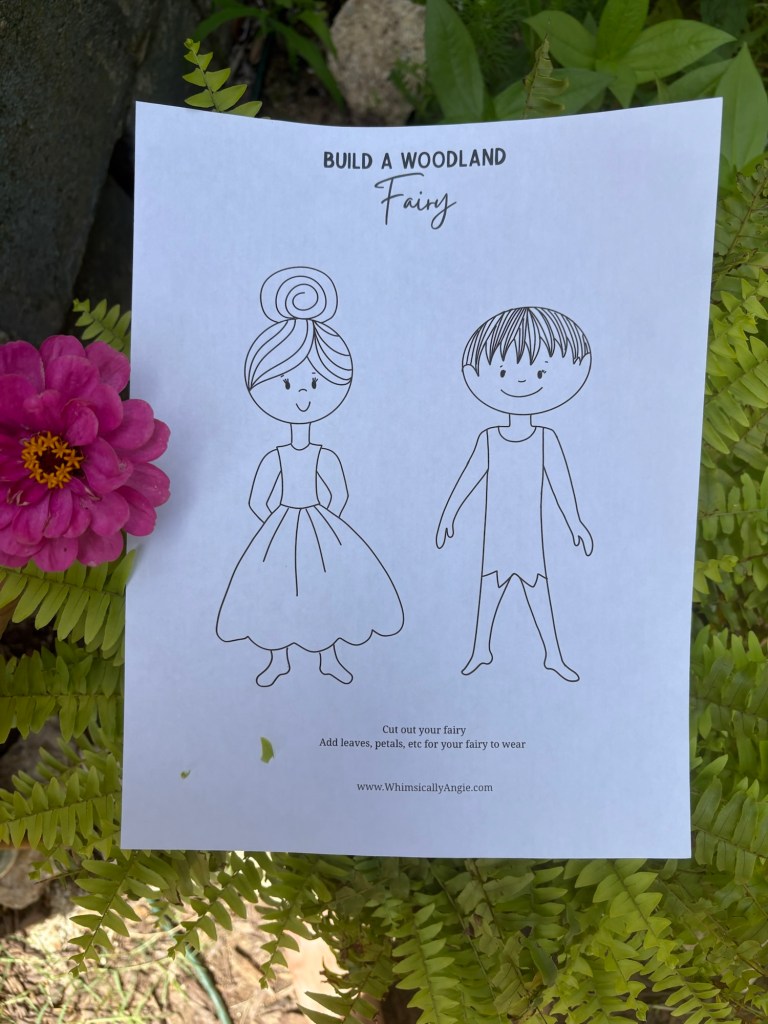
1. Download & Print the Fairies
Click below to get the printable, which includes both a boy and girl fairy design.
Print on regular paper or light cardstock.
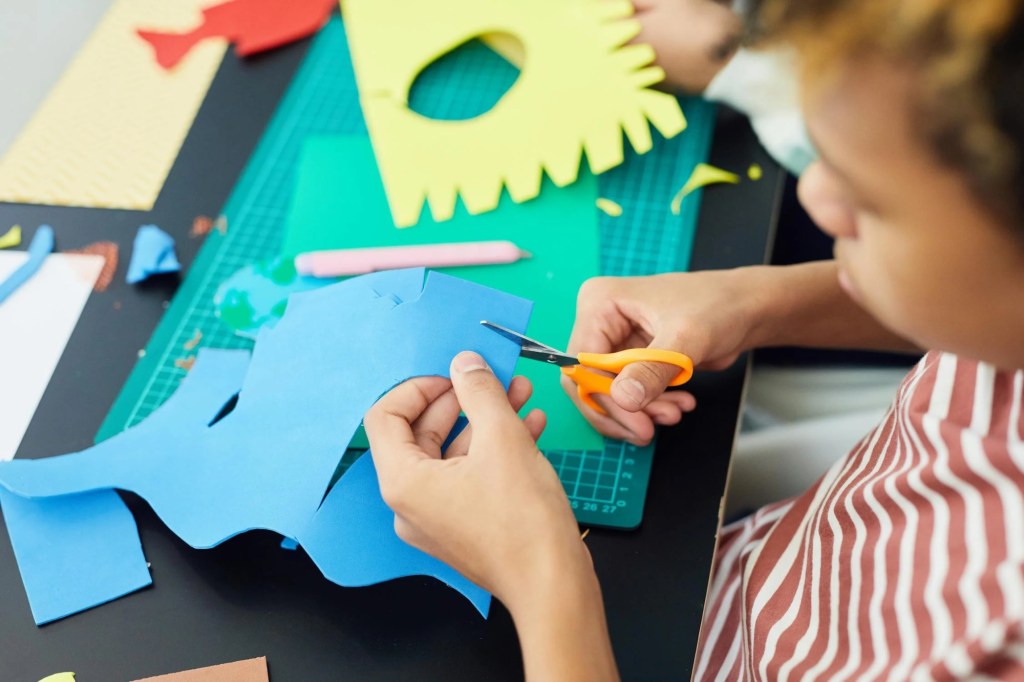
2. Cut Out Your Fairy
Choose your fairy (or do both!) and carefully cut them out.
3. Mount on Cardboard
Glue the fairy cut-out onto thin cardboard to make it sturdy. Let it dry for a few minutes.
4. Cut Again
Once dry, cut around the fairy again—this time cutting through the cardboard.
Tip: Let little ones do the paper cutting, then help with the cardboard if needed.
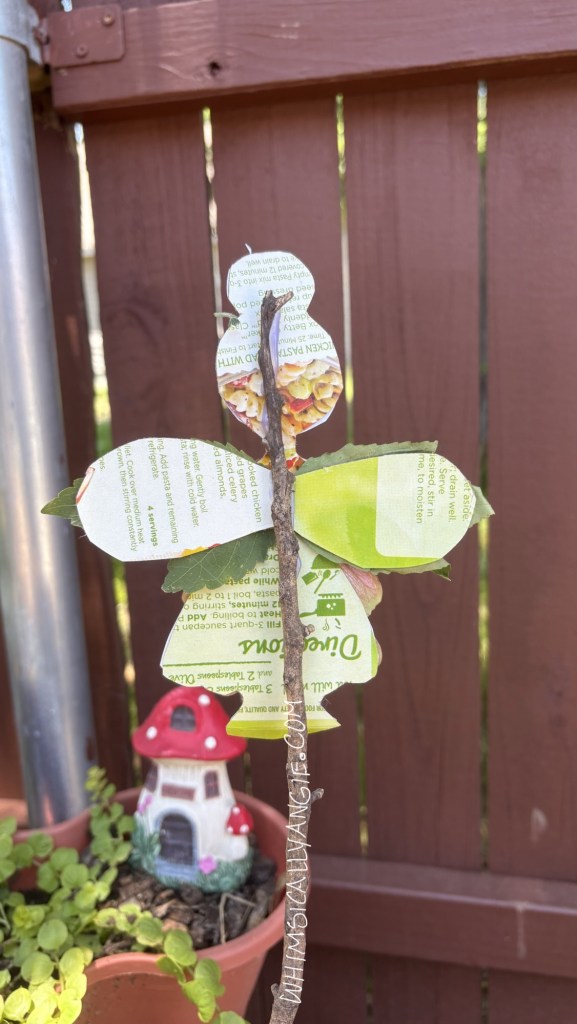
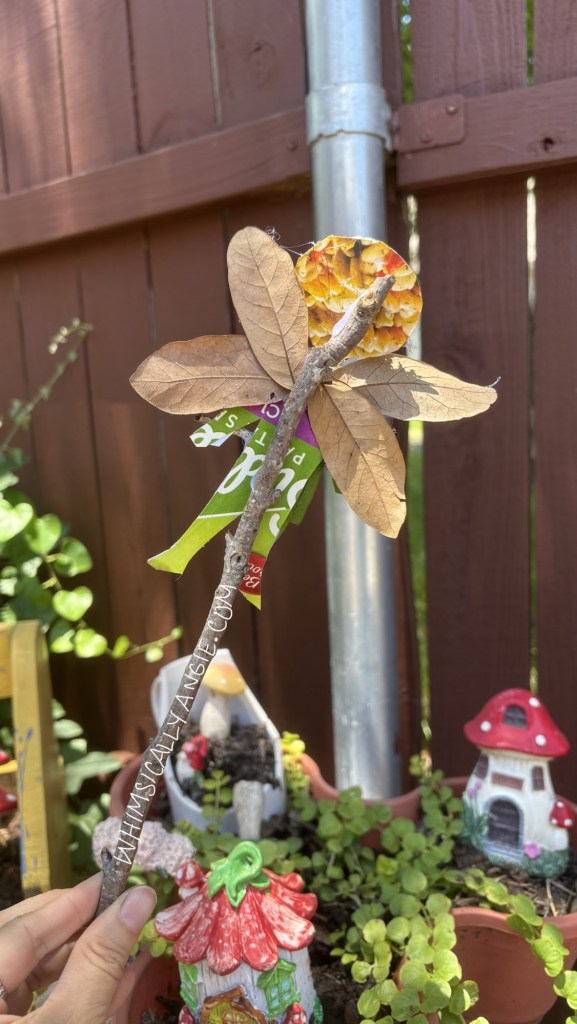
5. Decorate with Nature
Use leaves for wings, petals for clothes or hair, twigs for wands—get creative! Markers or crayons can be used to color your fairy before adding nature elements.
6. Add the Stick
Glue a stick to the back so your fairy becomes a puppet or wand.
7. Let It Dry
Once everything is glued and decorated, let it dry completely before play.
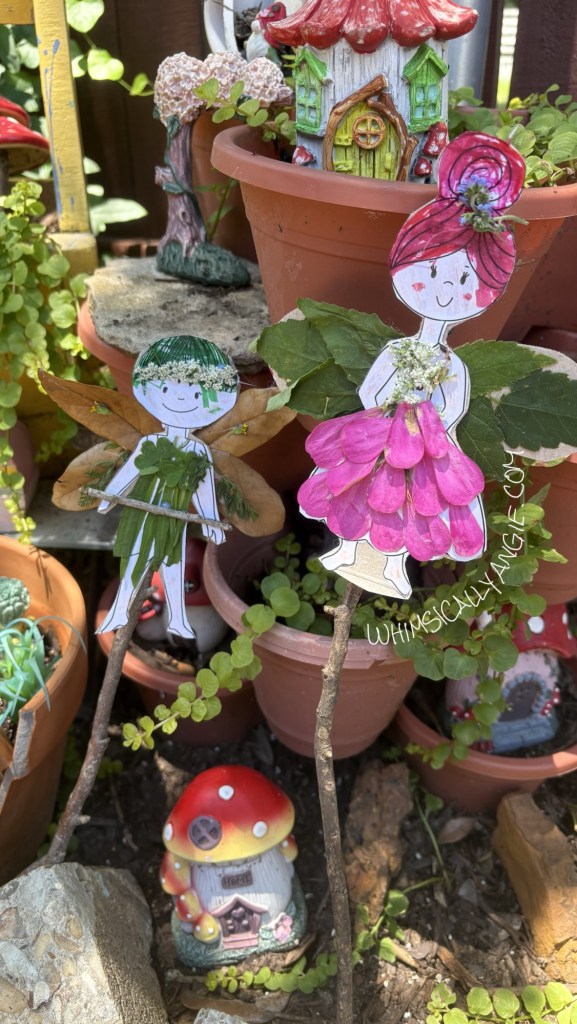
Ready for Fairy Adventures!
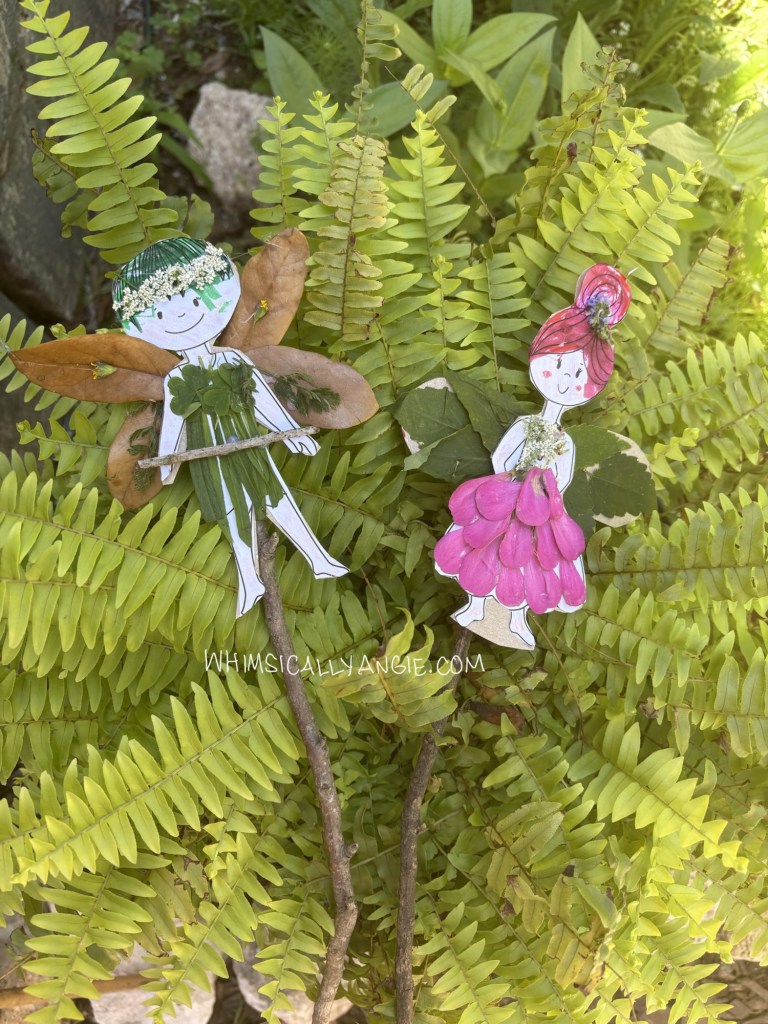
Now your woodland fairy puppet is ready for garden adventures, storytelling, or imaginative puppet shows. You can even create a fairy family or add them to your fairy garden décor!
This is a wonderful way to bring art, nature, and storytelling together—and it’s just as fun for parents as it is for kids.
Pin or Share This Craft!
If you loved this idea, pin it for later or share it with someone who loves fairies and fun outdoor crafts!