We’re taking our second summer road trip this week. We’re driving 10 hours with four kids to see my in-laws.
How do you maintain your sanity during those long hours on the road? Be prepared with entertainment and snacks, and be prepared to make frequent stops. Kids have short attention spans and small bladders. Plan as much of the trip as you can to give them (and you) breaks from the road.
1. Entertainment— drawing pads, iPads, their favorite toys. Start low-tech and move up to electronics as the trip goes on. Our car turns into a concert. For the most part, that tends to soothe my crew. My seven year old also likes to follow along the route with his iPad and announce where we are.
2. A fully stocked car— that includes snacks, blankets, toys, first aid kit, plastic bags & extra clothes (in case of spills or car sickness). Have everything you could need within reach and out of the trunk.
3. Frequent Stops— with toddlers, we count on stopping every 2-3 hours. I like to have a general plan that includes possible rest stops and when we’re going to eat. I tend to choose gas stations with restaurants, or chains that I am familiar with. They tend to have cleaner bathrooms. And, of course, we will always hit up a Bucee’s if it’s on our route.
What are some of your tips for the road? What’s the longest road trip you’ve ever taken? I’d love to know.
Valentine’s Day is the perfect occasion to create a warm, festive atmosphere in your home, and what better way to do that than by making your very own DIY Valentine’s backdrop? Whether you’re hosting a celebration, taking cute photos, or just want to add a little extra love to the room, this simple yet charming backdrop is both fun to create and budget-friendly. Here’s a step-by-step guide on how to make a beautiful heart-shaped backdrop using a sheet, a potato, and a toilet paper roll!
What You’ll Need:
A large white sheet (for your backdrop)
A potato (to carve stamps)
A toilet paper roll (for creating additional heart stamps)
Fabric paint (or washable paint if you’re using a regular sheet)
A paintbrush
Scissors
A marker or pen
A large plastic tray or paper plate (for paint)
Painter’s tape (optional, for hanging)
Step 1: Prepare the Surface
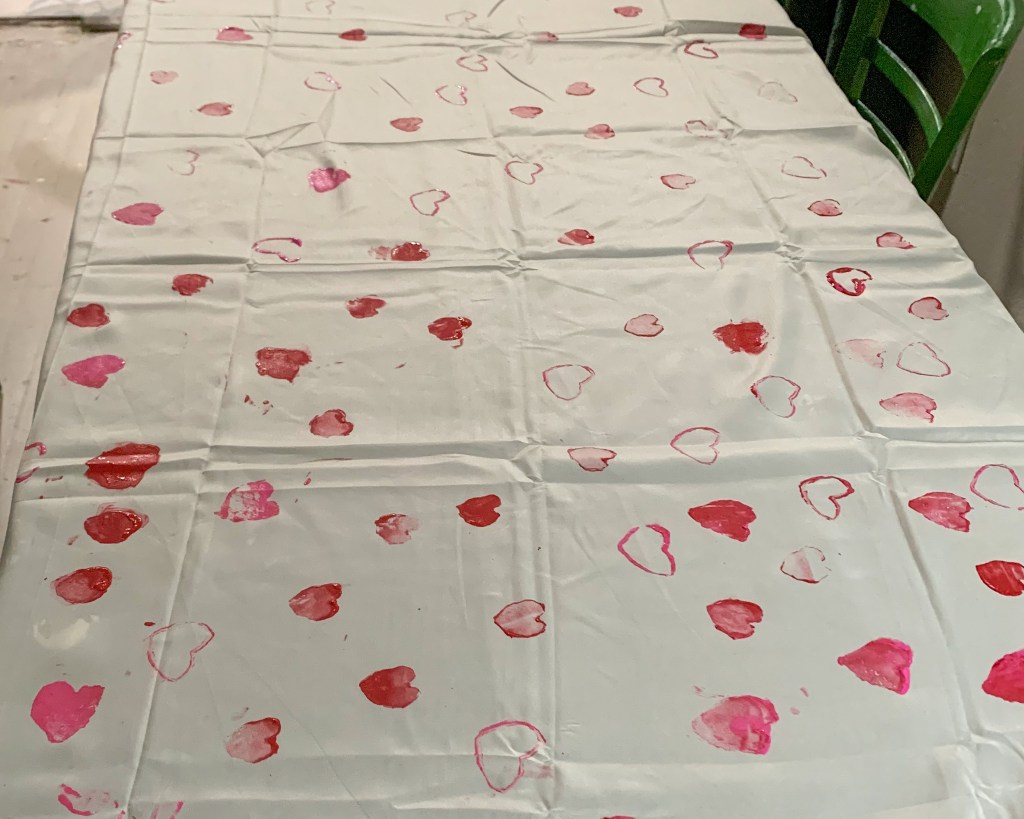
Start by laying your large white sheet flat on the table, making sure it is wrinkle-free and smooth. If you’re concerned about getting paint on the table, you can lay down some newspaper or paper towels underneath the sheet to protect the surface.
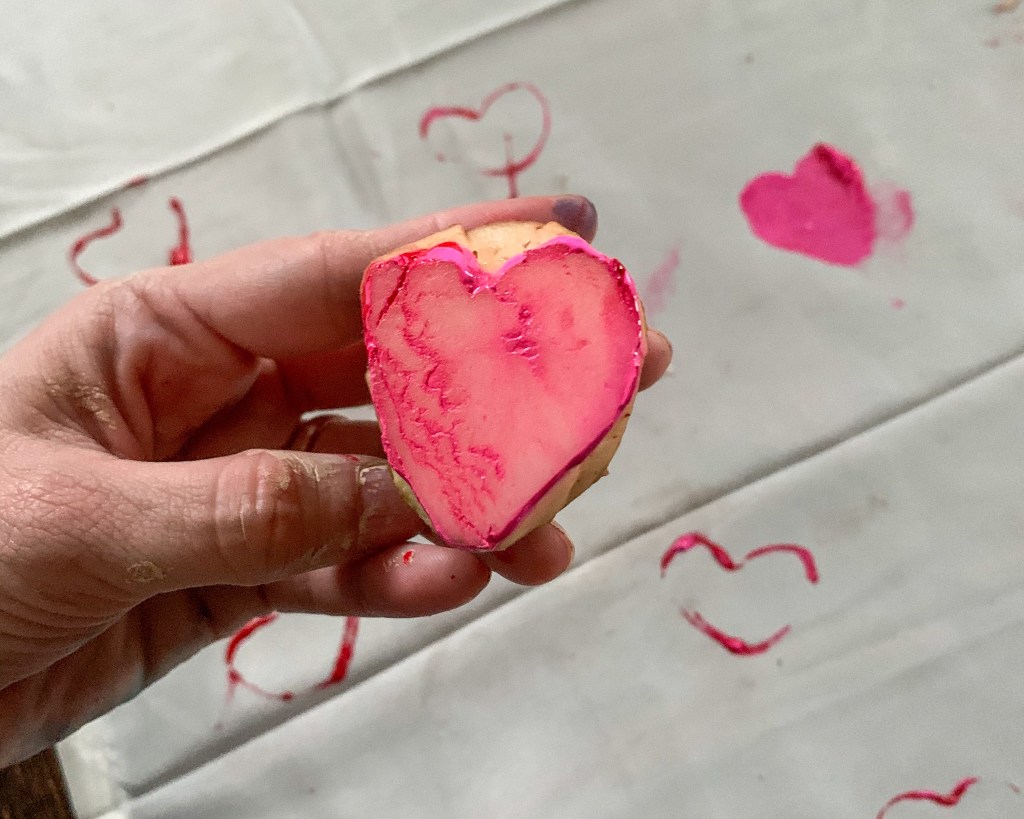
Step 2: Create Your Heart Stamps
Now it’s time to prepare your stamps. For the potato stamp, carefully cut the potato in half. On the flat side, use a marker or pen to draw half of a heart shape. Then, with a sharp knife, carefully cut along the outline to create your heart-shaped stamp. You’ll have a fun, textured heart shape ready to print!
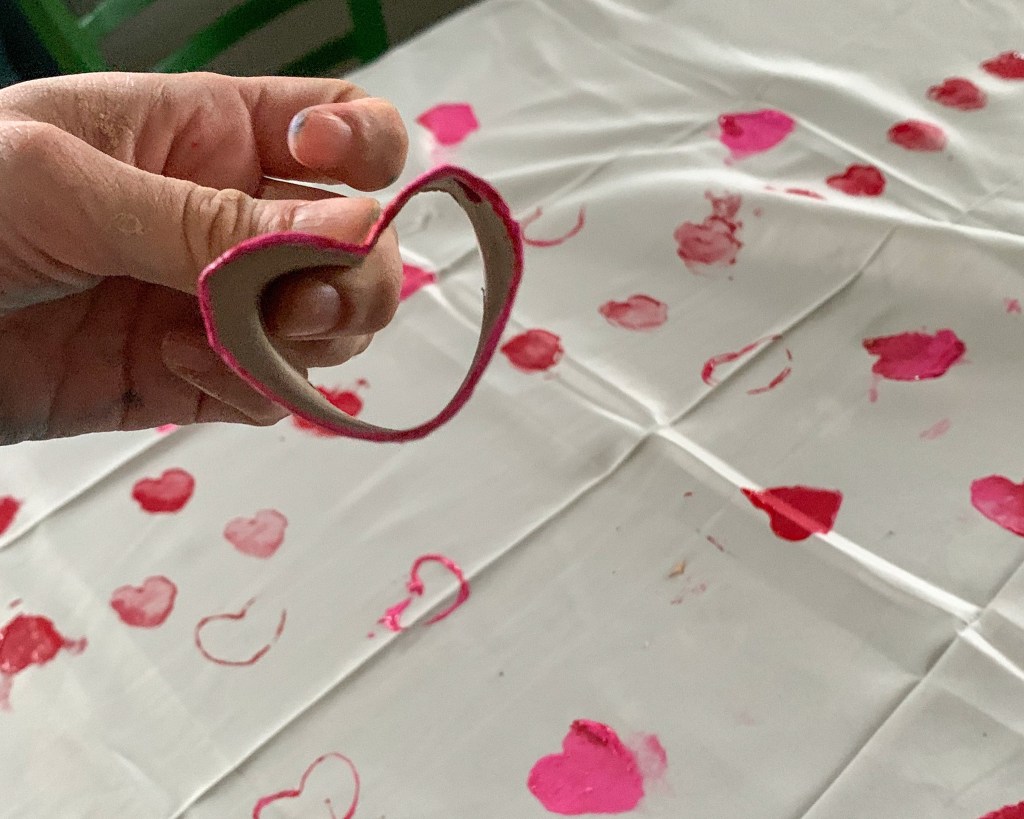
Next, take your toilet paper roll and gently pinch the top to form a heart shape. Once it’s pinched, secure it with tape to hold the shape in place. You can also reinforce it with a little glue if needed. This makes a smaller heart stamp to add some variety to your design.
Step 3: Add Paint to Your Stamps
Pour your fabric or washable paint onto a tray or paper plate. Using a paintbrush, lightly paint the heart-shaped stamps. Be sure to coat them evenly but not too thickly to avoid excess paint bleeding onto the fabric.
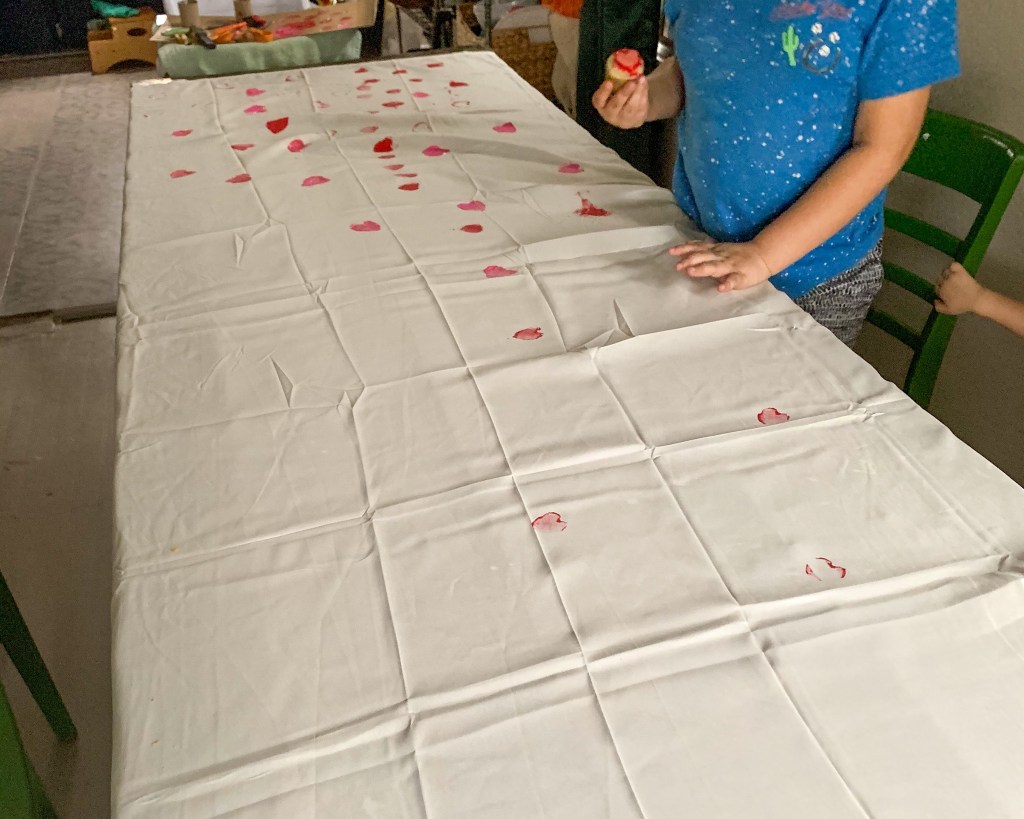
Step 4: Stamp Away
Begin stamping the potato heart onto the sheet, pressing it gently to transfer the paint evenly onto the fabric. Repeat this process, spacing your hearts out across the sheet as you go. You can mix up the size and pattern by alternating between the large potato stamp and the smaller toilet paper roll stamp.
Try to vary the direction and spacing to create a playful and organic look. Don’t worry about perfection—some imperfect prints will add to the charm!
Step 5: Let It Dry
Once you’ve finished stamping, let the paint dry completely before moving on. This may take a couple of hours, depending on the type of paint you used.
Step 6: Display Your Backdrop
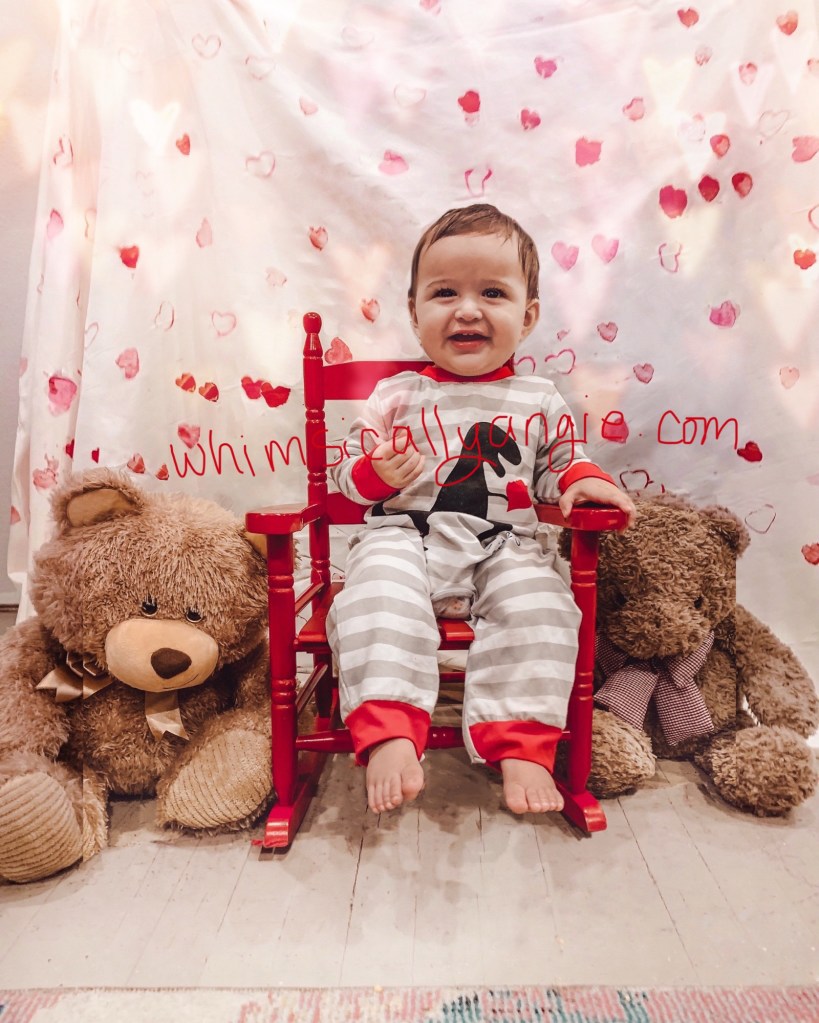
Once dry, you can now use your heart-filled sheet as a backdrop for your Valentine’s Day celebration! Whether you keep it on the table as a charming tablecloth or hang it on the wall for photos, this backdrop will bring a fun, festive vibe to any space.
Final Thoughts:
Creating a heart-filled backdrop with simple materials like a sheet, a potato, and a toilet paper roll is an easy and fun way to add some DIY charm to your Valentine’s Day celebrations. Not only will it set a sweet mood, but it’s also a creative project that anyone can enjoy. Happy crafting and happy Valentine’s Day!
Work somewhere that you don’t mind getting messy. If it’s a nice day, you can work outside. If you’re crafting indoors, then you will need to protect your work surface. I use an old bed sheet to cover my table, but you can use plastic or newspaper just as easily.
You’ll also want to cover them up. There’s plenty of cute art smocks if you want to spend the money. They’ll look adorbs in their little artist getup, but I just use an old hand-me-down tee and call it good. It’s just going to get paint and what not all over it anyway.
Let Them Do It Themselves
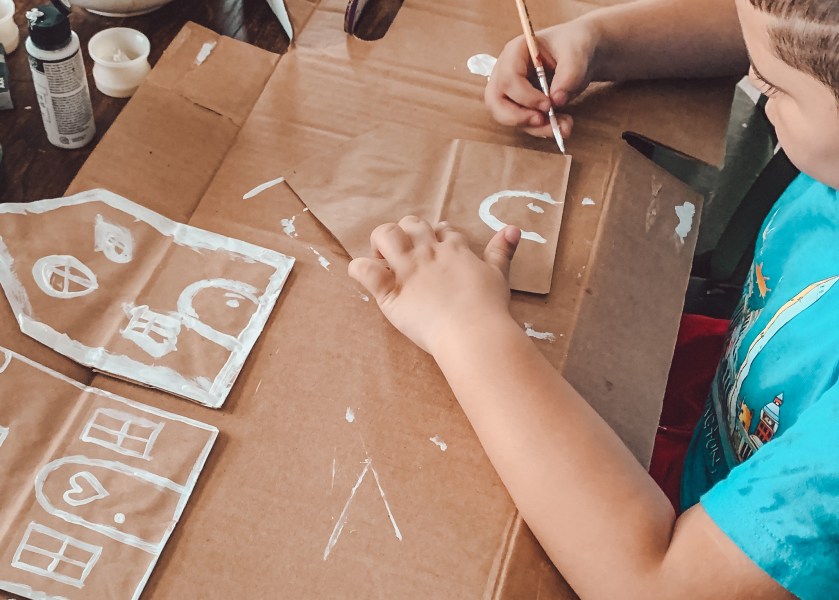
Don’t get caught up in how things “should” look, let them do as much as possible on their own. This builds up their confidence and their motor skills. I know my two year old wants to be independent and this is a great way of letting him express himself.
Keep Cleaning Supplies On Hand
There’s bound to be a spill at some point, so it’s just easier to be prepared. It also makes clean up that much easier when craft time is over.
Don’t Push Craft Time
If your toddler is not in the mood, don’t force it. It will just stress you out and make them resent craft time. Just store your supplies until you are ready to try again– however long that may be.
Do Crafts They Already Love
There are so many creative projects out there. Find what your toddler enjoys and do more of that. For my 2 year old, “paint” is already firmly established in his vocabulary. I have to hide the paints because he will make his masterpieces on everything. So, any time we can do an activity that involves paint, he’s happy.
Gear your crafts around what you know your toddler likes. If you find your toddler uninterested in the craft, spice it up by adding something they like.
They will beam with pride when they see their creation complete.