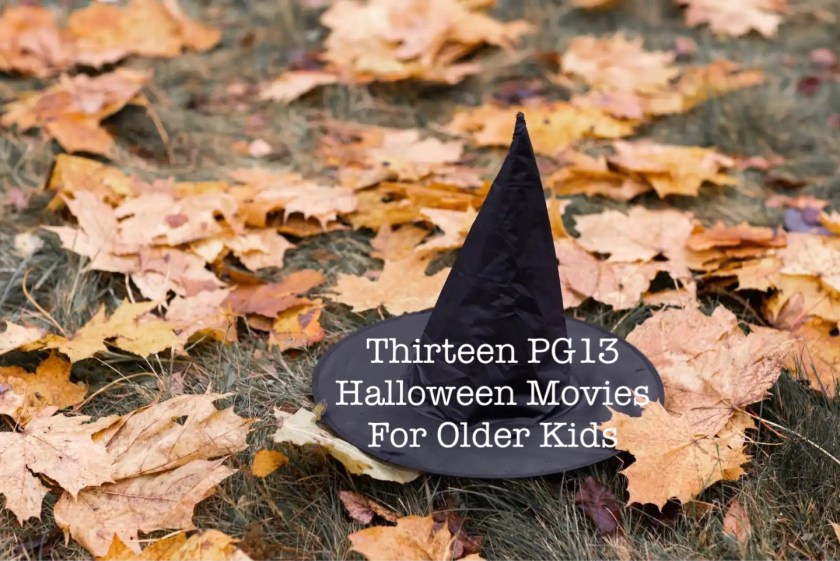
Posted in Lifestyle

Why You Should Consider Buying Garden Art From a Small Shop Etsy

Buying artisan crafts on Etsy offers several advantages that can enhance your outdoor space and support independent artists. Here are some compelling reasons to consider:

  1. Unique and Original Artwork: Etsy is home to a vast community of talented artists and artisans who create one-of-a-kind pieces. When you buy hand-painted garden art, you’re getting something unique and original that you won’t find in mass-produced items.
  2. Support Independent Artists: Etsy is a platform that allows independent artists to showcase their work. By purchasing their hand-painted garden art, you’re directly supporting these artists and helping them sustain their creative careers.
  3. Customization: Many Etsy sellers offer customization options. You can work with an artist to create a piece of garden art that perfectly fits your style, color preferences, and garden theme.
  4. Quality Craftsmanship: Hand-painted garden art on Etsy is often crafted with attention to detail and quality. These items are typically made with care, ensuring that they withstand outdoor conditions and look beautiful for years to come.
  5. Unique Garden Décor: Adding hand-painted garden art to your outdoor space allows you to express your personality and style. These pieces can become focal points in your garden, making it feel more personal and inviting.
  6. Artistic Variety: Etsy offers a wide range of hand-painted garden art, from garden stakes and sculptures to signs, planters, and birdhouses. You can find something that suits your garden’s specific needs and your personal taste.
  7. Environmentally Friendly: Supporting local artists and buying handmade products can be more environmentally friendly than purchasing mass-produced items that may have a larger carbon footprint.
  8. Gift Opportunities: Hand-painted garden art makes for thoughtful and unique gifts. You can surprise a loved one with a personalized garden decoration that adds beauty to their outdoor space.
  9. Connection with Artists: Etsy often allows you to communicate directly with artists and artisans. This personal connection can lead to a better understanding of the artwork, its creation process, and the artist’s story.
  10. Positive Reviews and Ratings: Before making a purchase on Etsy, you can read reviews and see ratings from previous customers. This can provide valuable insights into the quality and satisfaction level associated with the product and seller.

In summary, buying hand-painted garden art on Etsy offers a chance to add unique and personalized beauty to your outdoor space while supporting independent artists and enjoying the benefits of high-quality, handmade craftsmanship. It’s a win-win for both you and the artists who create these beautiful pieces.

Posted in Lifestyle, Valentines

How to Make Fake Cake Frosting for Crafts and Decor Without Plaster

IfIf you love the look of frosted cakes but want something that lasts a little longer, faux frosting is such a fun way to play. While plaster of Paris is a popular option for creating thick, frosting-like texture on fake cakes, gift boxes, or cozy seasonal décor, this time I actually used a simple flour-and-salt recipe instead. No baking, no pressure—just hands-on creativity, a little mixing and swirling, and the freedom to make it yours.

Classic Flour + Salt Faux Frosting

  • 3 cups all-purpose flour
  • 1 cup salt
  • ~1 to 1¼ cups warm water (added slowly)
  • Acrylic paint or food coloring, mix to desired color

You mix the dry ingredients first, then add water a little at a time until it’s thick enough to hold peaks or coat the back of a spoon—that’s the frosting moment most people remember rather than the exact ratios.

This version is a simple flour-and-salt mixture I’ve used many times for faux frosting. Like most hands-on craft recipes, it’s forgiving — add water slowly until it reaches a thick, spreadable, frosting-like consistency.

Whether you’re frosting a fake cake, dressing up a gift box, or just letting yourself play for the sake of playing, faux frosting is one of those projects that reminds you creativity doesn’t have to be complicated to be meaningful. Use what you have, trust your instincts, and don’t worry about perfection—half the charm is in the swirls, drips, and happy accidents. Sometimes the best “recipes” are the ones you make up as you go.

Posted in Halloween, Lifestyle

DIY Twisty Ghost Candles

Shaping store-bought tapered candles with warm water is a useful technique if you want to customize their appearance. Here’s a step-by-step guide on how to do it:

Materials You’ll Need:

  • Store-bought tapered candles
  • Warm water
  • Heat-resistant container or bowl
  • Heat-resistant gloves (optional)
  • Paint Marker

Instructions:

  1. Prepare Your Work Area:
    • Set up a clean and organized workspace. Lay down newspapers or a plastic tablecloth to catch any wax drips.
  2. Select Your Candles:
    • Choose the store-bought tapered candles that you want to reshape. Be sure they are clean and free of any dust or debris.
  3. Heat the Water:
    • Warm up a container or bowl of water to a temperature that is not too hot to touch but warm enough to soften the wax. You can use hot tap water for this purpose. You may need to warm water on the stove, depending on your water heater settings. Do not use boiling hot water because that will melt the candle too fast and make it hard to work with.
  4. Soak the Candle:
    • Submerge the candle for 10-15 minutes in warm water.
  5. Shape the Candle:
    • Replace the hot water with fresh hot water and start bending your candles slowly. You can create curves, twists, or other unique designs. Be cautious not to apply too much force to avoid cracking or breaking the candle.
  6. Hold the Shape:
    • While maintaining the desired shape, hold the candle upright for a minute or two to allow the wax to cool and harden in the new shape.
  7. Repeat as Needed:
    • If you want to reshape other parts of the candle or make further adjustments, repeat the process by dipping and shaping one section at a time.
  8. Trim the Wick:
    • After you’ve achieved the desired shape, trim the wick at the top of the candle to your preferred length.
  9. Let the Candle Cool:
    • Allow the reshaped candle to cool and harden completely at room temperature.
  10. Light and Enjoy:
    • Once the candle has cooled and solidified in its new shape, it’s ready to be lit and enjoyed! Remember to consider how the shape of your candle will affect how it drips and plan to accommodate the hot wax accordingly.

Shaping store-bought tapered candles with warm water is a creative way to give them a unique and customized appearance, allowing you to match them to your specific decor or event theme. Just remember to exercise caution when working with hot water and warm wax to avoid burns or injuries.