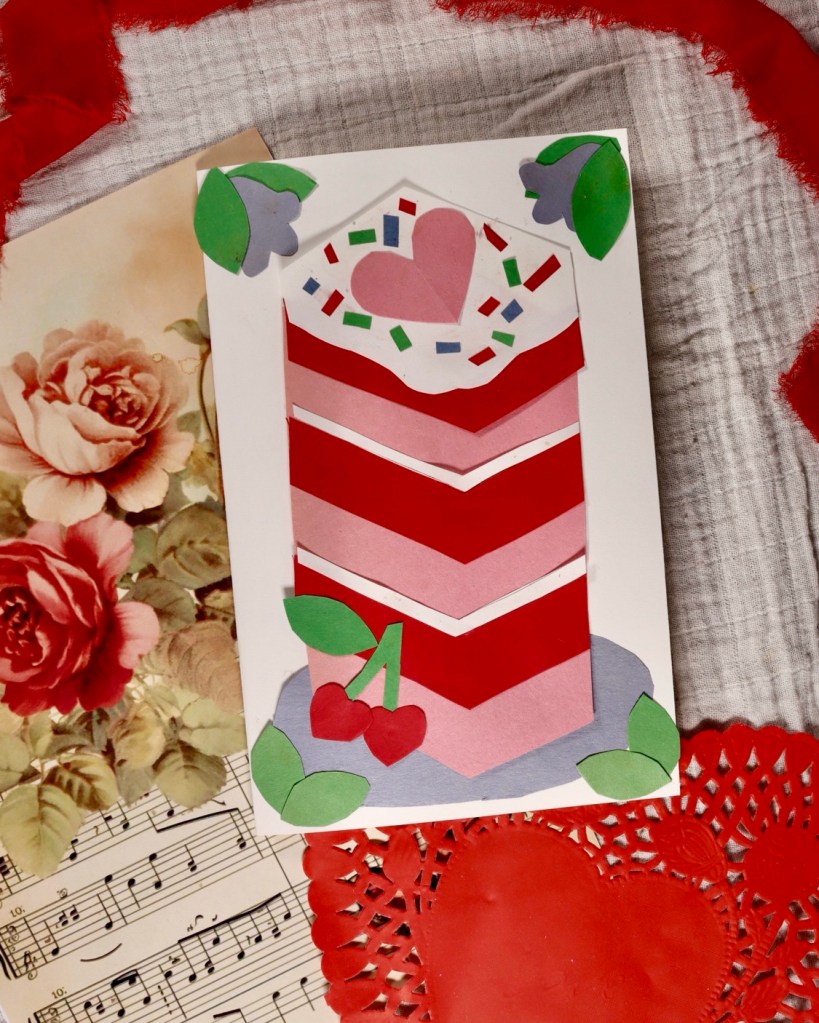
These 🍪-shaped Valentine’s treat bags are guaranteed to make anyone smile.
Treat bags have officially become my favorite thing to make with brown paper bags. They combine everything I love most: cute details, using what you already have, and a good pun. Honestly, it’s the perfect craft for me 😊
And no season loves puns more than the season of love 💕
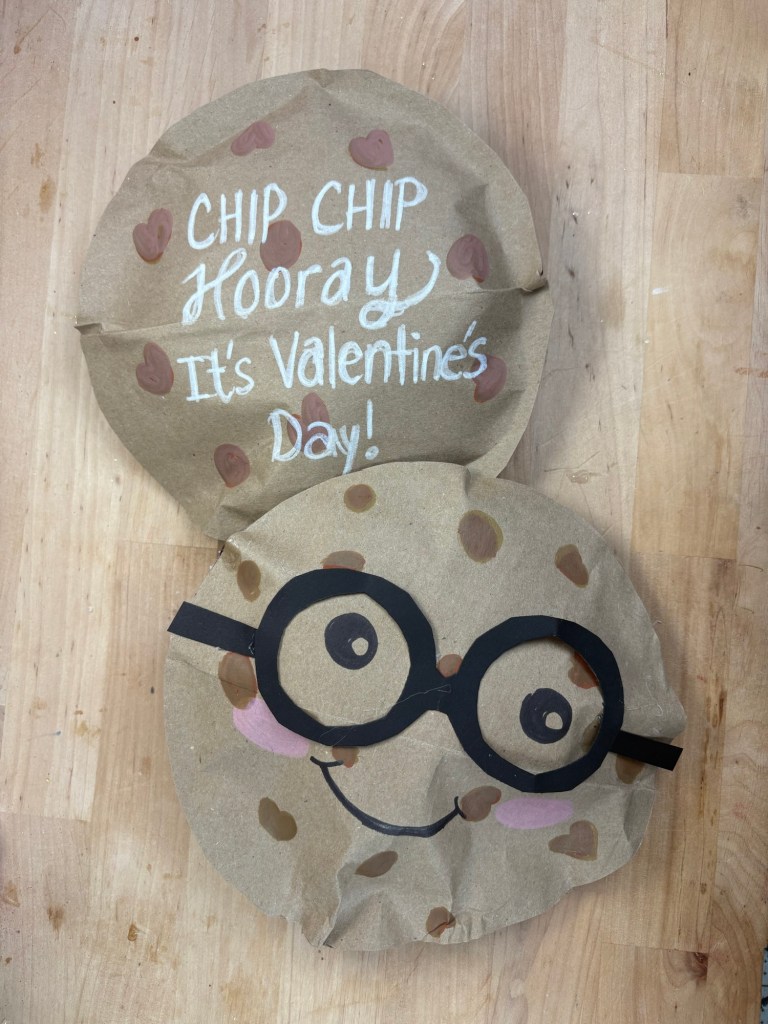
A few more cookie pun ideas for your Valentine to say CHIP CHIP Hooray it’s Valentin’s Day! :
“thank you for your friendCHIP”
“You’re one smart COOKIE!”
“I think you’re CHIP-tastic!”
“You’re my favorite COOKIE!”
“You’re extra SWEET!”
“I’m glad we’re in the same BATCH!”
“I like you a CHOCO-lot!”
“You make life SWEET!”
Watch the simple tutorial on Instagram!
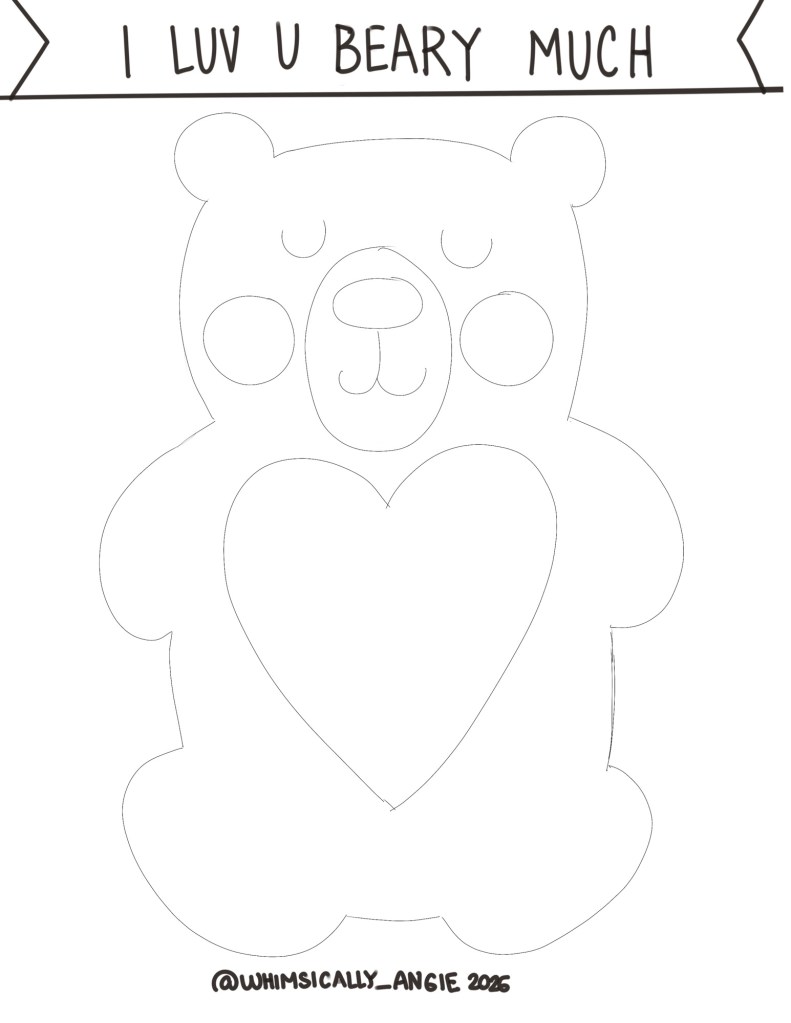
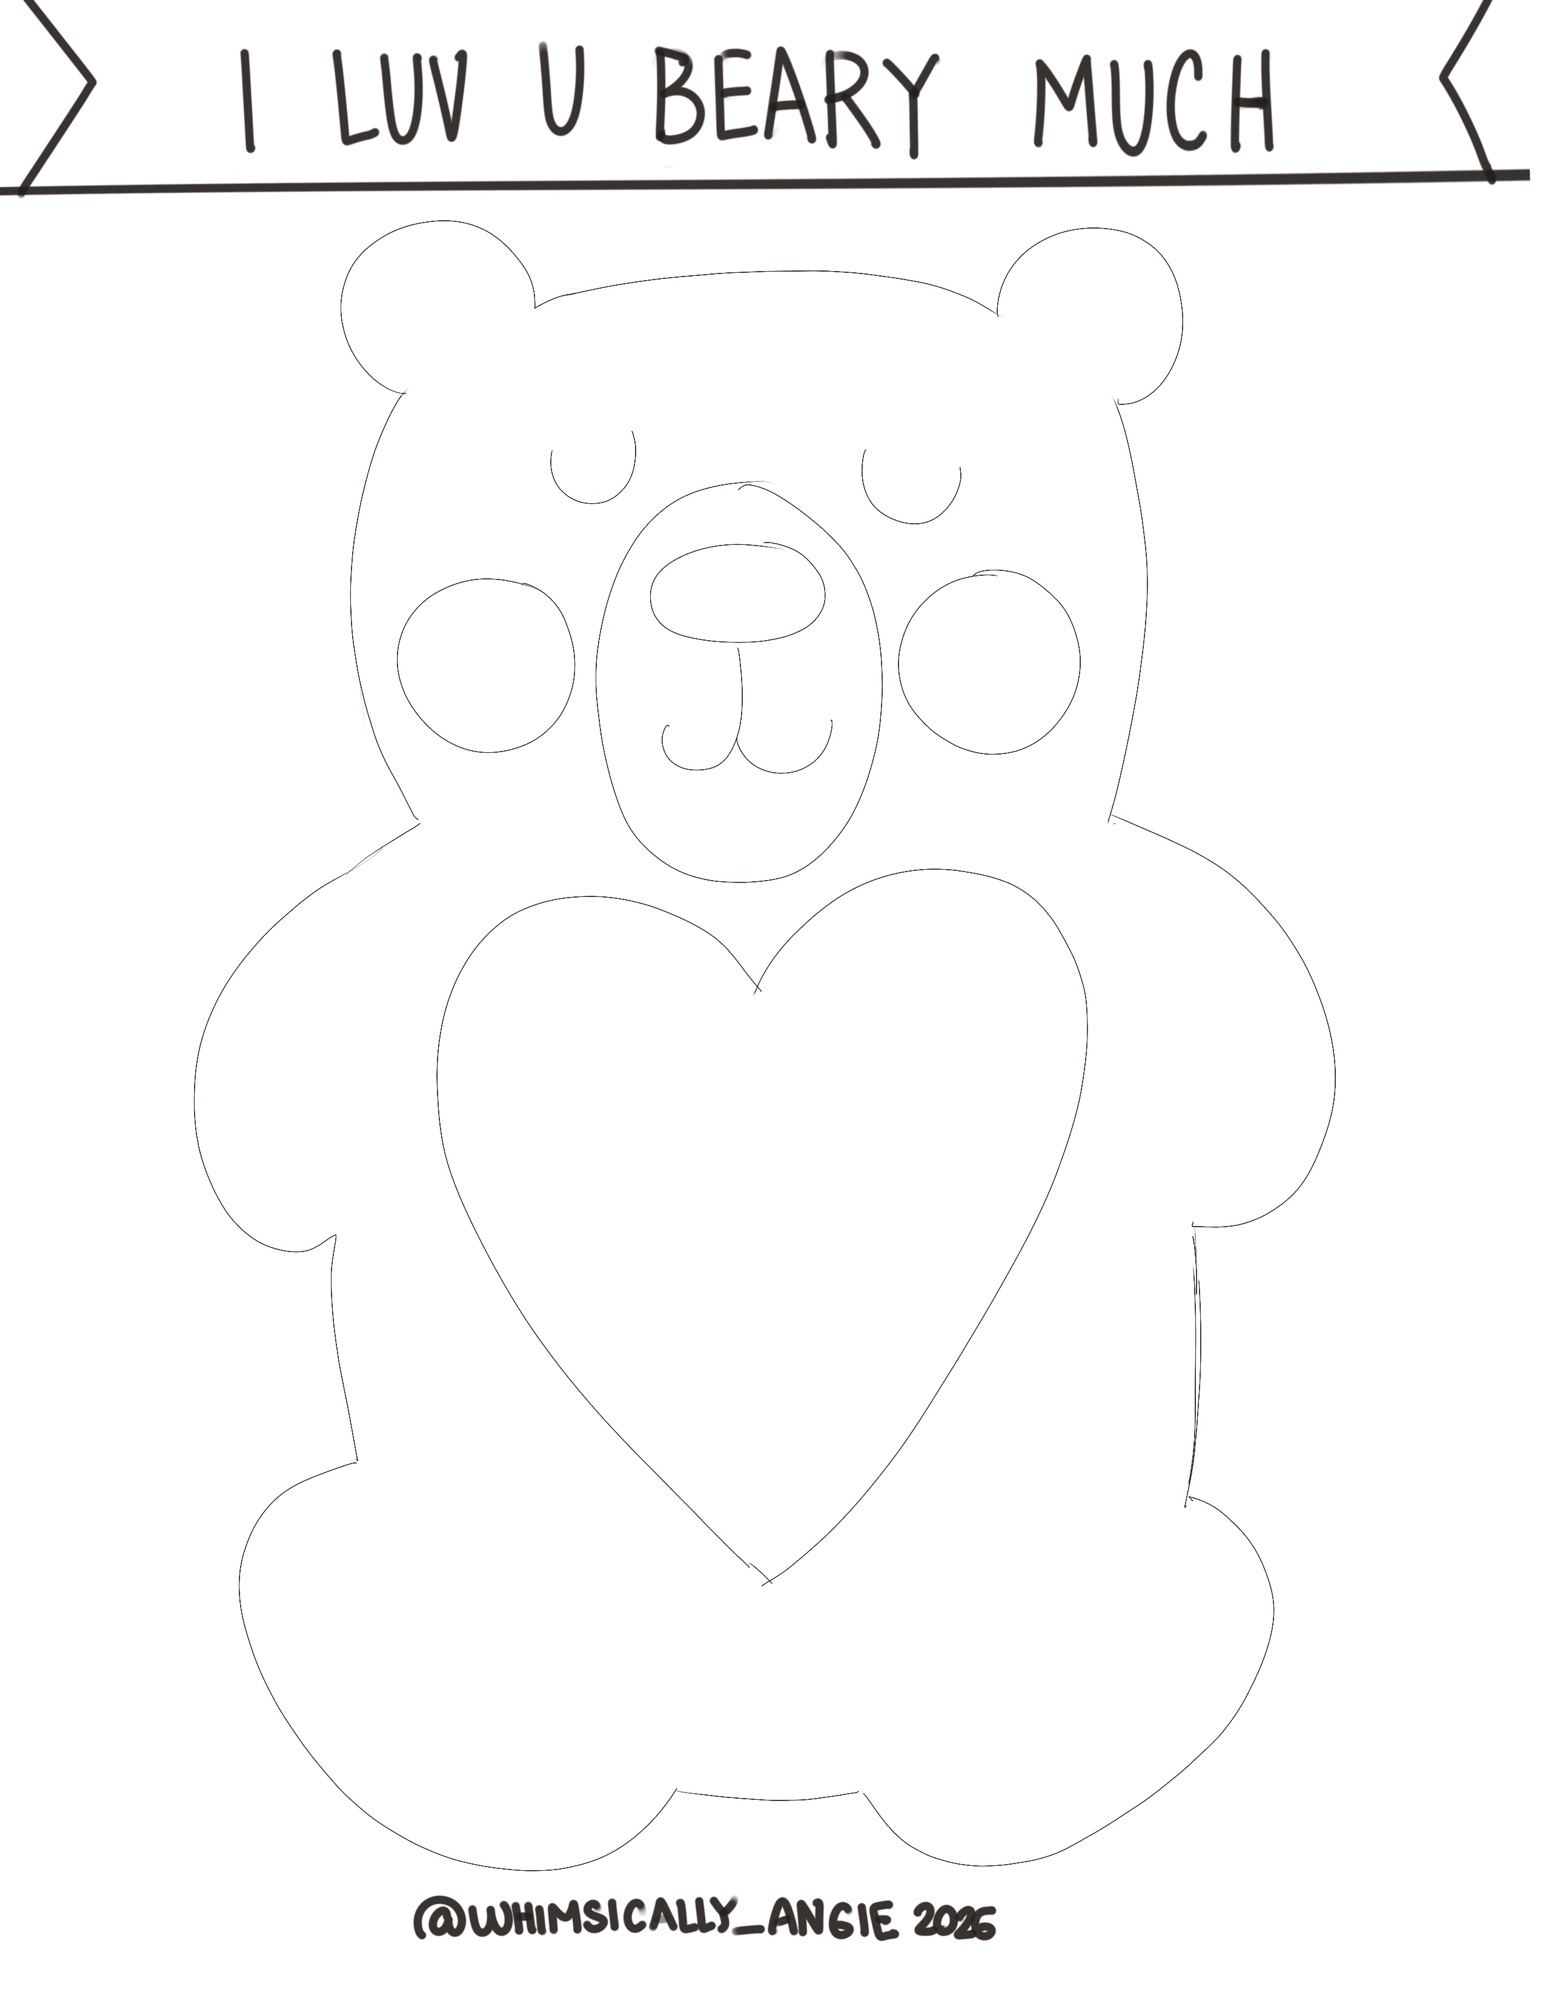
Make Two Teddy Bear Treat Bags with One Template !
