Posted in Garden, Spring, Summer

From Trash to Trellis: 5 Upcycled Garden Ideas That Totally Rock (and Save You Money)

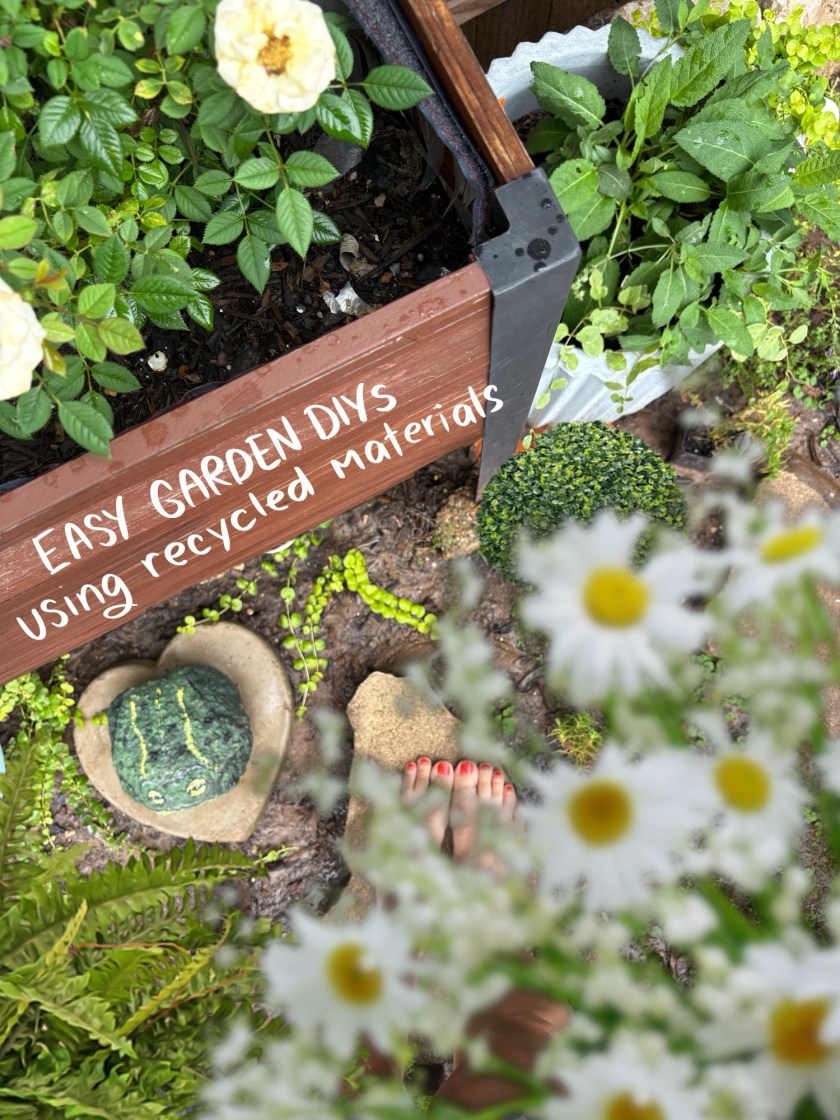
Let’s face it—gardening can get expensive. But what if we told you some of the best garden upgrades are already hiding in your backyard, garage, or even your trash pile?

Instead of shelling out for fancy decor or tossing what’s “useless,” give these scrappy garden ideas a go. They’re budget-friendly, eco-conscious, and have enough DIY charm to make your neighbors do a double take.

Here are 5 upcycled garden projects that are blooming with personality:


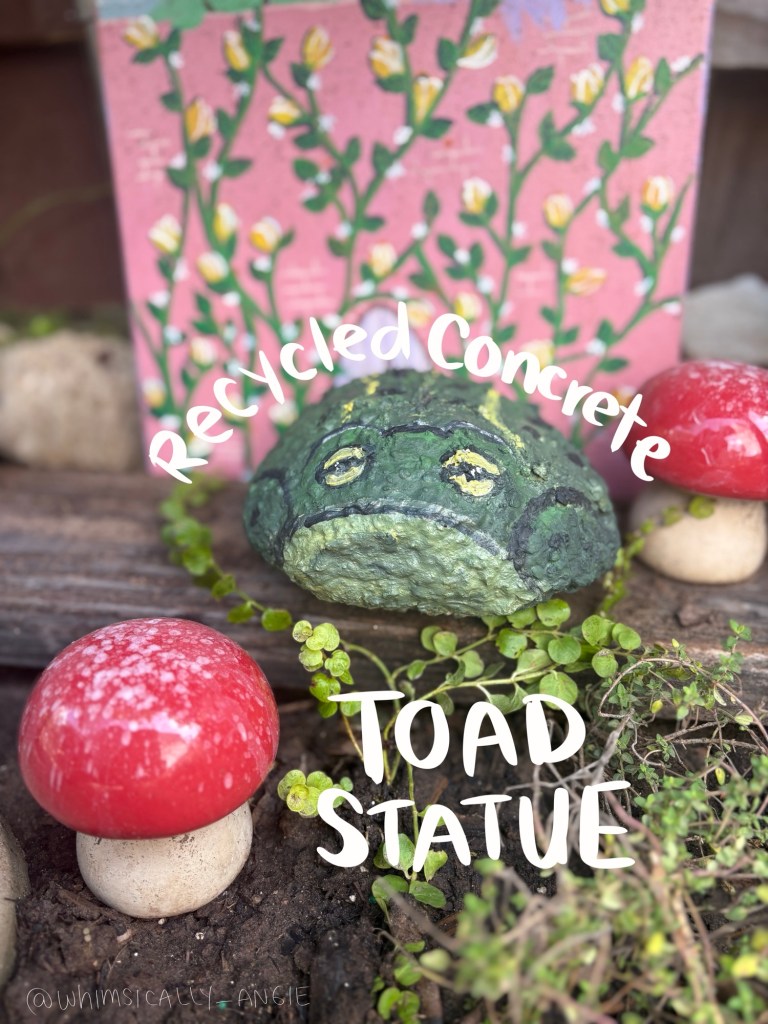
1. Concrete Garden Statue
Leftover concrete from a past project (or even a broken sidewalk as seen here) can be turned into a unique statue or fun garden ornament. Use simple molds like buckets or bowls—or go freeform and embrace the wonkiness. It’s artsy, durable, and way cheaper than anything from a garden center.


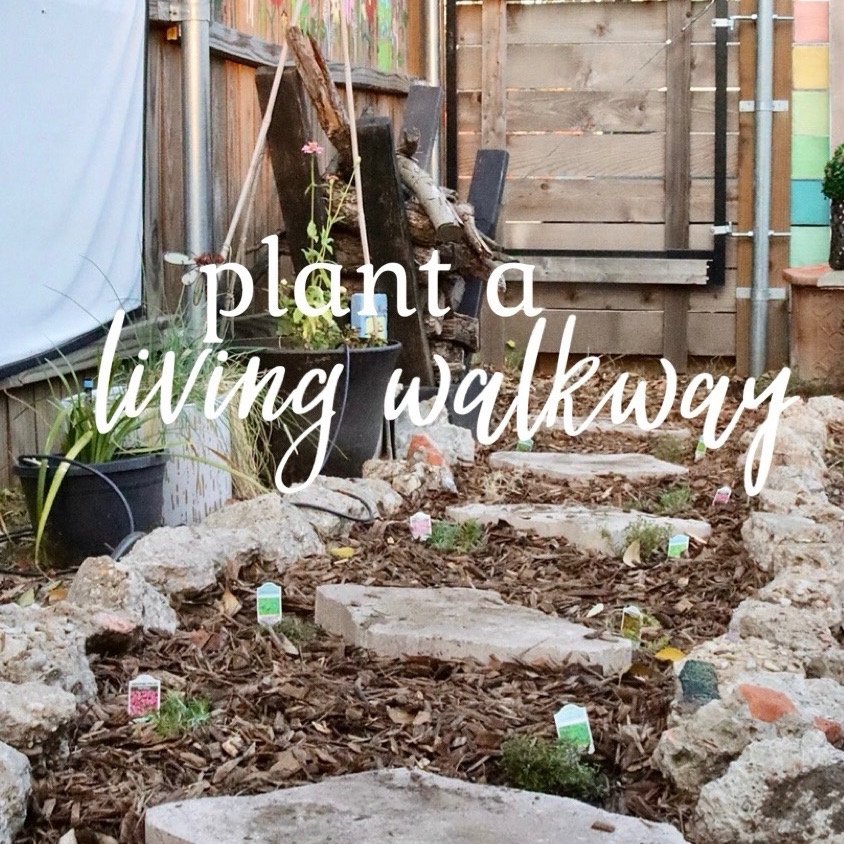
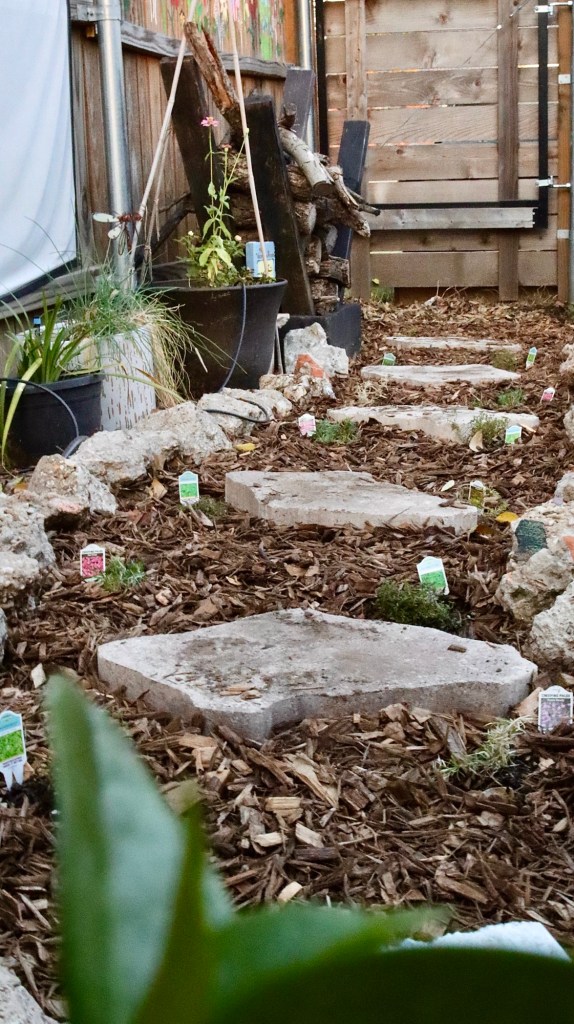
2. Crevice Garden from Broken Concrete
That busted-up patio ? Don’t dump it—stack thin pieces side by side to create a crevice garden perfect for succulents, moss, and alpine plants. It’s like turning rubble into a rock star moment for your landscape.


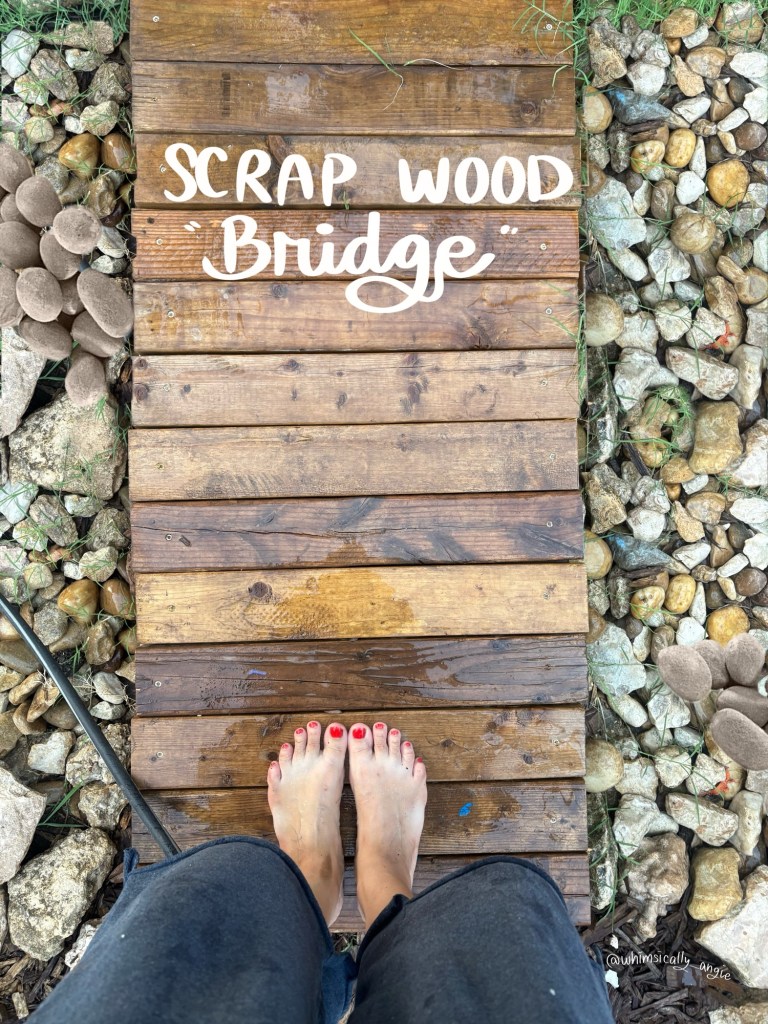
3. Scrap Wood Garden Bridge
Got some old fence posts or decking scraps lying around? Turn them into a small decorative bridge that spans a dry creek bed or even just sits over mulch for charm. It adds structure, whimsy, and major “secret garden” energy to your yard.


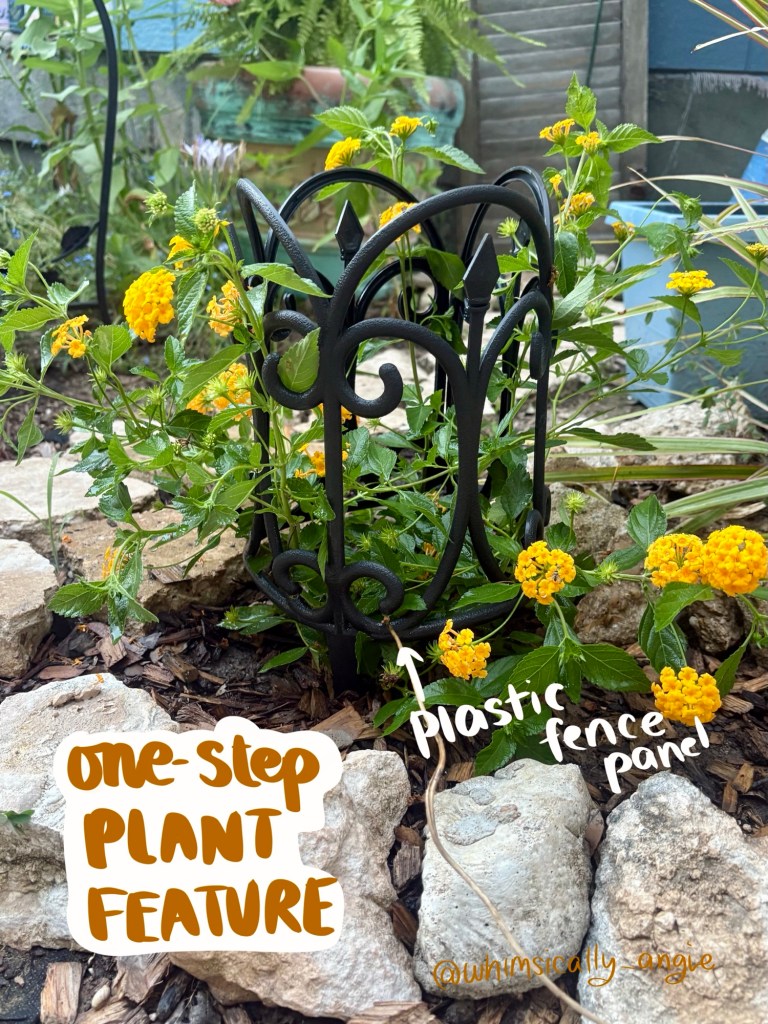
4. Plastic Fencing Turned Garden Feature
That sad, sagging plastic fencing doesn’t need to be landfill-bound. Bend (cut, or paint, if necessary) into a vertical planter, garden screen, or even a DIY trellis. It’s a great way to reuse plastic in a way that actually looks intentional.


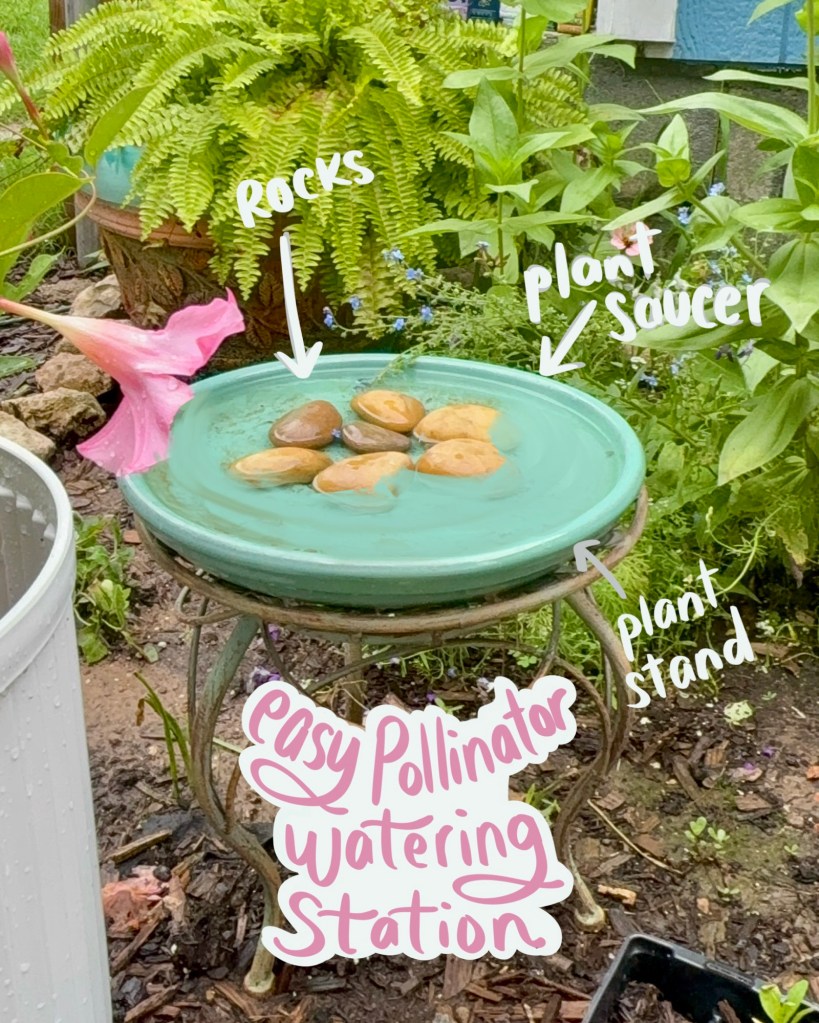
5. Pollinator Water Stations from Plant Stands and Saucers
combine old plant stand with an unused saucer, fill it with clean water and a few rocks or pebbles, and boom—you’ve got a DIY bee watering station. Pollinators love them, and so will your garden. Plus, it’s a sweet little accent that requires zero tools or effort.


So next time you’re tempted to toss that cracked pot or worn-out wood, think again. With a little imagination (and maybe a few zip ties), your garden can go from ordinary to upcycled-awesome. Your wallet, the planet, and the local pollinators will all thank you.

Posted in Garden, Lifestyle

Why You Should Plant A Living Walkway

Are you looking to add a unique touch to your outdoor space? A living walkway made of low-growing plants is not only functional but also a stunning way to enhance your garden. Plus, if you’re using a pre-bought plant collection, it’s easier than ever to get started! Here’s how to create your own vibrant green path.

Why Choose a Living Walkway?

Living walkways are a fantastic alternative to traditional hardscaping. They provide a lush, natural look and can help with drainage. Plus, they’re environmentally friendly and can attract beneficial pollinators to your yard.

What You’ll Need

Using a pre-bought plant collection is a game changer! These collections are designed for easy planting and often include a mix of hardy, low-growing plants like creeping thyme, sedum, or moss. Before you begin, make sure you have:

  • Your chosen plant collection
  • Basic gardening tools (shovel, trowel, gloves)
  • Compost (optional, but recommended)

Steps to Create Your Living Walkway

  1. Plan Your Path: Decide where you want your walkway to go. Consider the shape and how wide you’d like it to be. Use stakes or string to outline the area.
  2. Prep the Area: Clear the space of grass, weeds, and any debris. Loosen the soil with a shovel or garden fork. If you’re using compost, mix it into the soil to help your plants thrive.
  3. Lay Out the Plants: Take your plant collection and lay the plants out along your path without planting them yet. This way, you can see how they look together and adjust the spacing if needed.
  4. Planting: Once you’re happy with the layout, start planting! Dig small holes for each plant, following the spacing instructions that came with your collection. Gently place each plant in its hole and cover the roots with soil.
  5. Watering: After planting, give your new walkway a good soak. Watering helps settle the soil around the roots and reduces transplant shock.
  6. Maintenance: While living walkways are generally low-maintenance, keep an eye on them. Trim back any plants that spread too much and remove any weeds that pop up. Regular watering, especially during dry spells, will also help your plants establish.

Enjoy Your New Walkway!

Once your plants are established, you’ll have a beautiful, green path that adds character to your garden. It’s a fantastic way to create a more inviting outdoor space while enjoying the benefits of a natural landscape.

So, roll up your sleeves, get planting, and watch your living walkway flourish! Your garden will thank you for it!

Tapestry Lawn Article on Martha Stewart site

Posted in Garden, Lifestyle

How to Create Your Own Brick Books

Step by Step Summary

You can use brick you have laying around for this project or you can purchase brick shaped pavers at Lowe’s or Home Depot for less than $1 each.

* Affiliate Disclaimer: Some of the links in this post are affiliate links, which means that if you click on them and make a purchase, I’ll receive a commission at no additional cost to you. I only recommend products and services that I believe will be helpful to you, and I appreciate your support.

To create your brick book:

Step 1: Clean your bricks/pavers. Make sure they are dry and clear of dust and debris to ensure that your paint adheres properly.

Step 2: Prime your bricks . You’ll want to use either an acrylic or oil based primer, or a primer formulated specifically for masonry. I sprayed two coats of an exterior primer.

Step 3: Paint your book . cover.” I used both “outdoor” acrylic craft paint and regular acrylic craft paint. Either will work since this will be sealed afterwards. Be generous with your application because a lot of it gets absorbed into the brick. Do two coats for better coverage. You will still see texture after you’ve primed & painted your brick.

Step 4: Add the details. I used paint markers for the lettering and “pages” because it’s a lot easier for me to write things out. I, then, went in with a fine brush and acrylic craft paint to create the other details. (This is also when I did touch-ups).

Step 5: Seal your bricks I used a clear spray paint for this step. Be sure to do this in a well ventilated area. (I always do this outside). Spray 2-3 coats, allowing your sealer to dry completely between coats.

Please be aware that how long your brick art lasts will depend on how much direct sun and rain exposure your bricks get. The most important step in any paint project is choosing a good primer. But, It is also equally important to seal any piece you will be leaving outdoors.

Two months ago, I shared a reel on my Instagram of how my books looked after ten months outdoors.

SHARE THIS WITH A BOOK-LOVING GARDEN-LOVING FRIEND. ♥️

link ⬅️ to other products I’ve used for this project.

PS. If you don’t have the space or time or artistic capacity to do this on your own, Shop my custom handpainted brick books:

https://whimsicallyangie.etsy.com