Posted in Lifestyle, Mom Life

Sensory Play

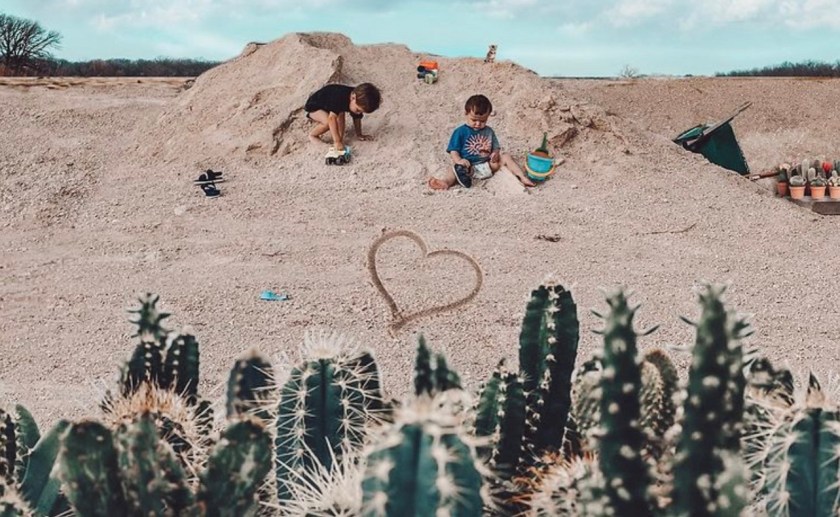
What is sensory play? “Sensory play is the exploration of the world through any of the 5 senses: touch; smell; sight; hearing and taste.” Sensory activities are designed to help children develop thinking, language, social-emotional, and physical skills. Sensory play also encourages children to problem-solve while they create, play, and explore.

Sensory play does not have to be complicated. There is a plethora of accounts on Instagram dedicated to sensory play. You can also search “sensory play” on Pinterest for a bounty of creative ideas.

Sensory Play Ideas

Rice Table

Rice tables are a fun activity to begin developing baby’s sense of touch. Fill any medium-sized storage container with uncooked rice. Make sure it’s big enough to add cups or bottles for baby to scoop the rice.

You can also use foods like pasta, or beans; along with spoons and scoops. It’s also fun to bury small toys for baby to discover.

Sensory Bottles

Fill an empty water bottle with small things that are visually interesting. You can use items like marbles, beads, pipe cleaners, glitter, sequins, etc. Anything small and colorful will work for this. Add water and use non-toxic glue to secure the cap back on to ensure spill-free play.

Alternatively, you can mix clear glue with the water to create a sort of “calming bottle.” Add a few drops of food dye and a bit of glitter before gluing the lid shut. Your baby can shake the bottle and watch the glitter resettle more slowly.

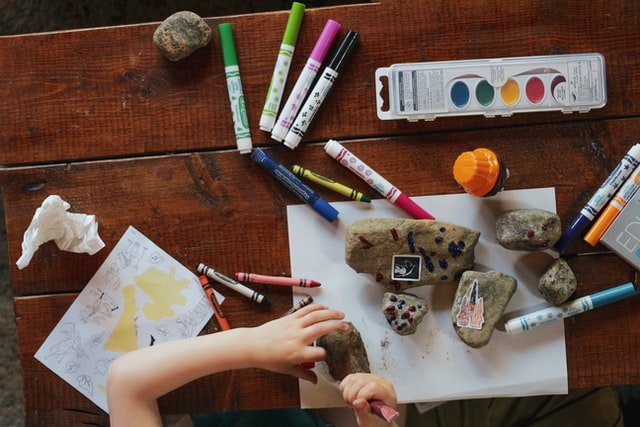
Make Musical Instruments

Children tend to enjoy crafting their very own musical instruments. With a little assistance, kids can create a variety of instruments with things found around the house.

It’s pretty simple to put together paper-cup maracas or a tissue-box guitar. All you need are some rubber bands and a box, or cup, and something to fill the maracas with. You can play around with the different sounds things like rice, beans, or even small pebbles make in your maracas.

Ice & Water

Teach your baby about temperature safely with a little bit of water and some frozen miniature toys. Trying to grasp the ice cubes and toys will also help with their hand-eye coordination. 

Freeze small toys (like action figures or blocks) into ice and let your baby explore the cold sensation with their hands–(and probably their mouth too, so watch them carefully; and, don’t use anything too small for baby). You can also provide baby-safe things to chip the ice with and warmer water to contrast the cold, and melt the ice.

Play-doh

There are plenty of recipes for making your own dough at home. You can even add color or scents to any recipe.

However, if you don’t want to make your own sensory dough, you can buy play dough almost anywhere. Let baby roll, slice, and chop away the time. Play dough’s squishy consistency is great for working on those fine motor skills. Pounding and rolling is also a great way to let out a little extra energy.

Note: Never leave baby unsupervised when participating in sensory play.

Posted in Lifestyle, Mom Life

Top 3 Things You Need When Taking a Roadtrip with Kids

We’re taking our second summer road trip this week. We’re driving 10 hours with four kids to see my in-laws.

How do you maintain your sanity during those long hours on the road? Be prepared with entertainment and snacks, and be prepared to make frequent stops. Kids have short attention spans and small bladders. Plan as much of the trip as you can to give them (and you) breaks from the road.

1. Entertainment— drawing pads, iPads, their favorite toys. Start low-tech and move up to electronics as the trip goes on. Our car turns into a concert. For the most part, that tends to soothe my crew. My seven year old also likes to follow along the route with his iPad and announce where we are.

2. A fully stocked car— that includes snacks, blankets, toys, first aid kit, plastic bags & extra clothes (in case of spills or car sickness). Have everything you could need within reach and out of the trunk.

3. Frequent Stops— with toddlers, we count on stopping every 2-3 hours. I like to have a general plan that includes possible rest stops and when we’re going to eat. I tend to choose gas stations with restaurants, or chains that I am familiar with. They tend to have cleaner bathrooms. And, of course, we will always hit up a Bucee’s if it’s on our route.

What are some of your tips for the road? What’s the longest road trip you’ve ever taken? I’d love to know.

Posted in Lifestyle

DIY Valentine’s Backdrop

Valentine’s Day is the perfect occasion to create a warm, festive atmosphere in your home, and what better way to do that than by making your very own DIY Valentine’s backdrop? Whether you’re hosting a celebration, taking cute photos, or just want to add a little extra love to the room, this simple yet charming backdrop is both fun to create and budget-friendly. Here’s a step-by-step guide on how to make a beautiful heart-shaped backdrop using a sheet, a potato, and a toilet paper roll!

What You’ll Need:

  • A large white sheet (for your backdrop)
  • A potato (to carve stamps)
  • A toilet paper roll (for creating additional heart stamps)
  • Fabric paint (or washable paint if you’re using a regular sheet)
  • A paintbrush
  • Scissors
  • A marker or pen
  • A large plastic tray or paper plate (for paint)
  • Painter’s tape (optional, for hanging)

Step 1: Prepare the Surface

Start by laying your large white sheet flat on the table, making sure it is wrinkle-free and smooth. If you’re concerned about getting paint on the table, you can lay down some newspaper or paper towels underneath the sheet to protect the surface.

Step 2: Create Your Heart Stamps

Now it’s time to prepare your stamps. For the potato stamp, carefully cut the potato in half. On the flat side, use a marker or pen to draw half of a heart shape. Then, with a sharp knife, carefully cut along the outline to create your heart-shaped stamp. You’ll have a fun, textured heart shape ready to print!

Next, take your toilet paper roll and gently pinch the top to form a heart shape. Once it’s pinched, secure it with tape to hold the shape in place. You can also reinforce it with a little glue if needed. This makes a smaller heart stamp to add some variety to your design.

Step 3: Add Paint to Your Stamps

Pour your fabric or washable paint onto a tray or paper plate. Using a paintbrush, lightly paint the heart-shaped stamps. Be sure to coat them evenly but not too thickly to avoid excess paint bleeding onto the fabric.

Step 4: Stamp Away

Begin stamping the potato heart onto the sheet, pressing it gently to transfer the paint evenly onto the fabric. Repeat this process, spacing your hearts out across the sheet as you go. You can mix up the size and pattern by alternating between the large potato stamp and the smaller toilet paper roll stamp.

Try to vary the direction and spacing to create a playful and organic look. Don’t worry about perfection—some imperfect prints will add to the charm!

Step 5: Let It Dry

Once you’ve finished stamping, let the paint dry completely before moving on. This may take a couple of hours, depending on the type of paint you used.

Step 6: Display Your Backdrop

Once dry, you can now use your heart-filled sheet as a backdrop for your Valentine’s Day celebration! Whether you keep it on the table as a charming tablecloth or hang it on the wall for photos, this backdrop will bring a fun, festive vibe to any space.

Final Thoughts:

Creating a heart-filled backdrop with simple materials like a sheet, a potato, and a toilet paper roll is an easy and fun way to add some DIY charm to your Valentine’s Day celebrations. Not only will it set a sweet mood, but it’s also a creative project that anyone can enjoy. Happy crafting and happy Valentine’s Day!