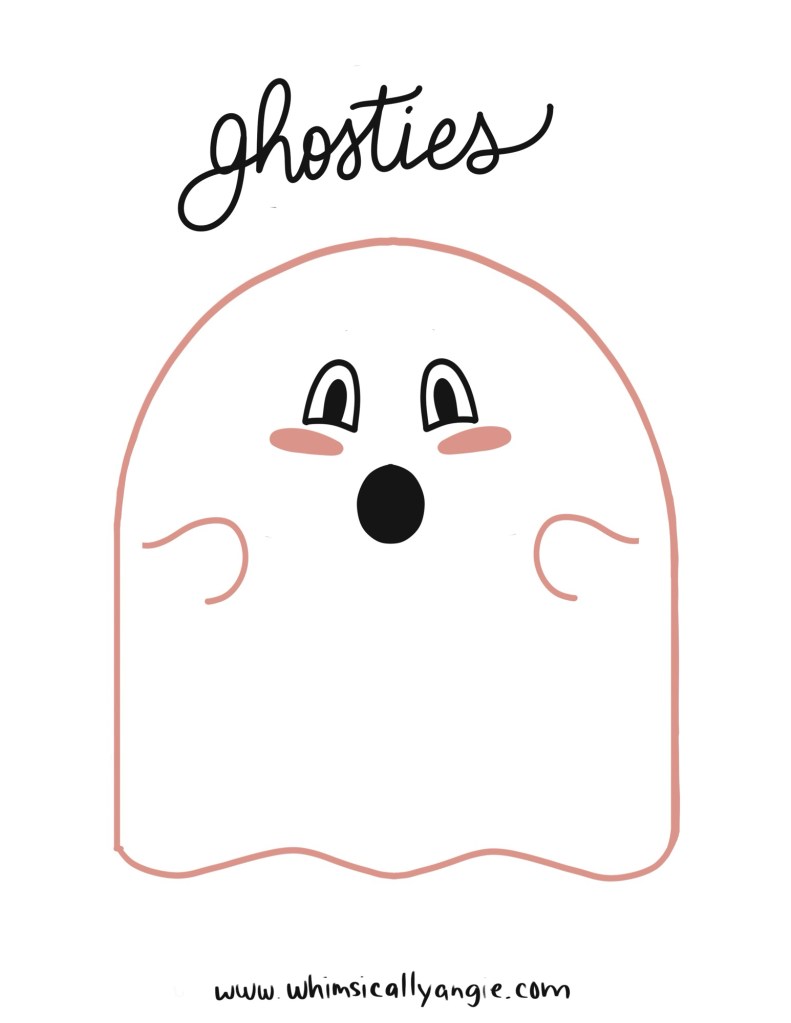
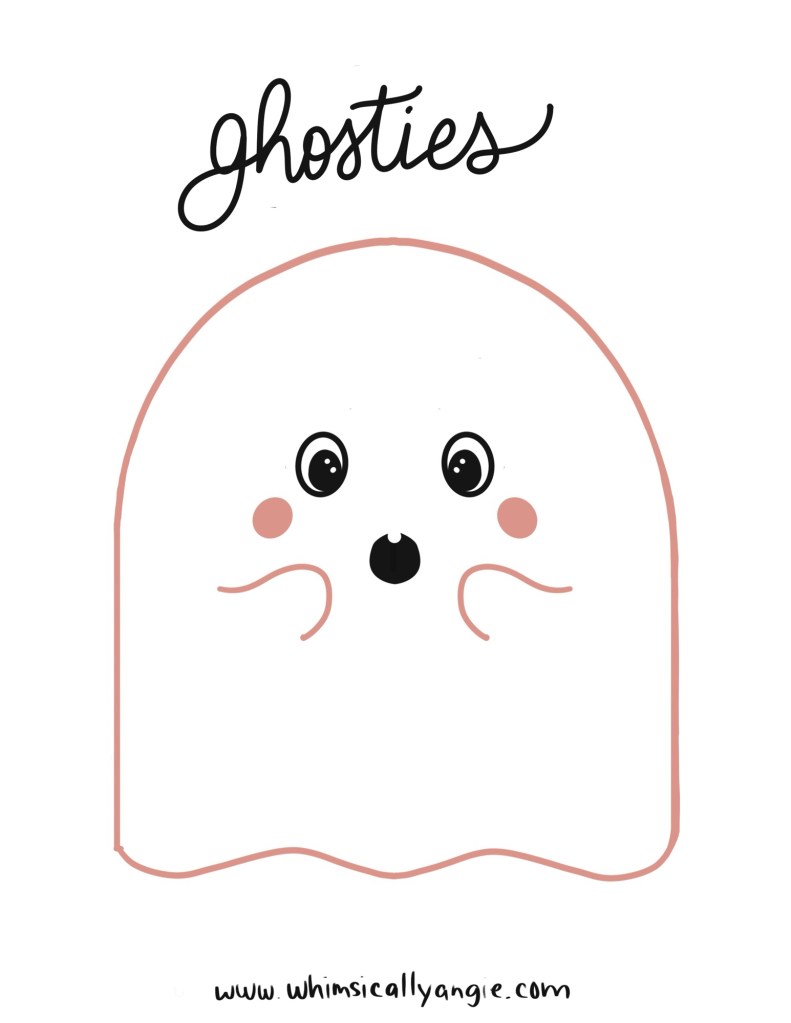
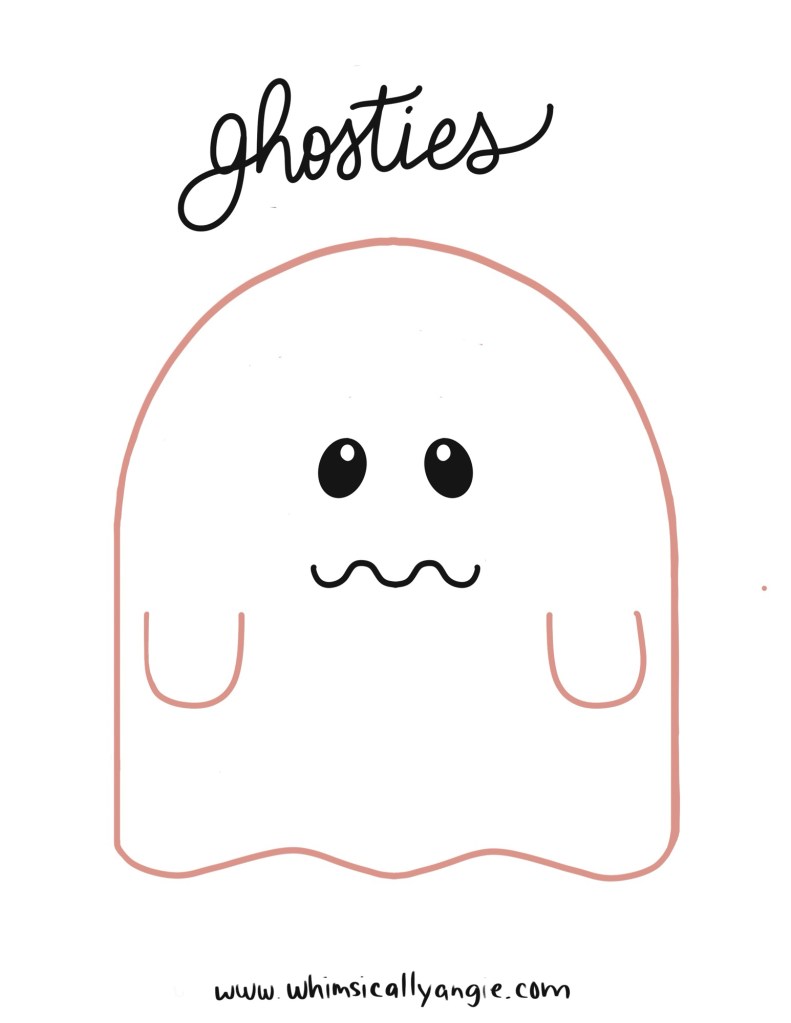
Free Printables below ⬇️ Print One or Print them All.

Free Printables below ⬇️ Print One or Print them All.
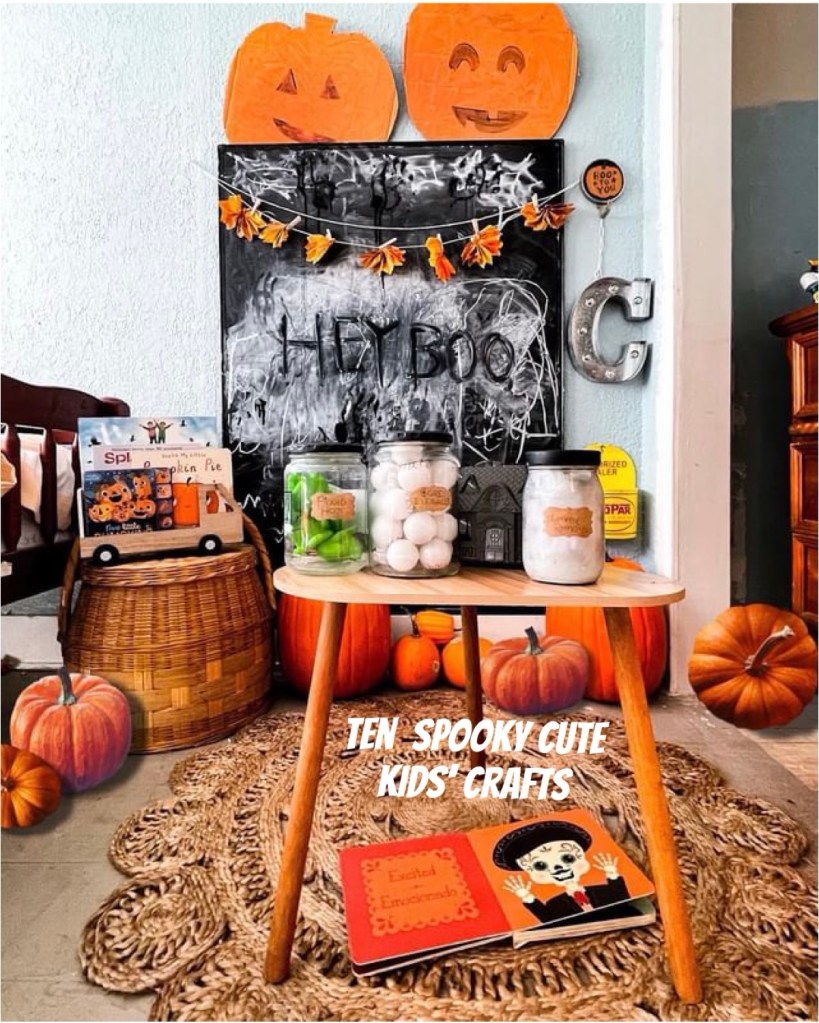
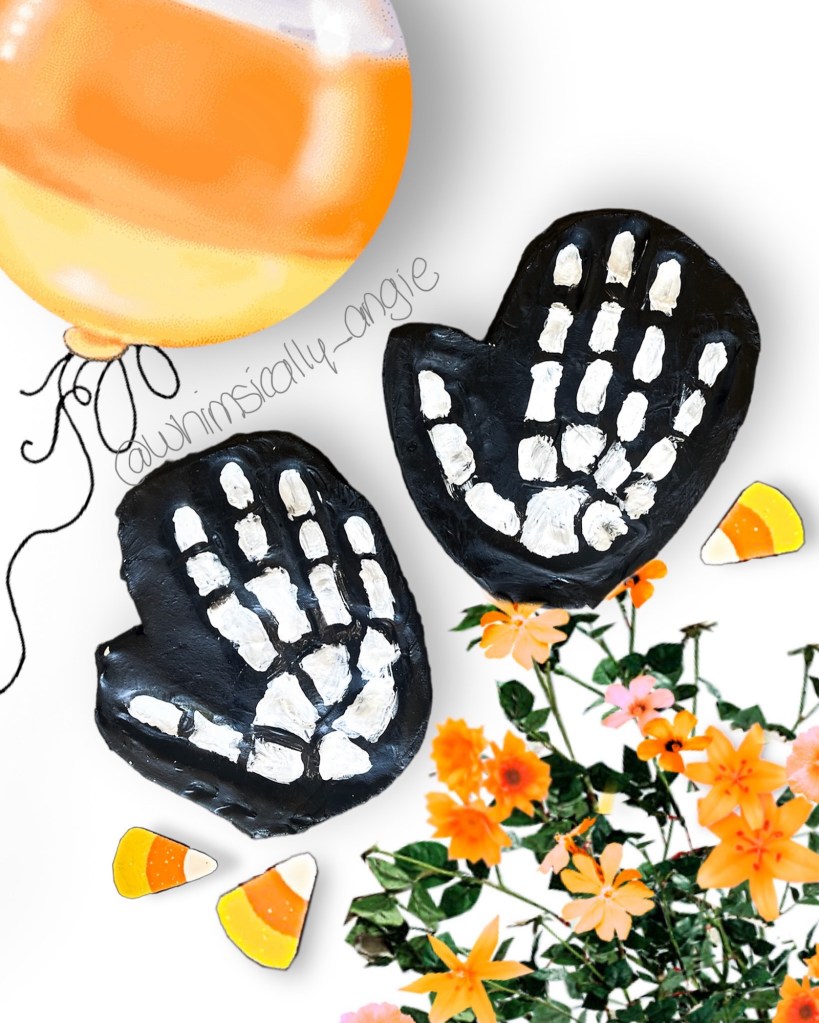
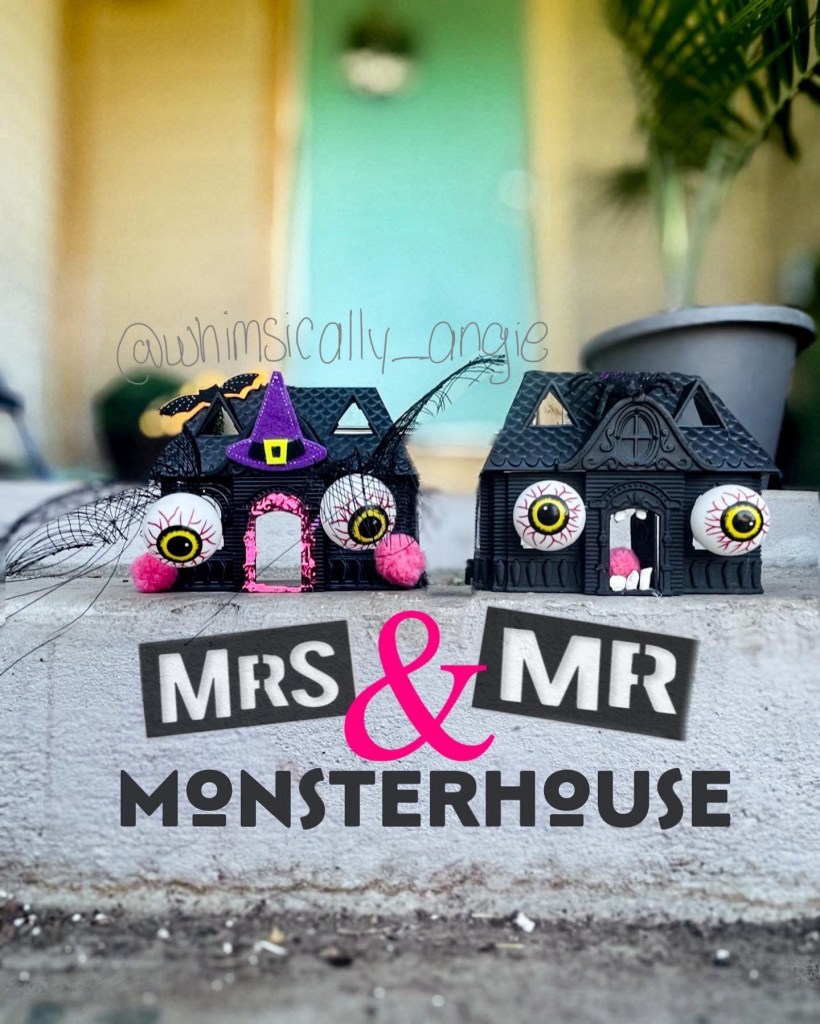
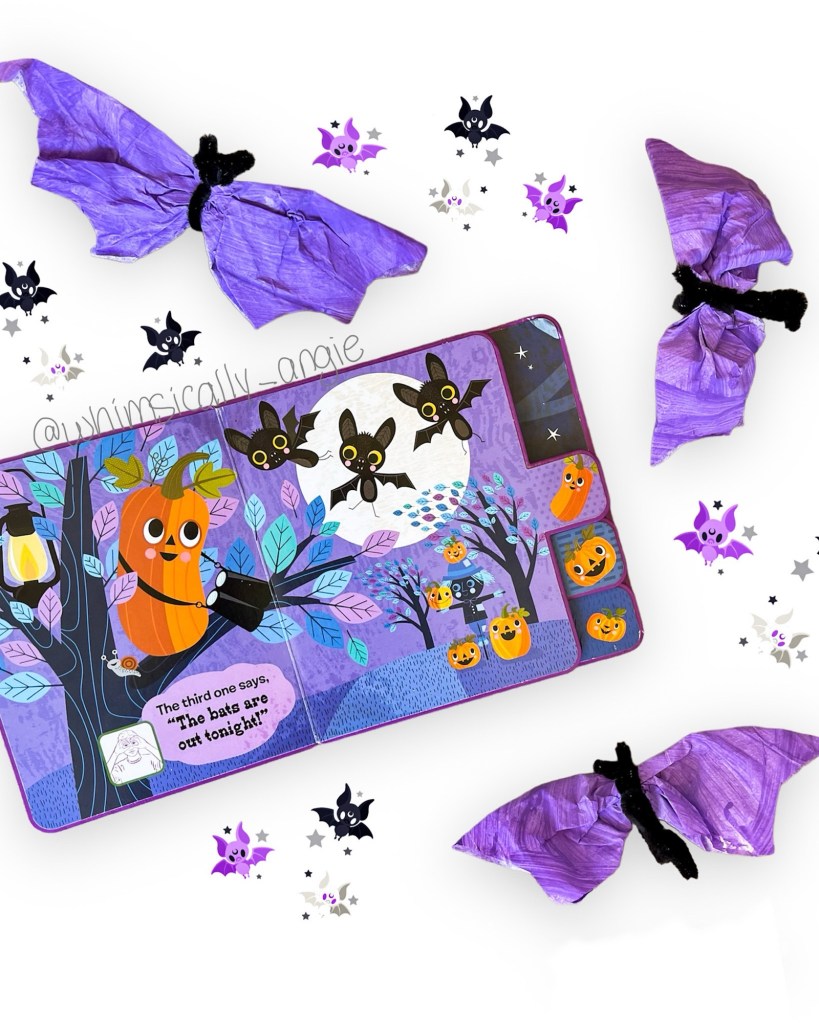
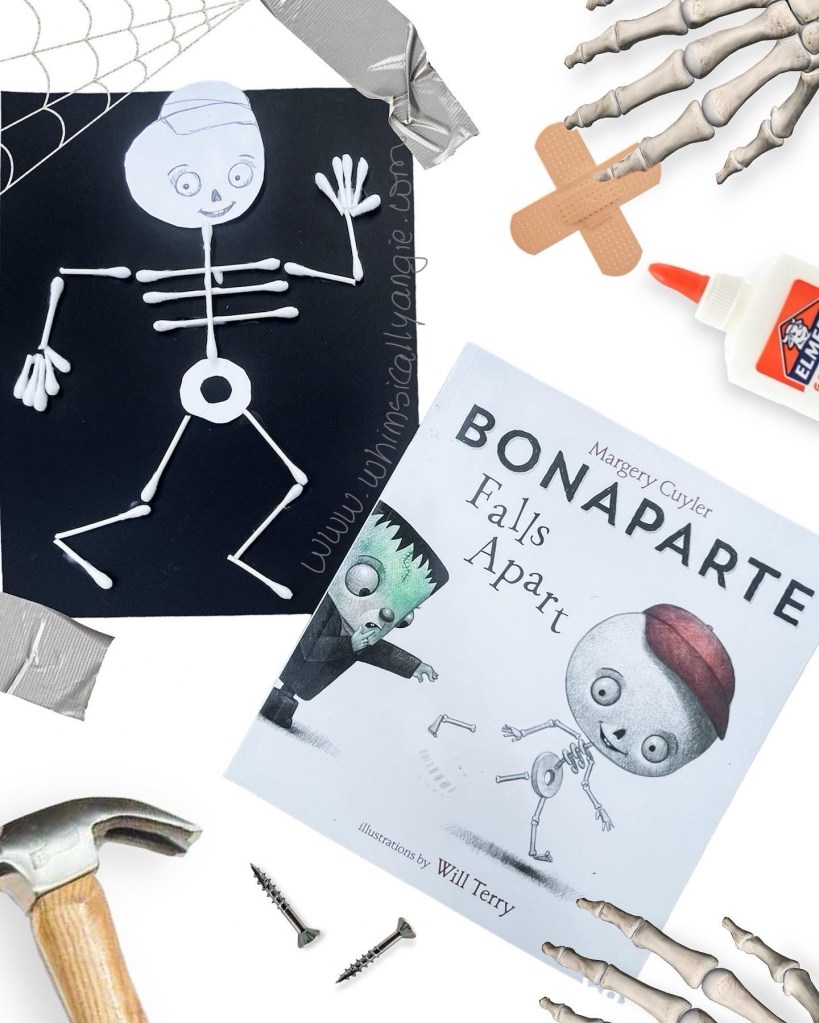
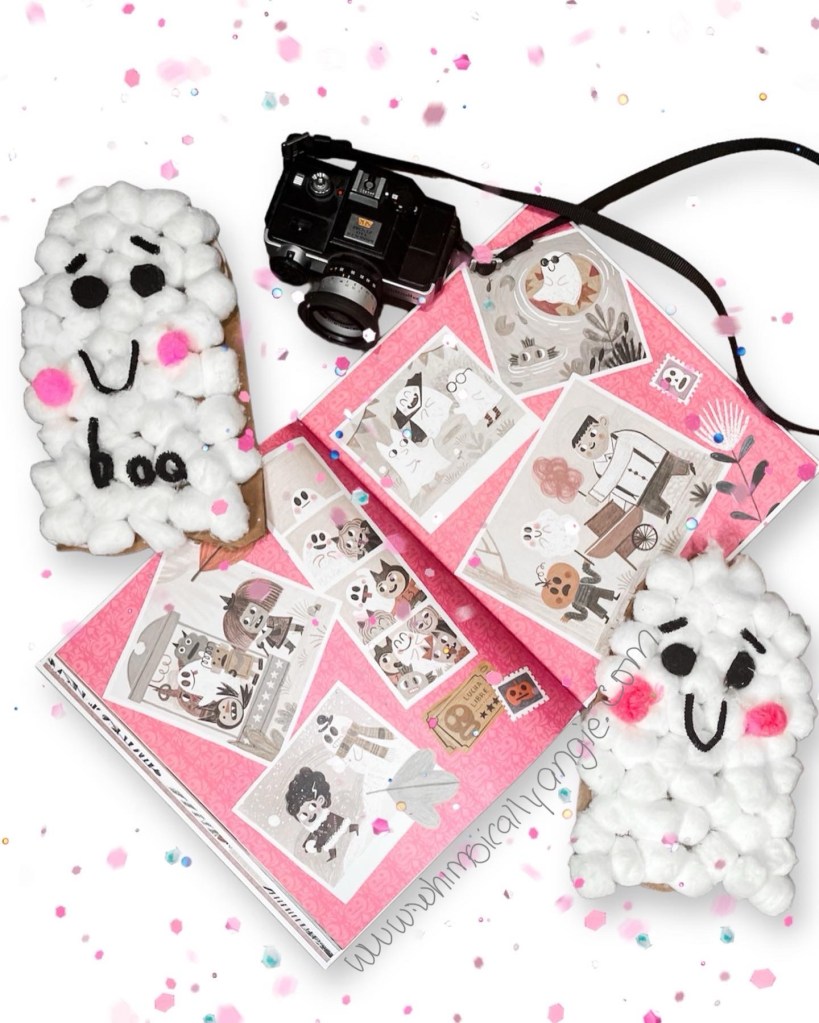
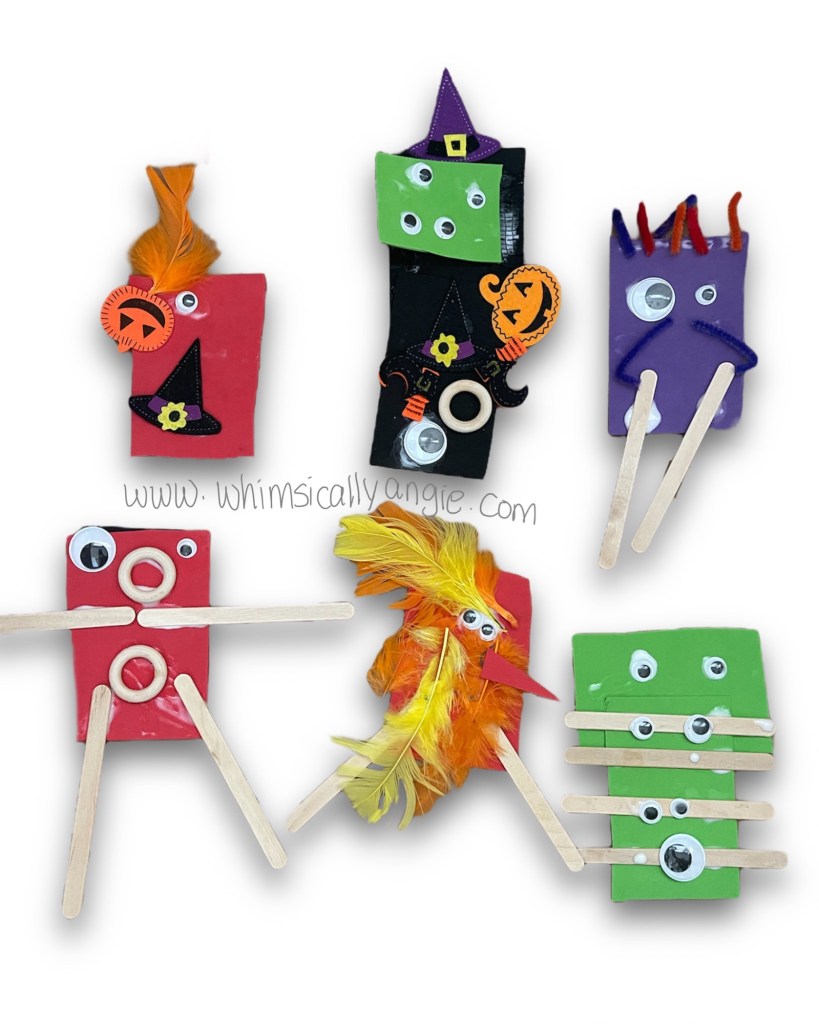
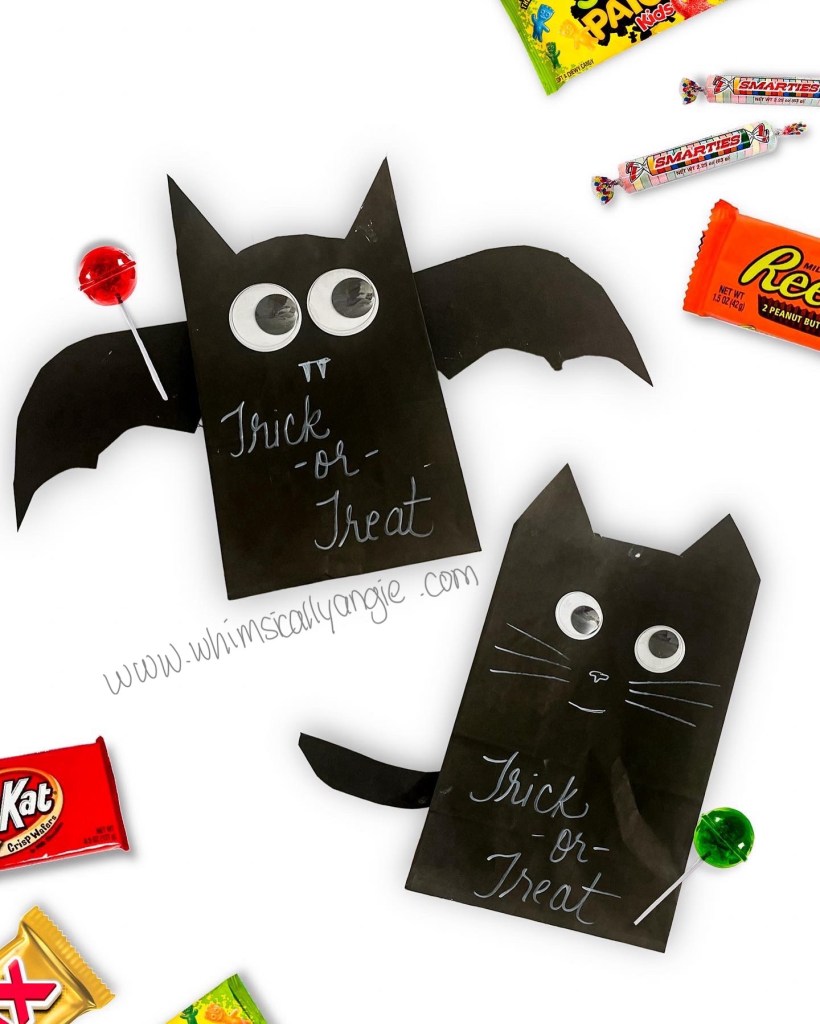
Get ready for some festive fun with my collection of “Ten Spooky Cute Kids Crafts”! As Halloween approaches, these easy and creative projects are perfect for keeping little hands busy while adding a charming touch to your Halloween decor. These spooky cute ideas are designed to inspire creativity and bring joy to your family celebrations. Perfect for classrooms, home, or holiday parties, these crafts will make your Halloween magical!
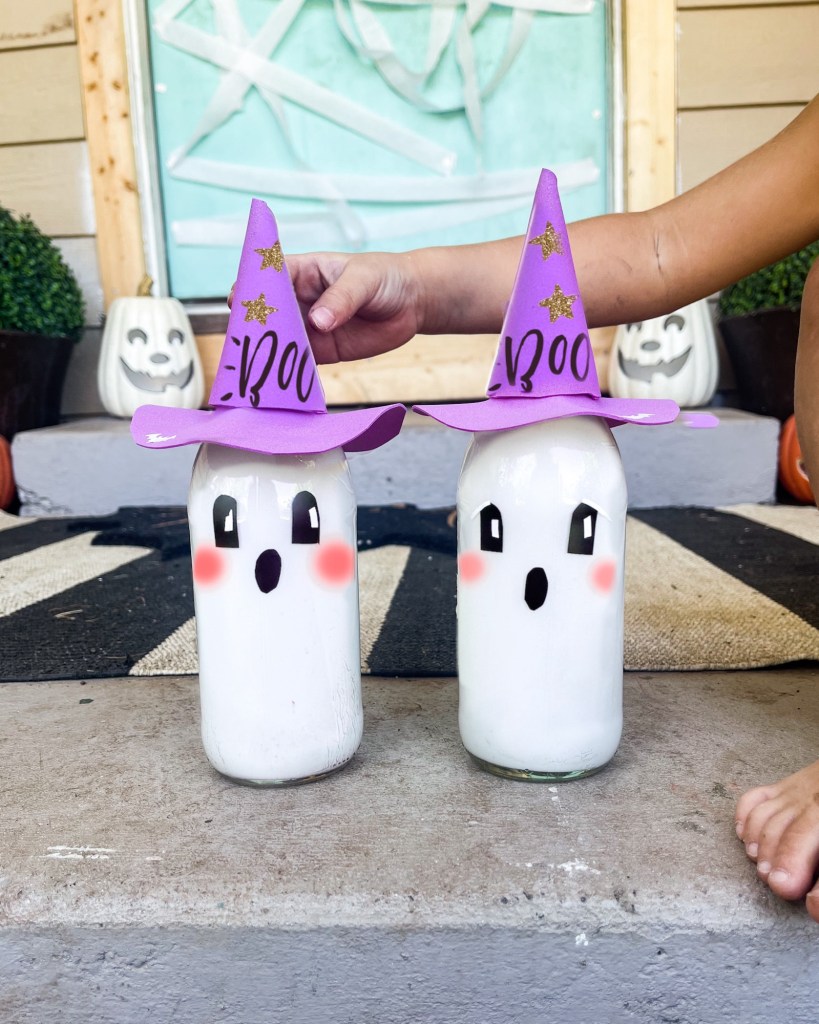
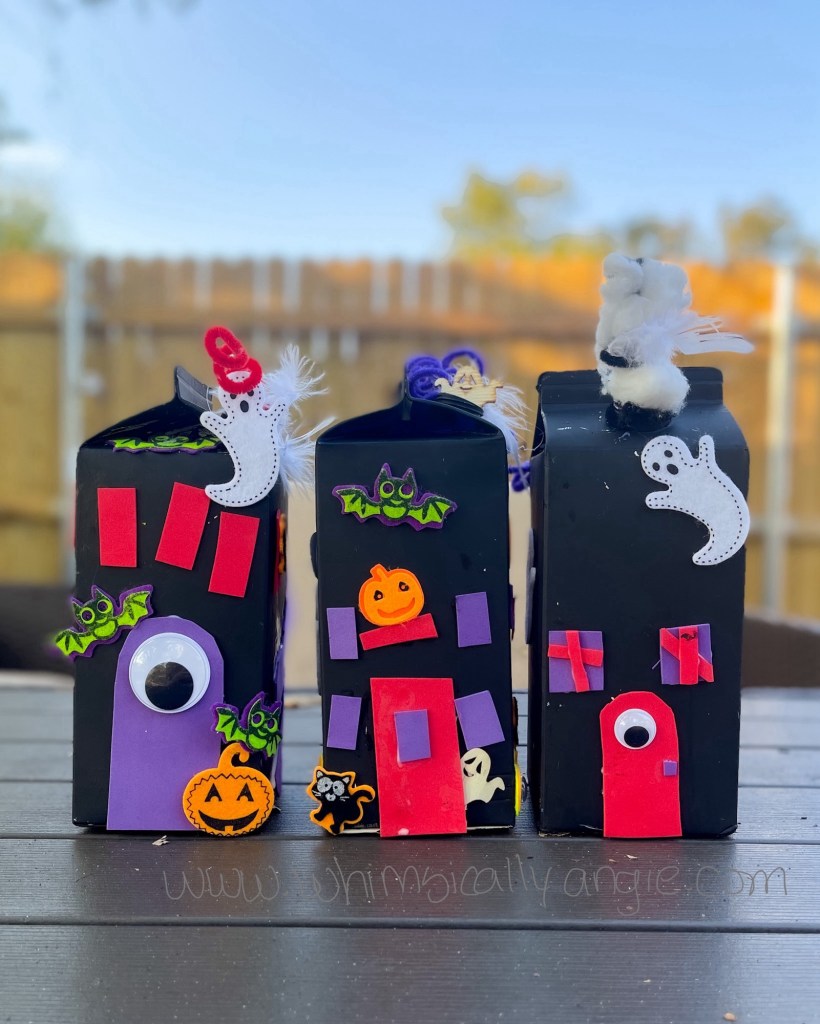

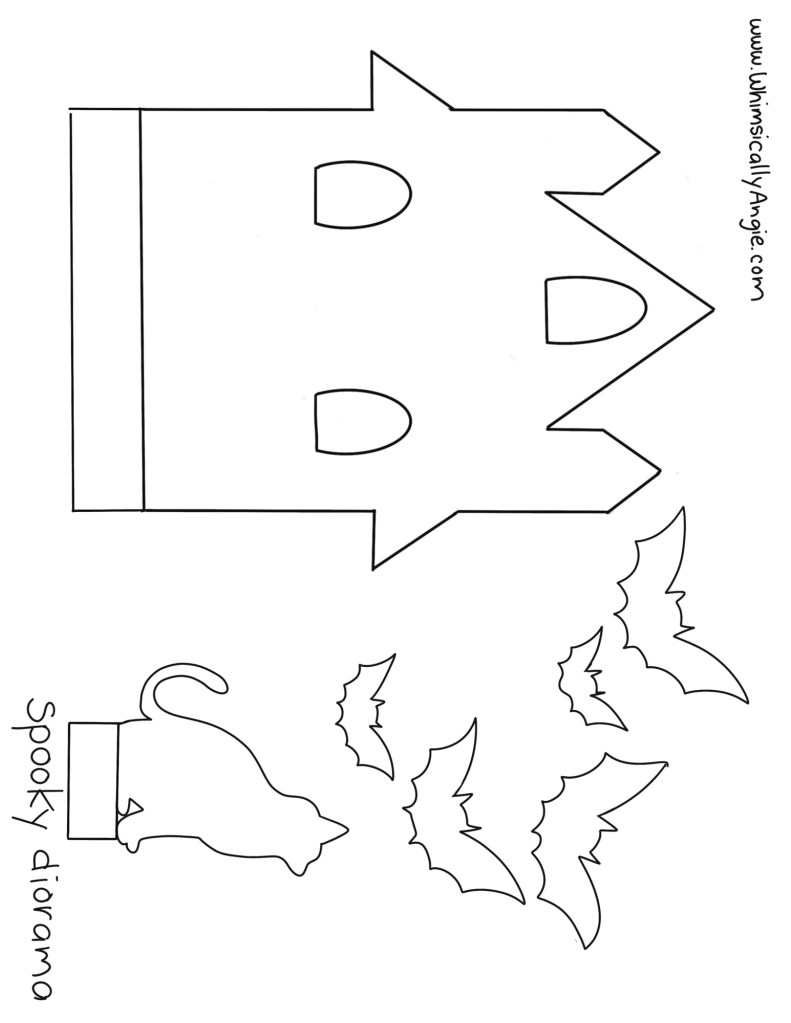
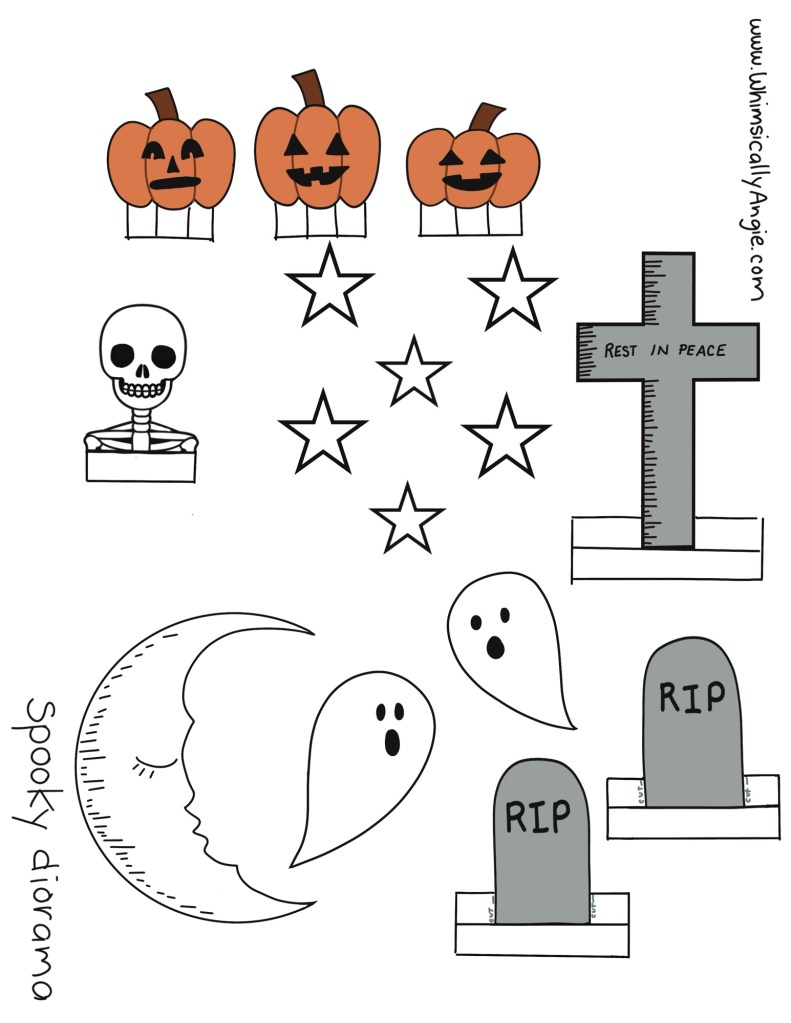
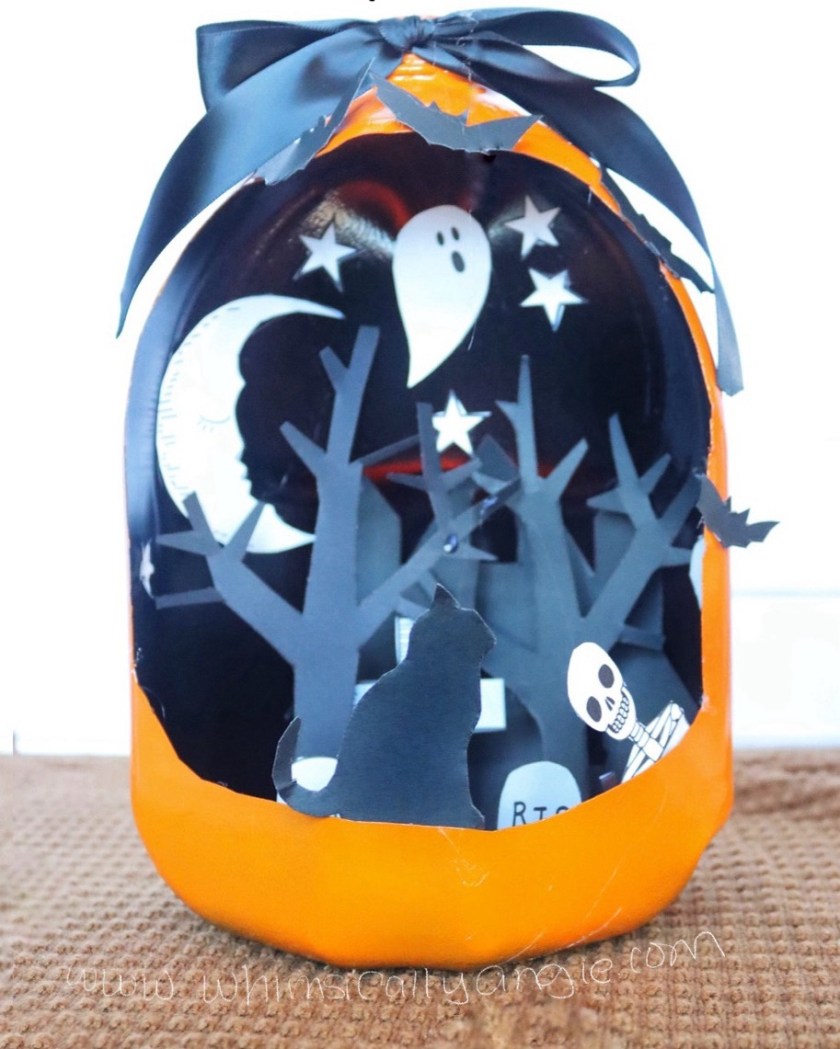
Free Printable to recycle your empty milk gallon into a fun candy bucket for Halloween.
