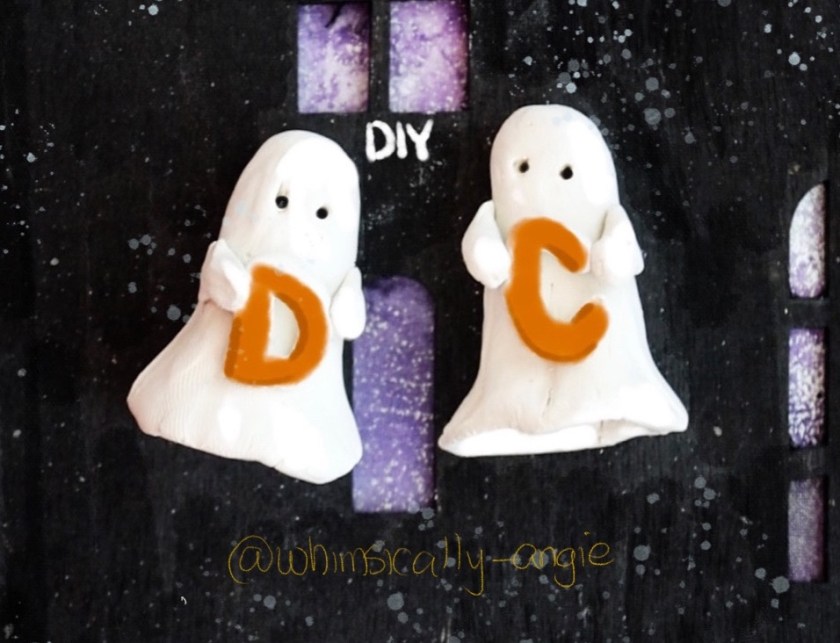
a step-by-step tutorial on how to make a mini air-dry clay ghost holding a mini clay letter monogram:
Materials You’ll Need:
- Air-dry clay (white or the colors of your choice)
- Toothpick or skewer
- Plastic wrap
- Small rolling pin or smooth cylindrical object (e.g., a marker)
- Parchment paper or a non-stick surface
- Alphabet stencil or printed letter template (optional)
- Small knife or clay-cutting tools
- White acrylic paint
- Small paintbrush
- String or thread
- Optional: Beads or rhinestones for eyes
- Optional: Fine-grit sandpaper
Step 1: Prepare Your Work Area: Cover your work surface with parchment paper or a non-stick surface to prevent the clay from sticking.
Step 2: Create the Mini Clay Ghost: Take a small piece of air-dry clay and knead it until it’s soft and pliable. Roll it into a small, smooth ball. This will be the ghost’s body.
Step 3: Shape the Ghost: Flatten the clay ball slightly and shape it into an elongated oval or teardrop shape to resemble the ghost’s body.
Step 4: Create the Draping Effect: Use your fingers to gently press and shape the the clay, creating folds and wrinkles that resemble the draped fabric of a ghost.
Step 5: Add Eyes: If you want to give your ghost eyes, insert small beads or rhinestones into the head of the ghost. You can also create eyes by making small indentations with a toothpick or skewer.
Step 6: Create the Mini Clay Letter Monogram: Roll a small piece of clay into a small ball and flatten it into a thin, even sheet. (You can use a different color of clay for the letter or paint it later). Use an alphabet stencil or printed letter template as a guide to cut out the letter of your choice. Carefully remove the excess clay around the letter.
Step 7: Create Mini hands: Roll two even smaller pieces of clay into balls. Slightly flatten one end of each ball and mold into place around ghost body and letter. Position the letter monogram in the ghost’s “hands” as if the ghost is holding it. Gently press and attach the letter to the ghost’s draped body.
Step 8: Allow to Dry: Set your mini clay ghost holding the letter monogram aside in a dry and well-ventilated area to air dry. The drying time can vary depending on the thickness of the clay but typically takes 24-48 hours.
Step 9: Paint: Once the clay is completely dry, you can use a small paintbrush and white acrylic paint to give the ghost and letter a smooth, ghostly appearance. Allow the paint to dry thoroughly.
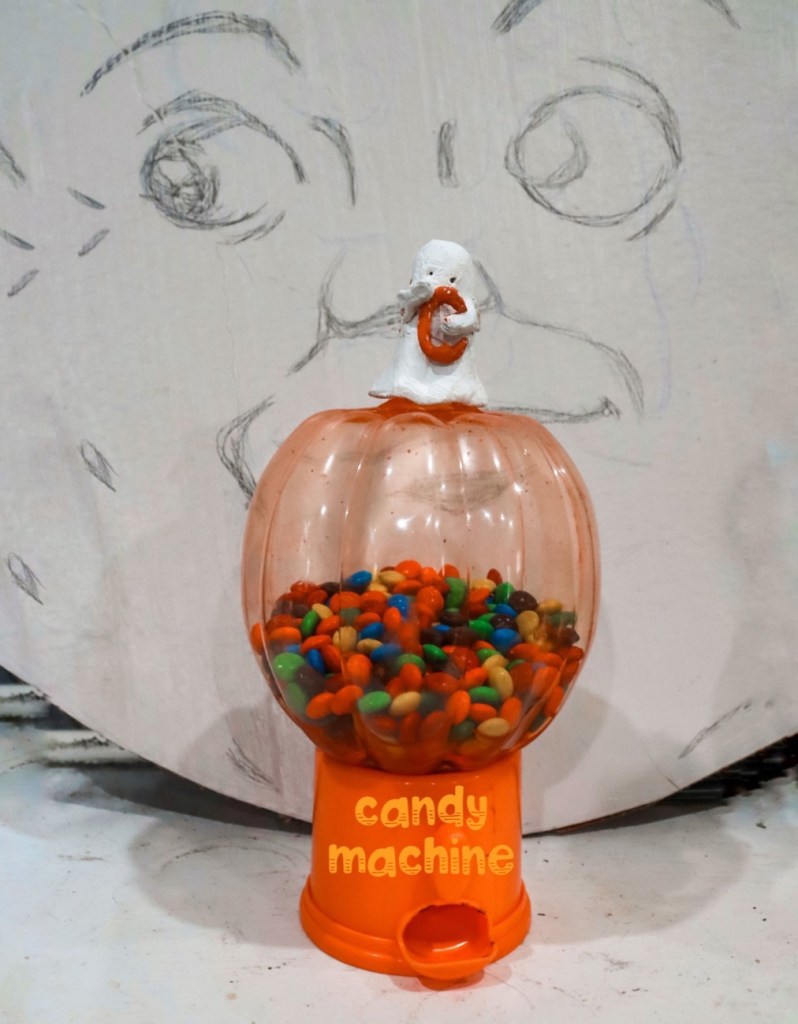
Step 10: Display Your Mini Ghost with Monogram: Your mini air-dry clay ghost holding a mini clay letter monogram is now ready to be displayed! You can place it on a shelf, hang it from a hook, or use it as a personalized decoration or gift. I used mine to dress up a candy machine I bought at dollar tree.
This project allows you to create a charming and customizable mini sculpture that can add a personal touch to your decor or special occasions. Enjoy making your mini ghost and monogram!
Watch this project come to life on my Instagram ⬇️